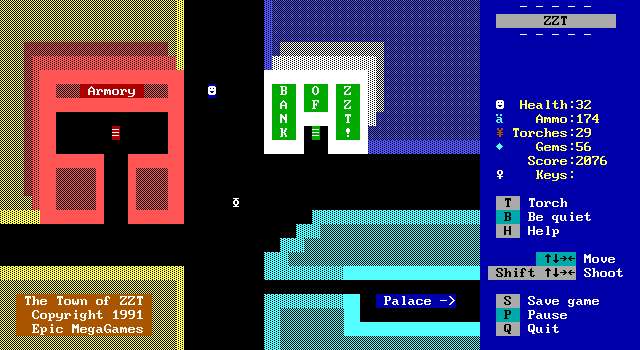
Here it is, the thrilling conclusion to Town of ZZT. This time we head northward, the final unexplored area.
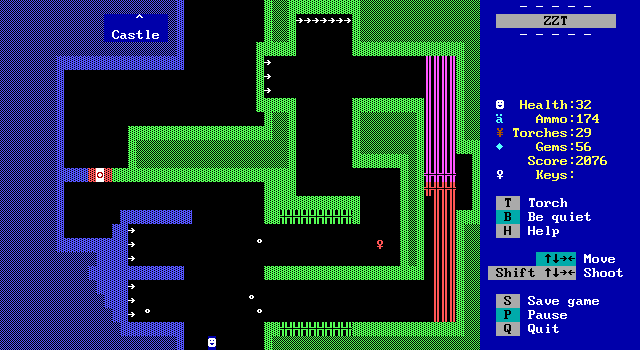
This is a fun room that's essentially an easier jail. No time limit to worry about, just a fun path of timing your movements to get through the blink walls. No doubt some people have tried running immediately to the key only to get zapped.
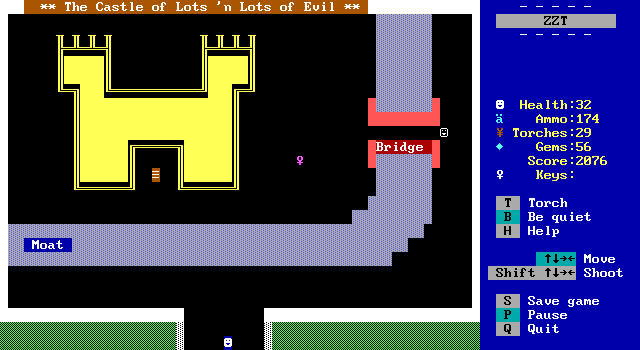
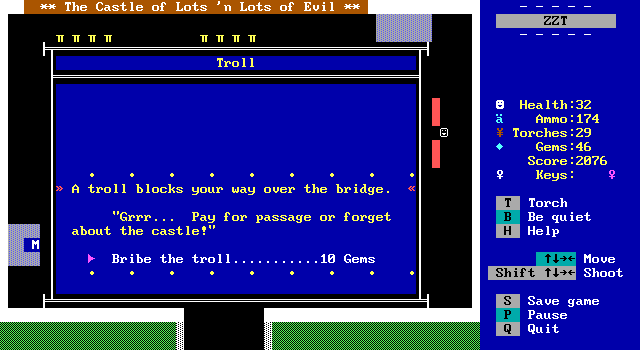
The Castle of Lots 'n Lots of Evil is our final destination. This board is pretty comic from a contemporary viewpoint. Thank you for telling us what the moat and river are!
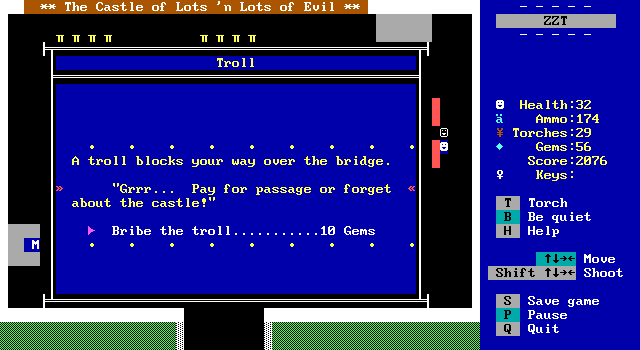
The bridge keeper is revealed to be a troll who refuses to let us cross without a bribe of 10 gems. For reference, there are three in the main hub and nine in the armory's stock room. Seven in the cave. Six in the forest. Four in the second part of the forest. Fifteen in the prison. Twenty in the bank, and eight more in the back of the cave. Items in the shop all cost one gem and most gems aren't placed in a way where they're likely to accidentally be destroyed. I can't imagine anybody exhausting all the gems and being unable to proceed.
Were it not for the gems in the armory, the player would have to engage in combat in some form before venturing into the castle. The Mega Man critique that inspired all this points out that in those games it's difficult to have much of a difficulty curve because any stage can be the first or last, and the same can be said of Town provided you can solve the armory puzzle. The castle is clearly intended to be the most difficult path as the player will soon see.
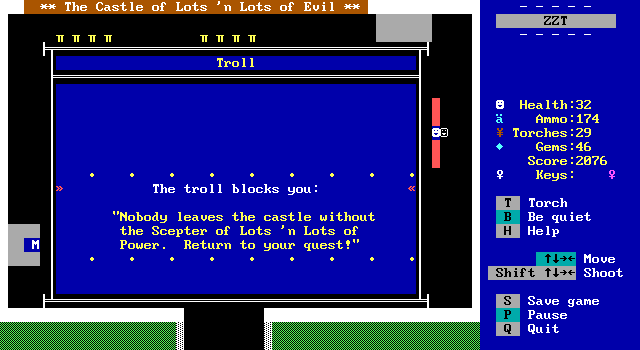
Of course the purple key is right outside, so no doubt a player will try to leave immediately, but the troll won't hear it. Fortunately for those who aren't fans of the castle (me), there is a way around this.
You'll notice the player isn't visible here! If you pause next to the troll and touch him, the game doesn't unpause. His code chooses which message to display based on being blocked to the west or not. As he's not blocked west, you must be entering the castle! Pay the bribe a second time and you're free to skip a large portion of the game. If you're good at mashing the P key and using pause motion it's actually possible to escape and only pay the toll once.
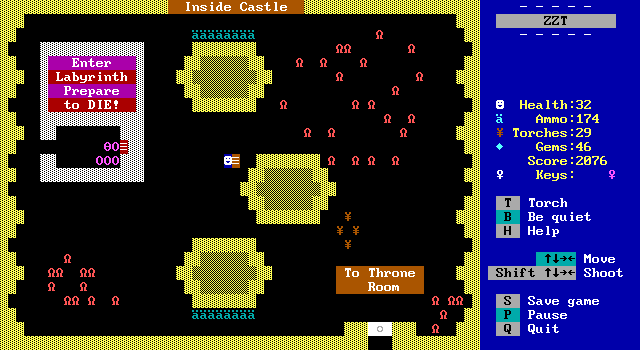
Unfortunately, I have to play the castle, which continues to look very amateurish. Make sure to bring torches, it's very dark in the labyrinth.
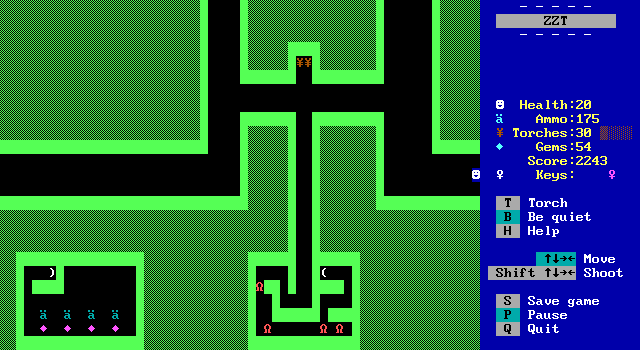
This room is dark by default. In fact, assume every board in the castle is unless I state otherwise. Torches won't reveal the white key that's our goal so the player has no really idea where they're going. I chose south.
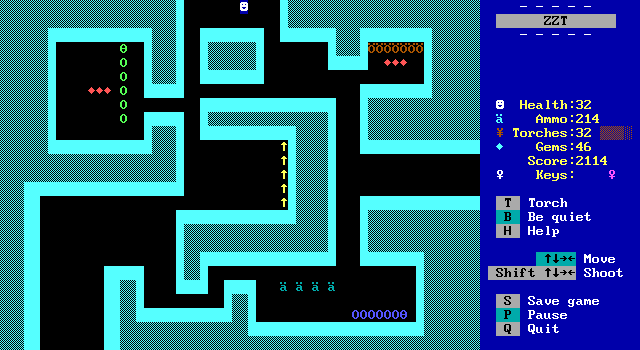
The spinning guns are a nasty trap if the player isn't careful, though they can be avoided entirely.
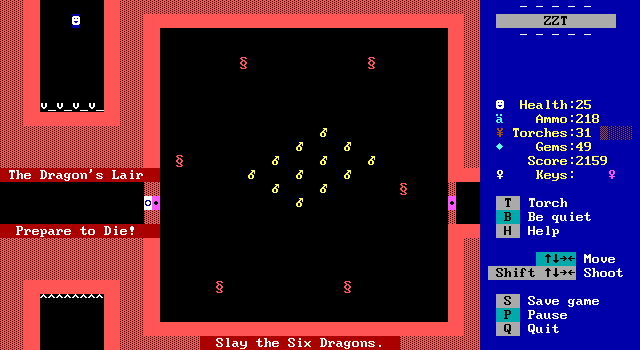
Heading south once more takes us to this lit room. It's reasonable to believe this is a boss chamber. An astute player will notice that this must mean you'll have to head east at some point to get here and exit.
South of the dragons are the more fearsome tigers. While previous action rooms have limited the player to one shot on the screen the castle is spammable, so if the player has stockpiled plenty of ammo they are much safer. The tigers in the bottom right are a cruel trap. It is very difficult to pick up that second gem without immediately getting hit, and in general just isn't worthwhile.
Sure enough, heading east is where we need to go, but without the key there's no progress.
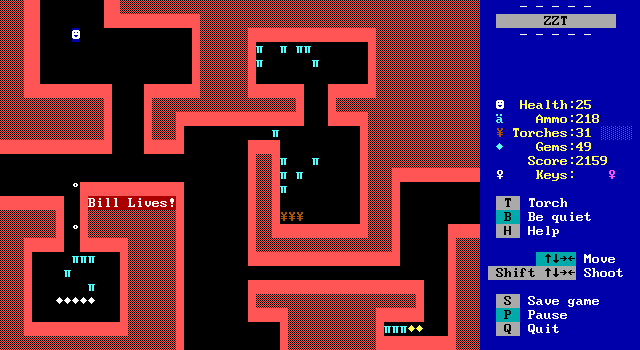
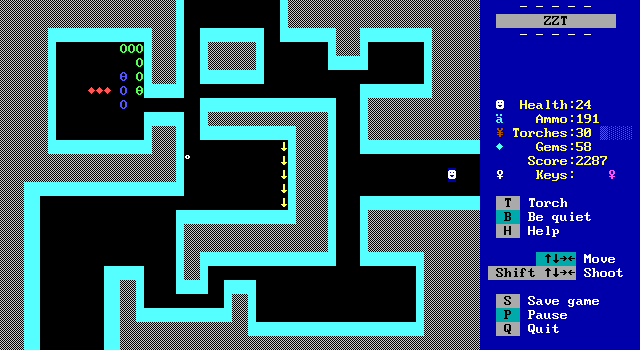
Heading west takes the player here where they can get some easy supplies. There are two exits north and both need to be taken.
The western northern path brings the player to The Room of Extreme Annoyance. Thankfully it is lit.
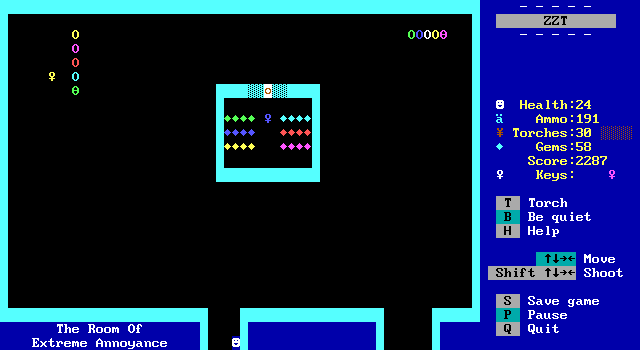
And now you know why it's annoying. The maze's corridors are fairly wide, but any invisible maze in ZZT is tedium. Later games make it so revealing a wall would flash the entire maze which made them far more bearable, but still rather poor in design. It is nearly impossible to die in this one so the only challenge is a test of your patience. After completing the left half of the maze, the player has to leave and enter from the right side to complete it. This gives the player a large chunk of health and in my case was sorely needed.
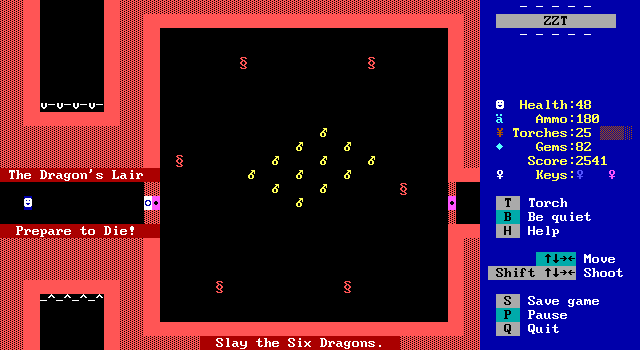
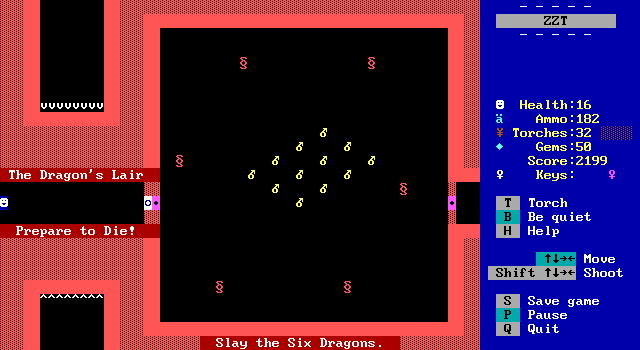
Blue key in hand the player is now free to fight the six dragons. Their behavior is fairly basic, but they are more complex than other objects we've seen which hardly do anything beyond moving and speaking. The dragons will move about slowly, sometimes shooting in the player's direction. They are immune to bullets and though you are never told this, the sheer abundance of bombs should tip anybody off. There are plenty of spare bombs in case of any misses, and it is possible to defeat more than one with a single bomb as they often clump together. Town teaches us that a dragon caught in an explosion is vaporized immediately.

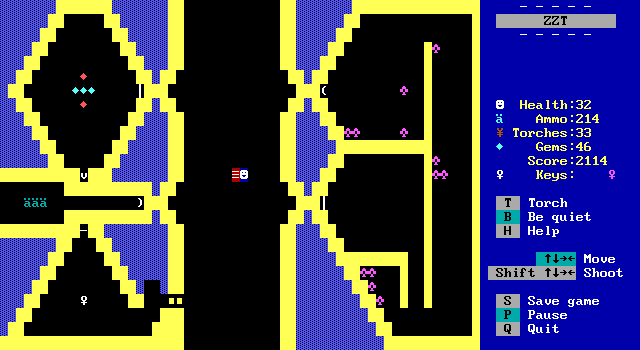
Heading east takes the player back to the main hub, but now able to access the rest. This is the end of the castle's labyrinth. I can't speak very fondly of the transporters in a dark room. It's too easy to get ambushed and have zero control over it. Fortunately with the white key to the throne room, the exit is almost upon us.
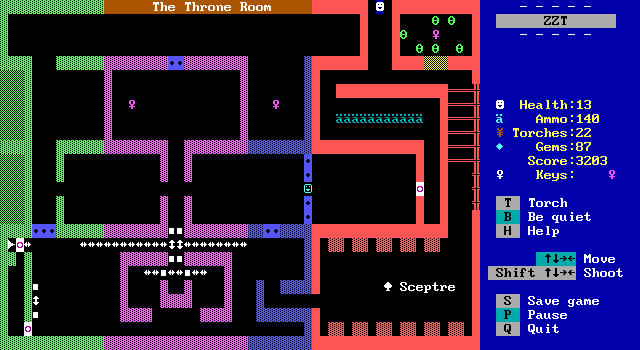
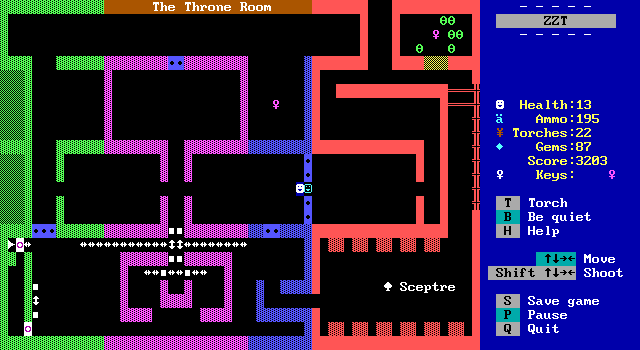
The throne room is the player's final puzzle. The blink walls make the passage to the scepter one way, and so the player must get in from the other side.
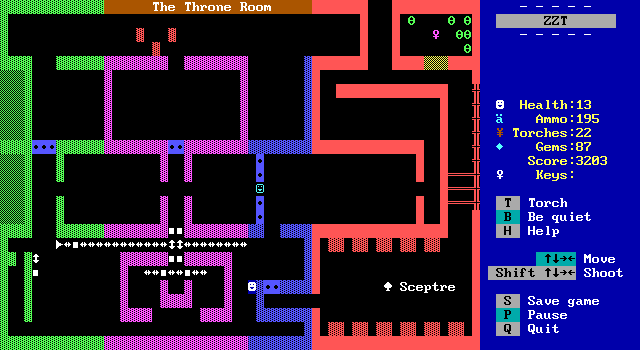
Touching the statue causes the walls to shift between two different places.
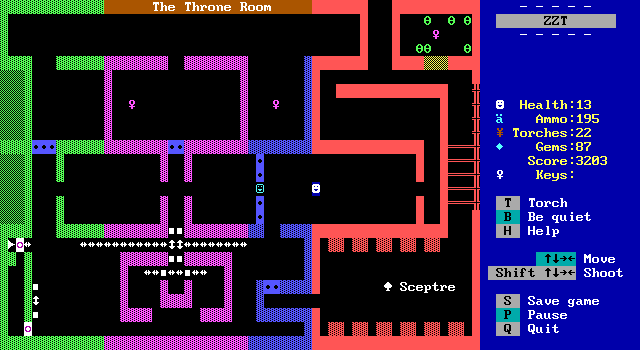
Pushing the sliders into place like this is NOT the correct solution. I only kept this screenshot to show that there are even more invisible walls and this time they are 100% meaningless. Nothing but a waste of the player's time. I couldn't actually recall the solution to this puzzle so I only pushed those sliders out halfway so that I could put them back a bit if needed.
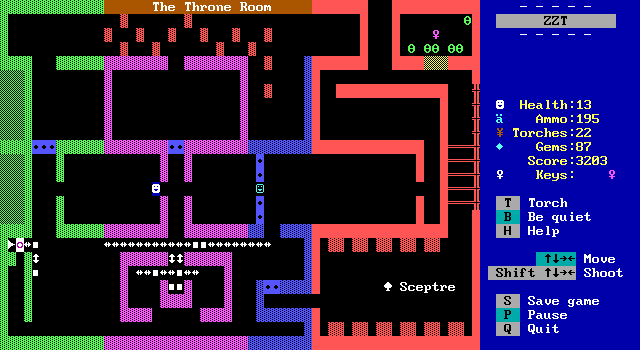
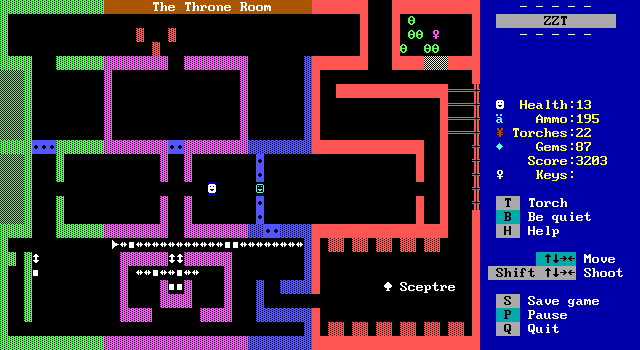
Unfotunately the wall objects do not handle this well and instead slam too far to the south forcing me to restart and realize the proper solution.
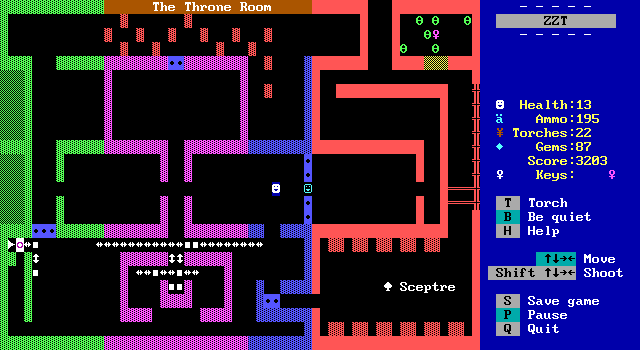
Well, first actually there's this little trick. Touch the wall here and immediately hold down.

You'll be able to make it through this gap before being pushed away. It doesn't break the puzzle, just saves some time.
The actual solution is to open the purple doors and let the pusher get into position. Then you can shift the walls and move that last slider so that the passage is blocked open.
Now free to take the scepter, the player receives a bonus and can get that last purple key and get out of this awful castle forever. It's time to enter the palace!
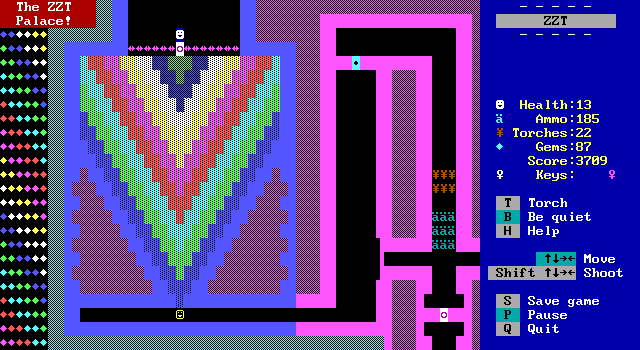
Opening the fifth and final (well, okay you can see a sixth there) door gives us a grand animation of each V shaped set of walls disappearing and some exciting music playing. The yellow object moves aside and the player may enter the palace finally.
Opening this door causes the wall to extend, there's no going back now.
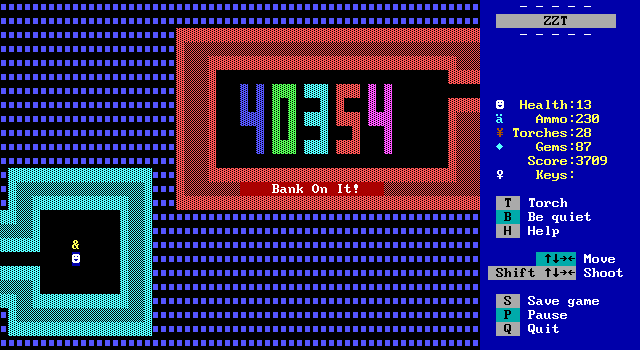
To the east is an ampersand. It gives you some points and makes you wonder what an ampersand you pick up would actually be. The object for this is named Necklace, which is far more fitting.
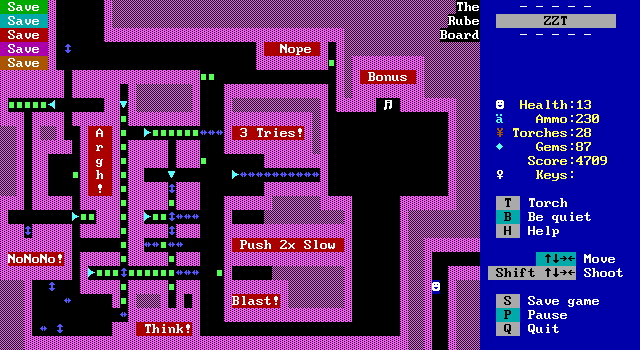
Heading west gives us a brief detour to admire our handywork in the rube board.
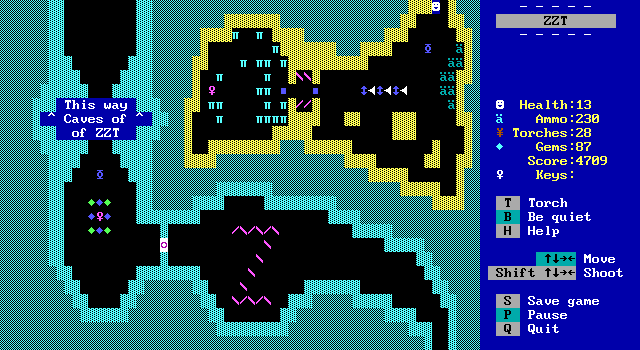
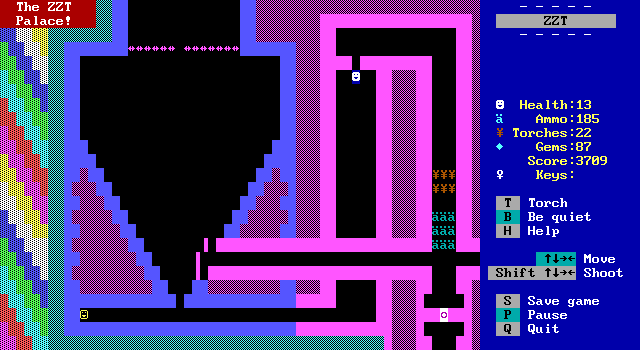
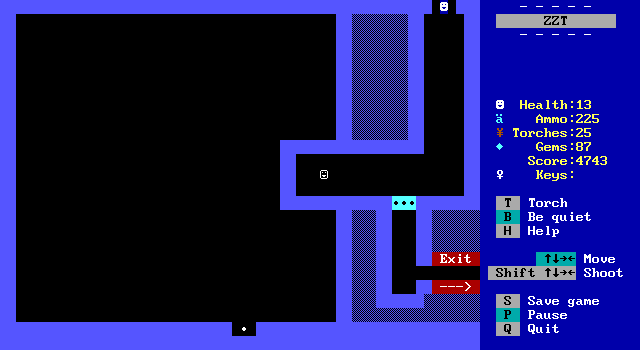
And leads us to the cave we began with. This room is dark and the final challenge. The conveyors force the player to ride a pusher into the tiger den. With only 13 health this is essentially suicide. If your health is low this would be the final puzzle. Push the first slider out of the way and then get out of the way yourself. The pusher will move the boulders out of the way and you can safely shoot through a narrow chokepoint. Once safe ride another pusher and get that sixth purple key.
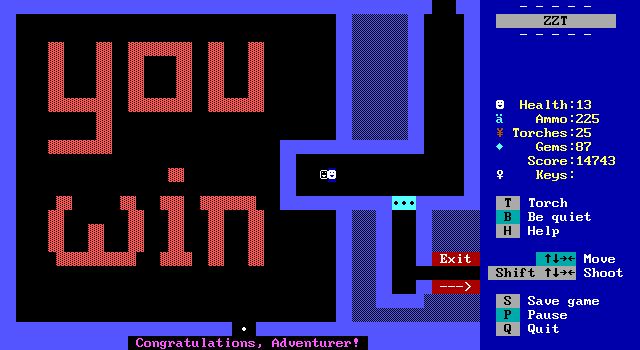
The player is rewarded with congratulations and several compliments on their abilities before ultimately being told to go away. The ZZT player himself has never been very popular with the residents really.
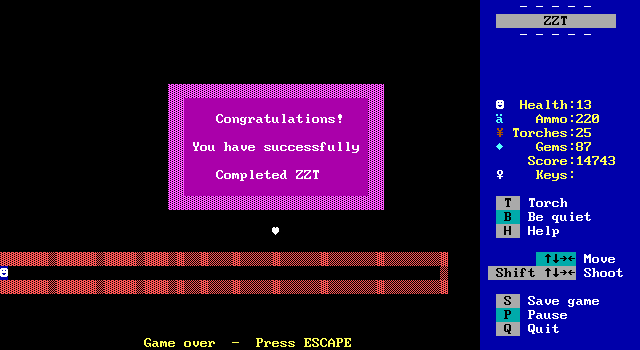
And with that, Town of ZZT is completed!
Closing Thoughts
As an introduction to ZZT Town does an overall great job. Each path contains a mixture of action boards and puzzle boards, showing a good amount of variety even without many objects that would become a staple of later ZZT games. The non-linearity in which path is taken for the most part allows the player to give up and try elsewhere if they are stuck, or even if they start over, save the biggest challenges for last. Over twenty years later, you can still load up Town and have fun with it which is honestly more than can be said for most ZZT games.
Financially of course the game was a success, Epic is still around today and began with something this simplistic. I can definitely see somebody playing through Town and wanting more. Had it not become freeware by the time I discovered it I would've bugged my parents to let me order it for sure.
Programming-wise it's a bit sparse, objects serve more as helpers for effects than as complex constructions. A new programmer wouldn't learn very much from Town, hampered additionally by the lock preventing editing by default.
As somebody whose prime ZZT days were in the late 90s Town has almost always felt archaic. It doesn't feel like what I imagine when I think of ZZT games. It's much more focused on the individual room than the overall game. Community made ZZT games very quickly got away from this, and even the earliest games seem to be more story driven. I can't imagine a community that made games more like Town having lasted nearly as long.
So now the question is what next? I'd probably be willing to do another one of these. Dungeons is the obvious choice being the sequel, but if there's interest in something else as long as it isn't too long I'd be willing to give it a try.
The people on z2 have suggested Teen Priest, which I have played before, and The Wire which I have not.