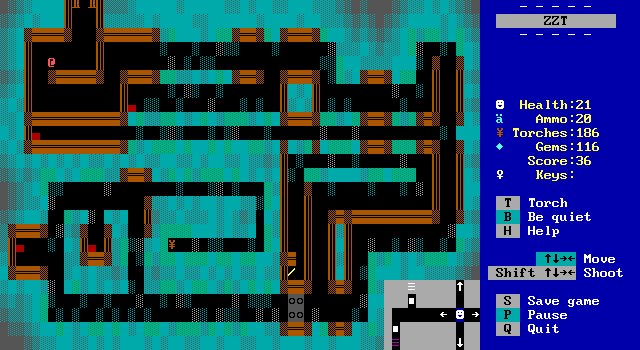
The mine mostly consists on long corridors. There's some treasure to be obtained just like in the swamp cave, and the magic torch at the very end of the mines.
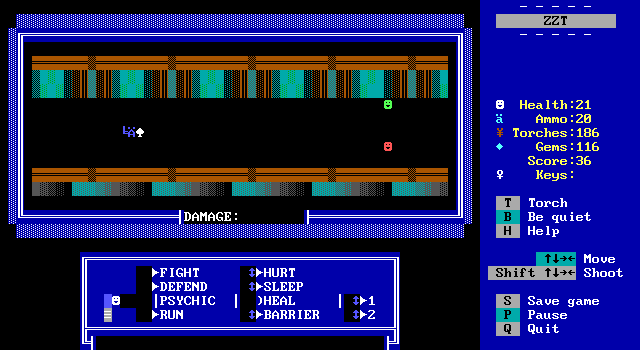
A new area means a new battle scene and new enemies to fight. Here the party is up against a mole.

The mine is also full of ghosts! This enemy breaks the 3x1 size that's been used throughout the game so far and also is one of the few enemies in the game where you can totally see how it's supposed to be what it is. That thing looks sort of ghost like. Or perhaps more like a genie.
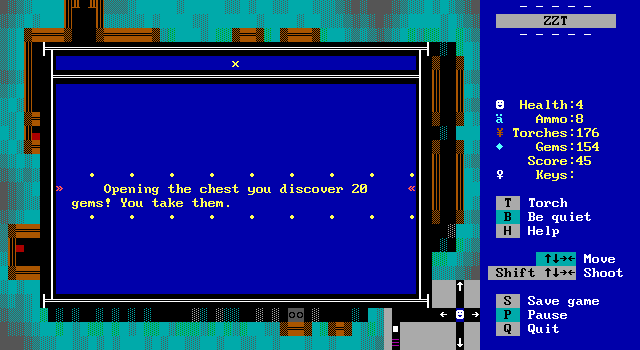
The first chest has some gems.
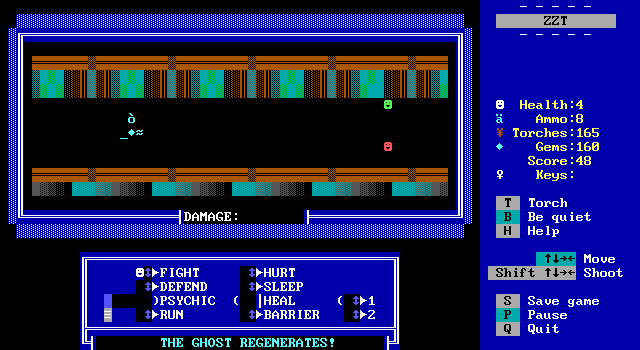
Another fight with a ghost reveals they have a special attack! They can regenerate themselves to heal some of their lost hitpoints. Typically in ZZT you'd represent hit points by doing thing like:
#end
'Main loop goes here
#end
:shot
:shot
:shot
#zap shot
#end
:shot
#die
• • • • • • • • •
And thus have to shoot an object 4 times to make it hit the die command. Each hit zapping a :shot label and making it so a later one becomes active instead. ZZT does have a #restore command to undo zaps, but this always undoes everything, so it would be a full heal. I was really curious just how Commodore coded this engine because the longer the game went on the more impressive it became.
For now, just know that this isn't how the engine handles enemy health.
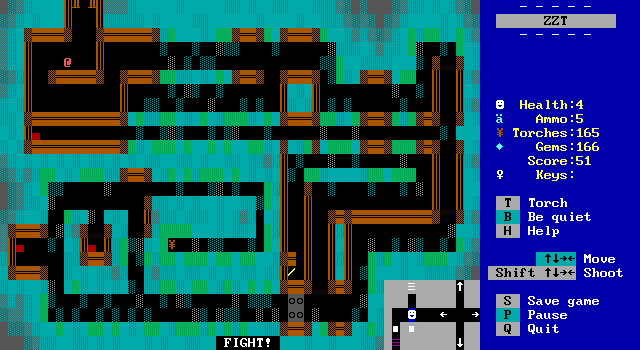
Like always, the party gets worn down pretty quickly, but the mines are significantly more rewarding than the swamp cave. There's no world map to traverse on the way out so it's massively easier to make it out alive. The close proximity also means that retreating to heal feels like a brief diversion rather than having to give up on your dungeon dive. If you give Psychic Solar War Adventure a try yourself, skip the swamp cave. It's a red herring.
Honestly, the game should probably have started the player in Robert instead. It's still a slow grind for experience, but it feels so much less punishing. The game does warn the player that they don't need to go to the swamp cave, and that they may want to gain a level first, but the way the map is set up makes it such an obvious first dungeon that it's very easy to get suckered into it.
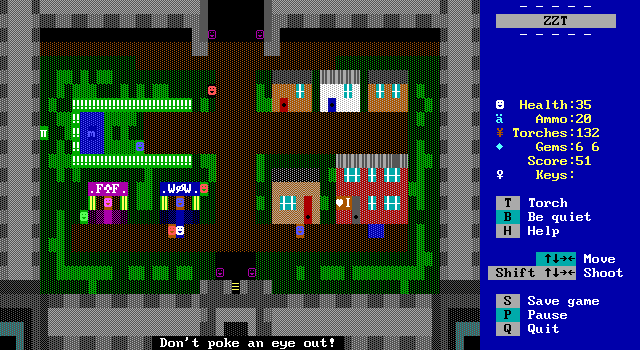
Eventually I hit the 150 gems needed to purchase a lance for Jill and do so immediately. This game is slow and a boost to offense can only speed things up. I'm still only halfway to the second level!
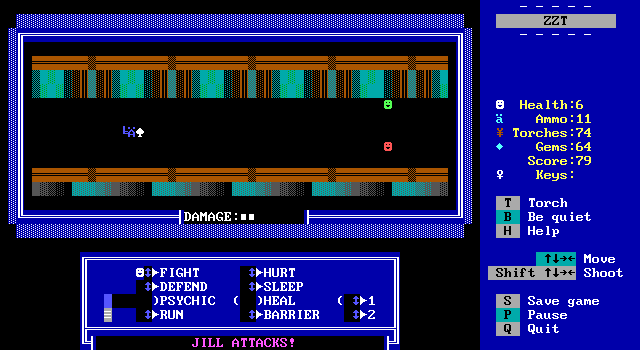
The attacks for Jack and Jill always have the same animations regardless of weapon. The steel lance increases Jill's average and maximum damage a tiny amount, but it makes her as strong as Jack is now which means with a bit of luck some fights can end before the enemy even gets to attack.
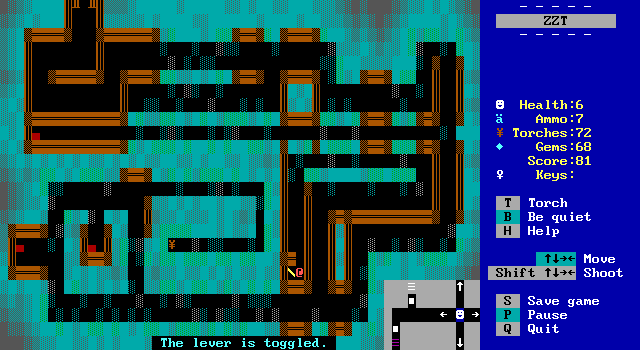
The deepest portion of the mine is blocked by some gray walls which require a lever to be pulled to remove them. This level mechanic is used in a lot of dungeons since there really isn't too much else that can be done to make them dynamic feeling.
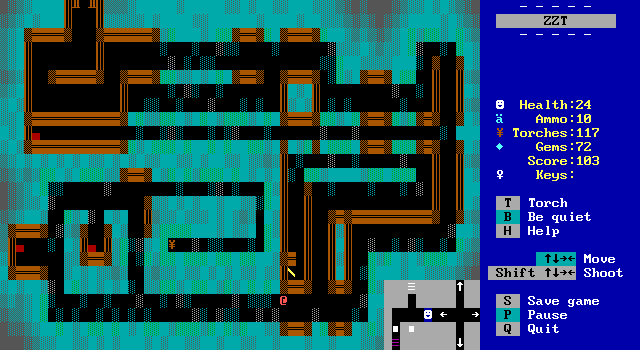
Even a small boost to power has a snowball effect on my progress. The party takes a very long time to really get moving, but any boost to its rate of acquiring resources is worthwhile. Spending a bit of time in the mines I finally reach the game's second level with 100 experience points. To reach level three I'll need to obtain 250.
Level two means that the four different psychic powers Jill can use in combat are now available, including the coveted heal skill. Not only that, but both characters receive a boost to their maximum HP which means longer trips into dungeons before having to fall back.
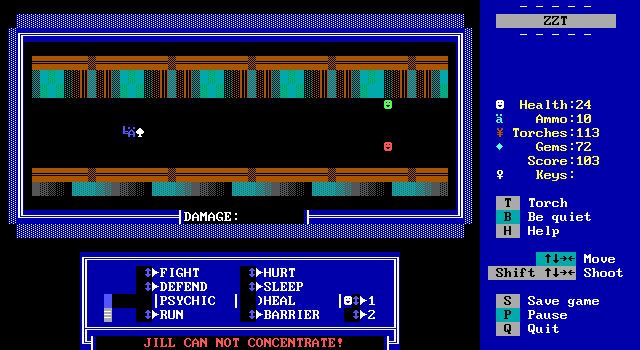
Needless to say I immediately try to heal in the next battle, only to have it fail! Since the game has no magic points, psychic powers are instead balanced by having a success rate. This rate is simply +25% per level. This means that Jill's abilities are going to fail far more than they'll succeed at this point. The potency of the hurt/heal powers also increases with each level as well.
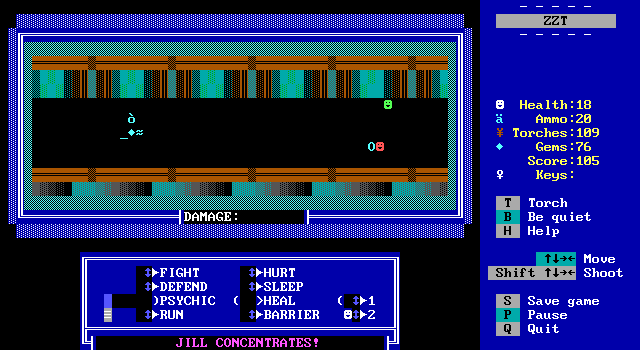
When Jill can concentrate the border of the screen flickers cyan and the spell takes effect. Here her health has doubled from 10 to 20 with the use of HEAL.
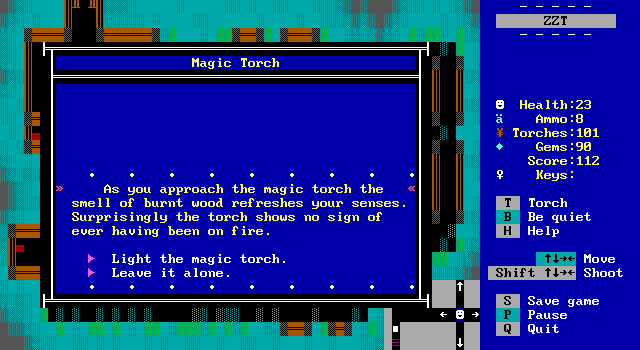

The benefits are enough to make it safely to the magic torch. This completes the quest for the blacksmith and also disables random encounters in the mine. If you really want to grind it may be wise to hold off on finishing the quest since most places aren't as close to a source of healing as this one.
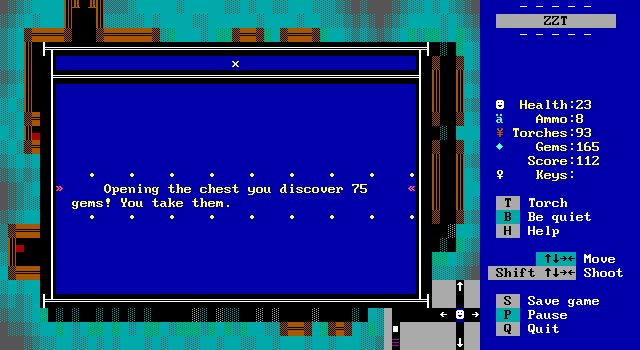
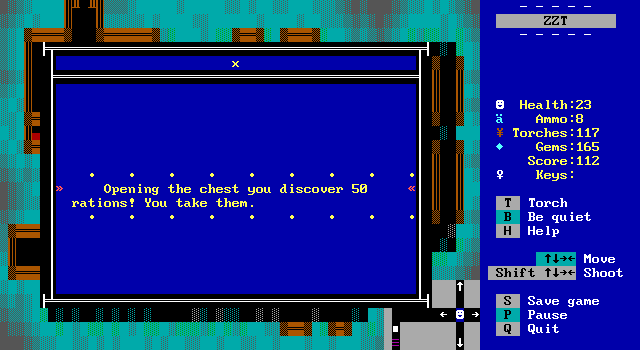
It also makes grabbing all the chests I missed earlier a cinch to get.
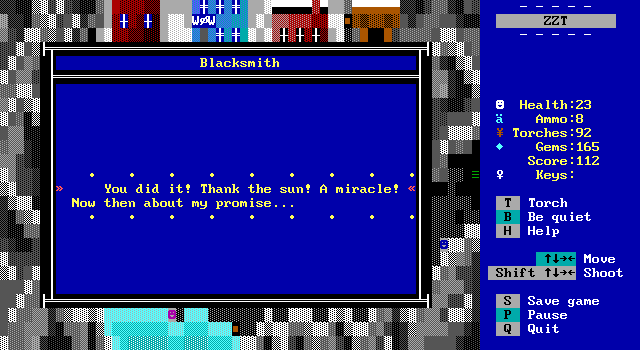
I had to check if this was a Dark Souls reference but Dark Souls came out 4 years after this game.
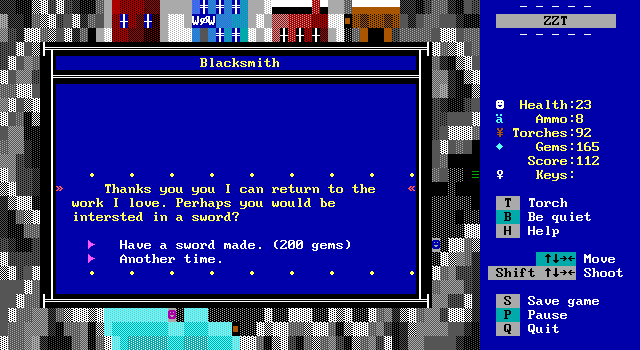
The next weapon upgrade is for Jack this time and costs even more than the steel lance. I'm close to having the money and would've stuck with the mines to hit 200 gems if I hadn't accidentally saved them.
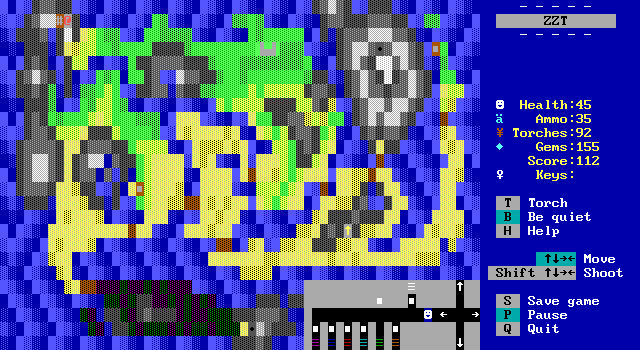
Still, for now there's nothing more to do in Robert. I heal at the inn and head on back to the outside world.
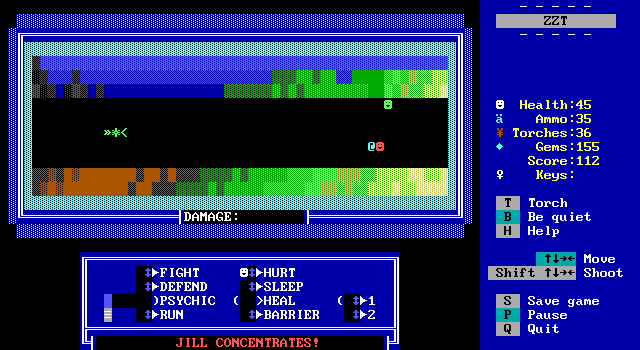
It doesn't take long to begin to outclass the overworld enemies so I use them to try out the HURT power. I wound up doing 3 damage which is as much as a decent attack with Jill's lance. The all or nothing damage of HURT makes it really not worth using.
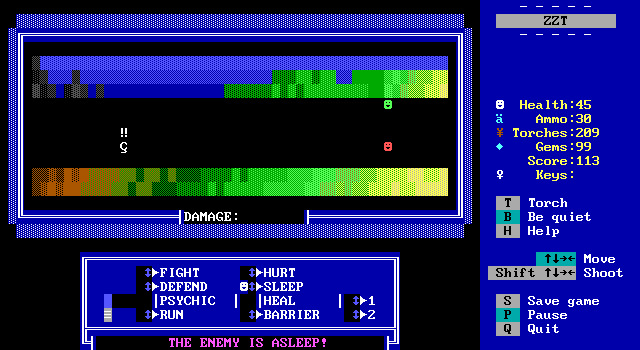
Another ability is SLEEP which causes the enemy to miss it's next turn. This one can at least come in handy since a successful hit means Jack and Jill get a free attack next round. Alas, as is often the case in RPGs, bosses are immune.
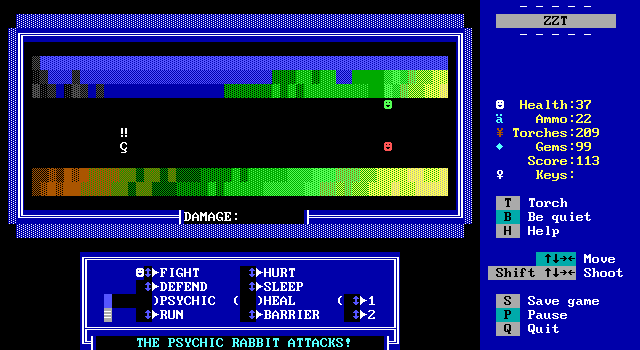
The psychic rabbit has a chance of hitting both Jack and Jill with a single attack though it isn't indicated any differently than a normal attack. If you aren't paying close attention it's hard to notice.
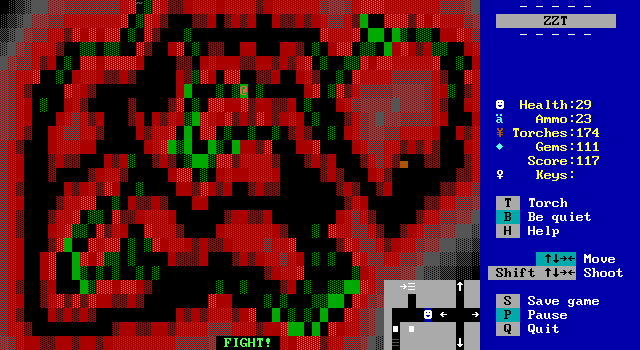
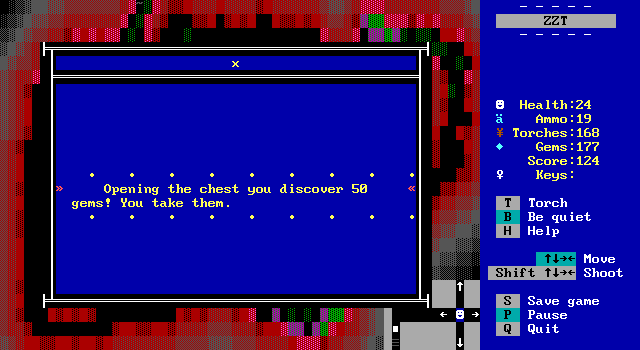
The swamp cave becomes much more viable at level two making it easy to make it to the final chest.
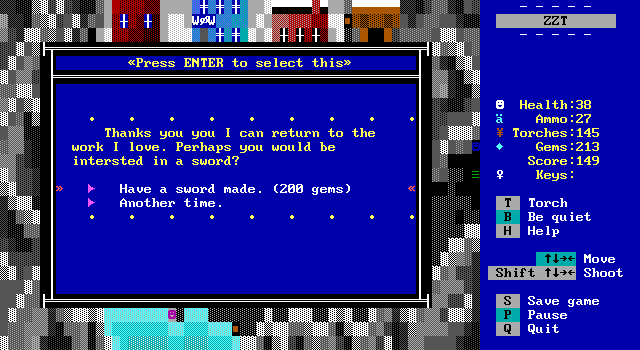
The sudden influx of gems means I can afford Jack's weapon upgrade.
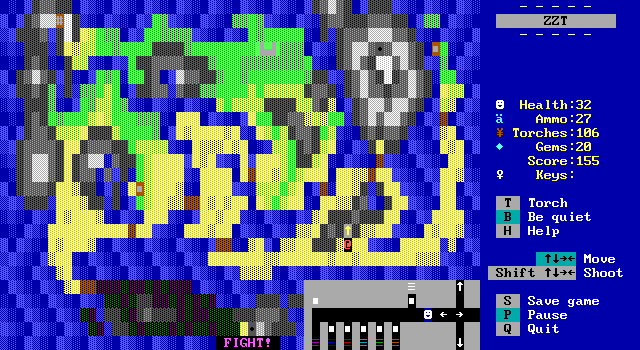
It took me long enough, but I eventually remembered ZZT has a speed option that's almost never used. I crank it up to maximum (minus one since that runs the game at an uncapped speed) and greatly speed up the pace of the game. It's a bit surprising Commodore doesn't recommend this since it works wonders to make PSWA more appealing.
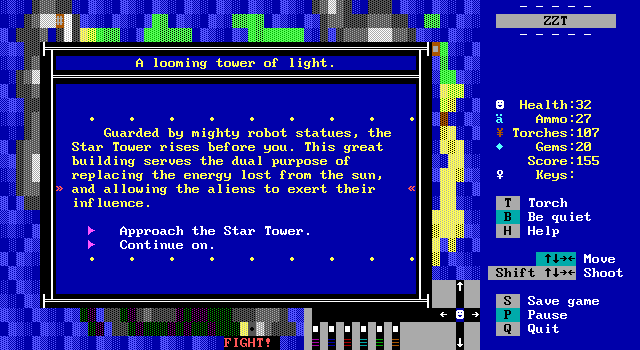
Oh, hey. It's the Star Tower we've heard so much about. Maybe I'll take a quick look around.
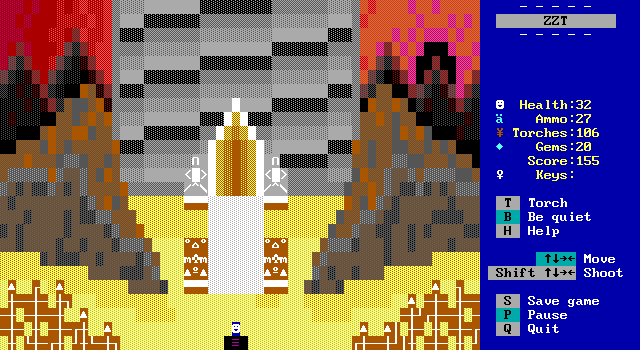
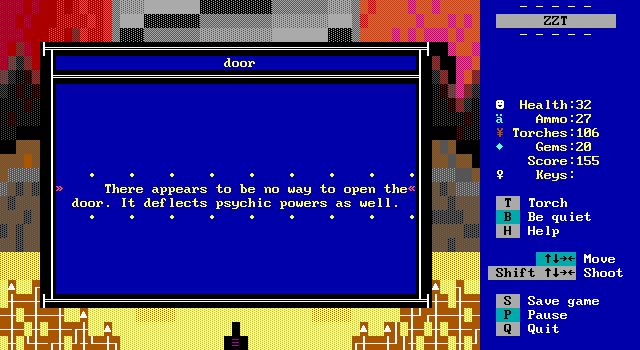
The tower has several statues lining the entrance, but the giant door cannot be opened even with Jack and Jill's abilities. The party is forced to turn back until they find a way inside.
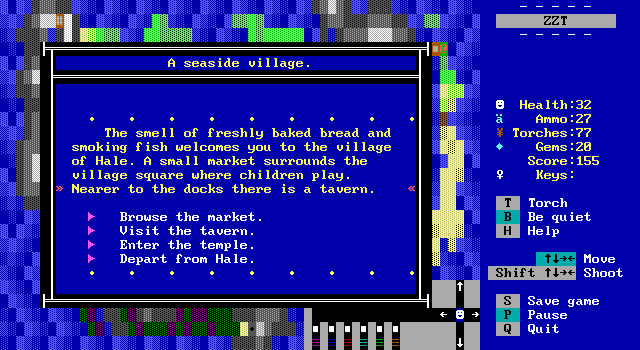
Continuing my journey to the east, I reach the final village of Hale. Weirdly, Hale doesn't have its own board. Instead everything is done by selecting options from a scroll window. It's a really strange decision since the ZZT file has more than enough room for another board. Perhaps Commodore didn't want to delay the game any more. It's a rather late release after all.
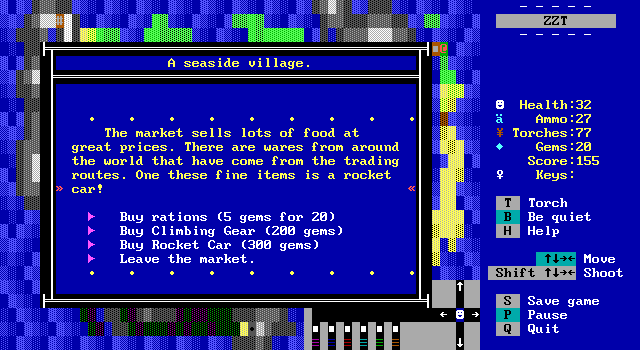
The market offers two new items, climbing gear, and the rocket car mentioned earlier. Food also can only be bought in small amounts which can be kind of annoying since there's no other place to get food on the game's east coast. If you need to stock up in Hale it'll take a bit of menu navigation.
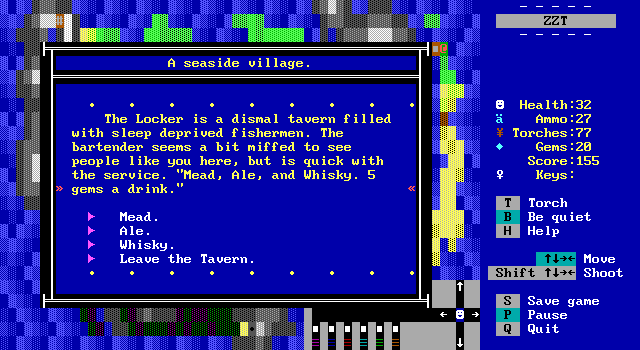
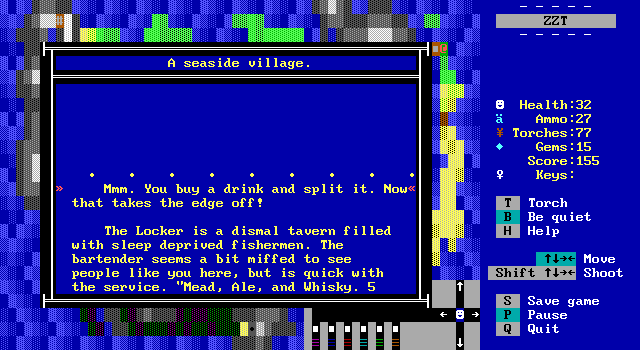
The tavern appears pointless at first. No health is restored or rations given for making a purchase. There are three drinks and all three offer the same message. The fact that all the messages are identical means that there's no real reason for anybody to ever think to purchase four drinks, but if you do...
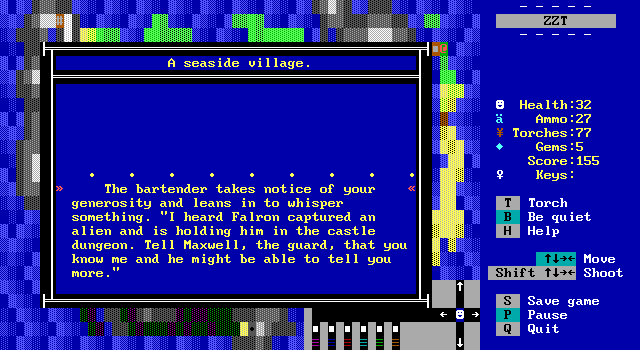
This quest is optional, but there's no real hint that it's available. Perhaps if Hale was a full town there could be NPCs that talk about how there are benefits to being a regular at the bar. The only reason I found it was because I was checking the code to see the differences between each beverage.
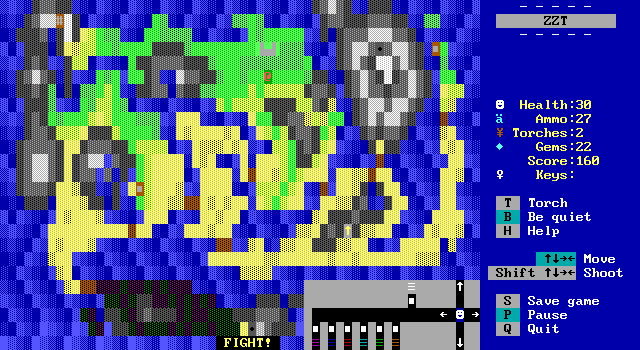
The quest does give me something to do though! I walk all the way back to Serpant's Hold with just enough food to make the trip. I figure it's a good time to see what happens if you don't have any food as well.
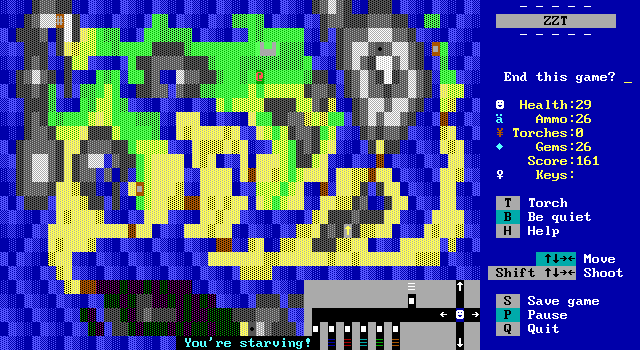
Starvation simply makes it cost 1 health from Jack and Jill every step instead of 1 unit of food. It's pretty easy to avoid having to deal with as long as you're not too stingy about saving for better weapons and equipment.
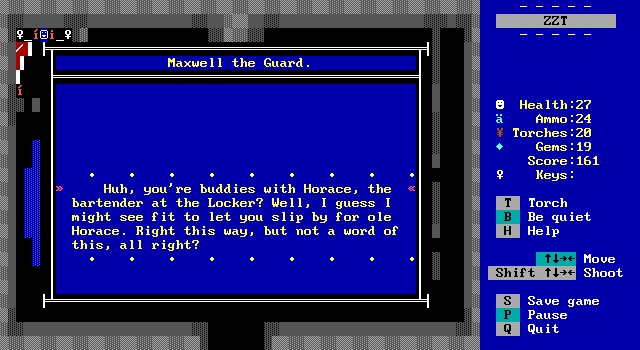
As a bar regular Maxwell is happy to let Jack and Jill into the jail as long as they keep quiet about it.
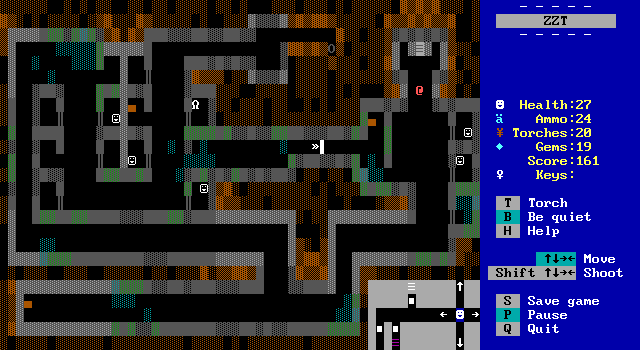
Like the Robert mines, the Serpant's Hold dungeon is accessed from within the town making it easy to retreat from. Also like the mines, there are a few paths that lead to treasure chests if the party is willing to risk any combat going down the optional paths.
The white smiley faces in some of the cells don't move. They're probably skeletons more so than they're prisoners by this point. The white lion however does move around in its cell and presumably is the captured alien. I was pretty eager to get a chance to speak with it since the creatures are so enigmatic in game.
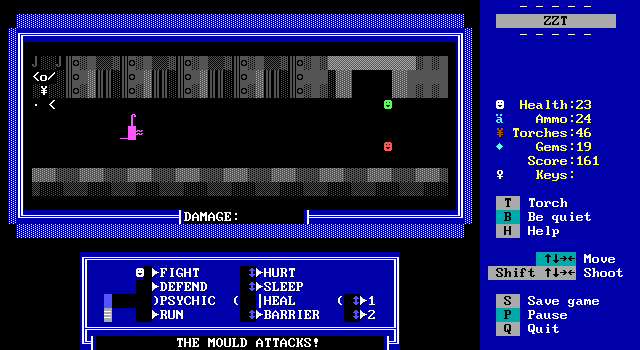
The battle scene for the jail consists of a shackled skeleton and rows of cells.
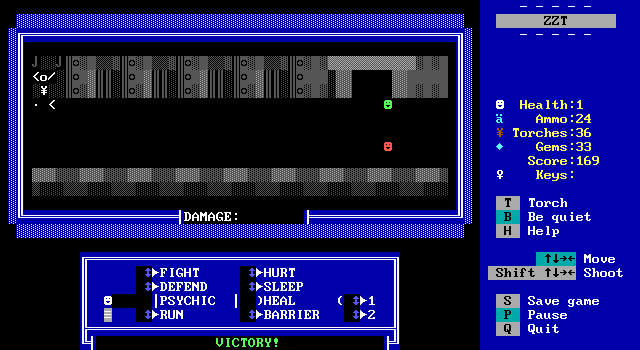
Meanwhile the enemies can be pretty deadly. The first fight was enough to nearly kill Jack off. Jill's healing can help, but it's still a gamble as to whether or not it will do anything.
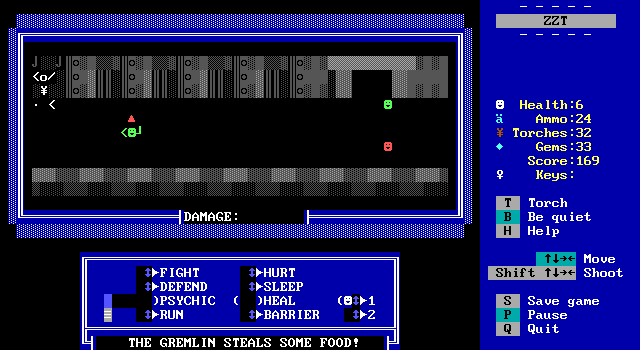
The jail also contains these pointy hat wearing gremlins. They have an alternate attack where they take food which can be a nuisance, but is definitely preferable to killing off anybody in the party.
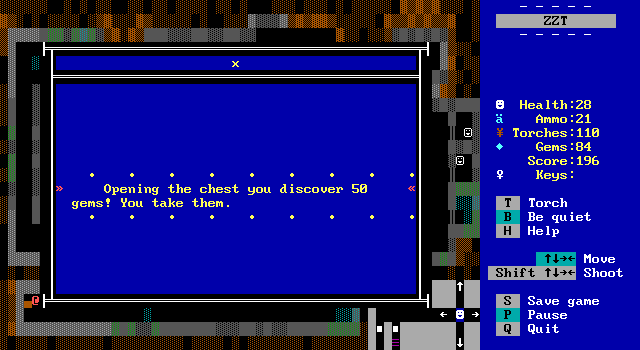
After having made a retreat to heal at the castle inn, the next trip was a bit more successful thanks to some treasure collecting. In order to progress the party will need to buy climbing gear back at Hale which was going for 200 gems. The requirements in food to make it there and back to the rest of the visitable locations means extra funds needed for rations as well.
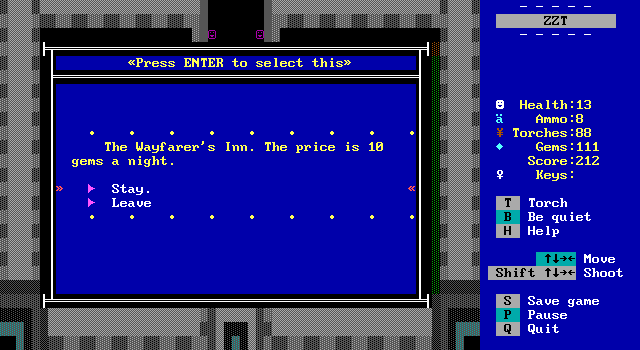
Generally, each branch of a dungeon is its own trip. I was in decent enough shape when I got those gems, but just walking out from there put Jack and Jill in a more dire state.
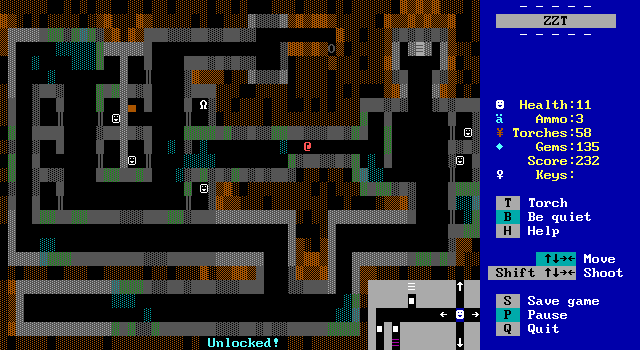
On the next dive, there's no need to explore a side branch and I made it to the other side of a locked gate. This serves as a shortcut and makes the following attempt one that can pretty much resume where this one ended.

Seeing how low on food I am, I opt to dance around in place to grind out a few more gems and experience while I can before stocking back up. The battle check and food check happens even if the @ doesn't actually move so it's possible to just pin your party up against a wall and walk into it repeatedly to grind out encounters.
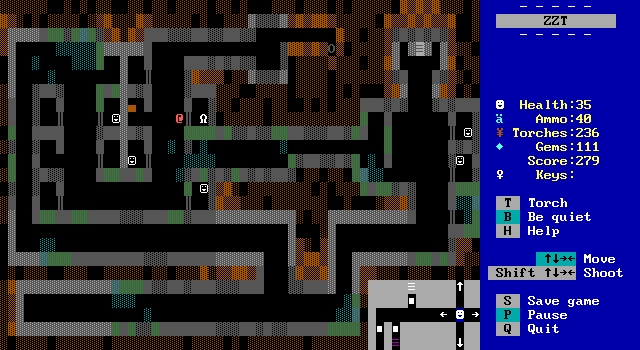
Finally, well rested and fully supplied, I make it to the cell with the alien in it. Alas, it turns out to be nothing the player can interact with. It's also almost certainly not meant to be an alien since none of the aliens the player will encounter in PSWA are anything other than dark green smiley faces.
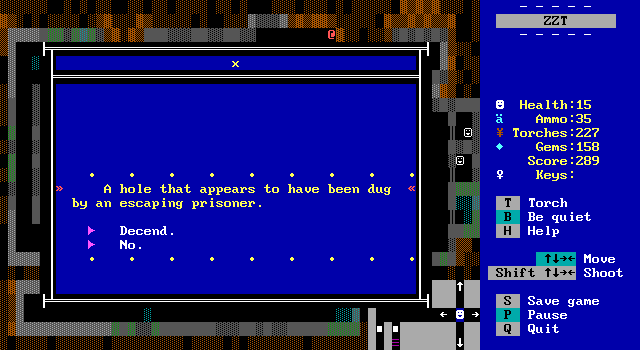
Still, there's something to the dungeon to give it some purpose other than as a source of treasure. It has an empty cell with a tunnel dug from it by a former prisoner that can be followed to go deeper underground.
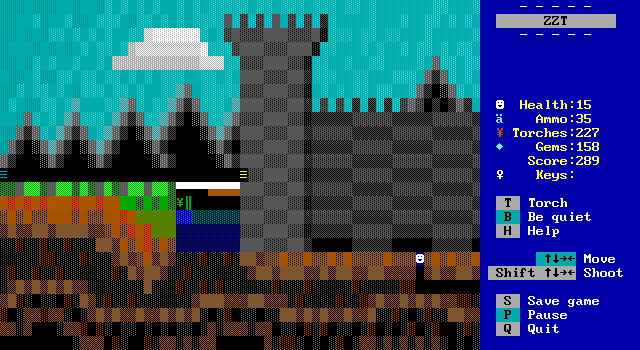
Following the tunnel takes the player to the outside view of the castle, but this time underneath it. Before there was a dark green object and the tunnel wasn't completed, but now it is should the player choose to explore it.
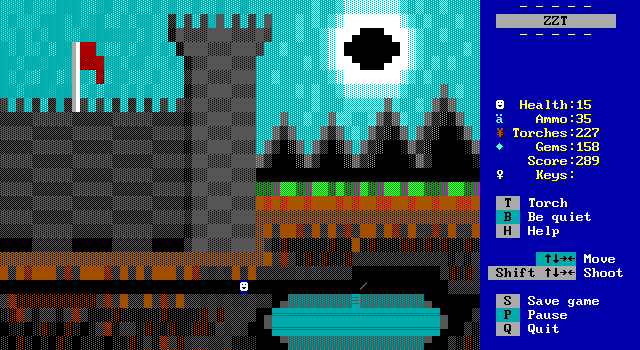
The tunnel leads behind the castle where its flag can be seen as well as a nice view of the eclipsed sun that has been blocked by the metal moon. The tunnel meanwhile contains some sort of craft. Perhaps the alien crash landed and was captured, only to tunnel their way back to the ship?
I am very excited to explore this UFO, meet an alien, and don't pay very close attention to Jack currently having only 15 HP left.
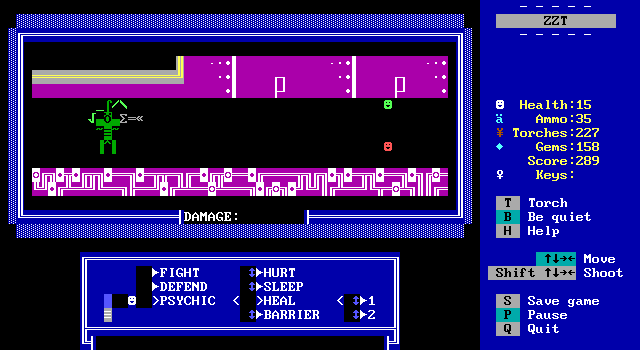
Stepping into the UFO brings the player immediately into a boss fight with an alien!! They're big, green, and have some sort of large gun. The ship has a pretty cool background with the tiling dot pattern. It's simple but still looks sci-fi to me.

The alien has a special two turn charging attack. In my current situation, I opt to heal Jack having no idea just how much this will hurt him, but fearing the worst.
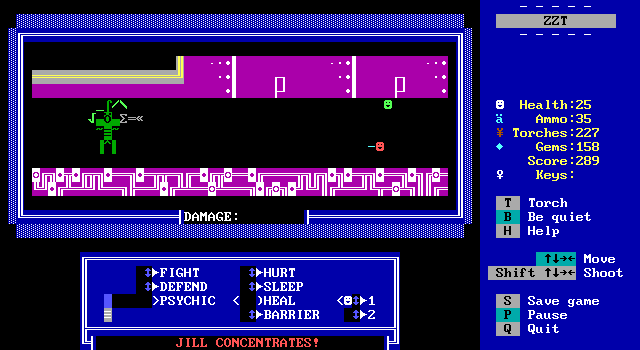
The good news is that Jill is able to concentrate and Jack regains 10 HP. It's also worth pointing out that towards the end of the jail there I broke the 250 experience barrier and have reached level three. So now in addition to increased hit point, Jill has a 50/50 chance of successfully concentrating. With a decent HP buffer, the party's chances of surviving in dungeons increases dramatically.
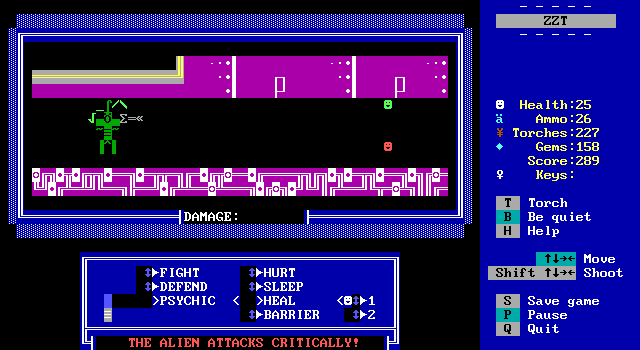
The alien's charge attack is actually fairly modest, dealing just 9 damage to Jill. A bad attack from a regular enemy can do 6 or more so perhaps she just got lucky rolls here.
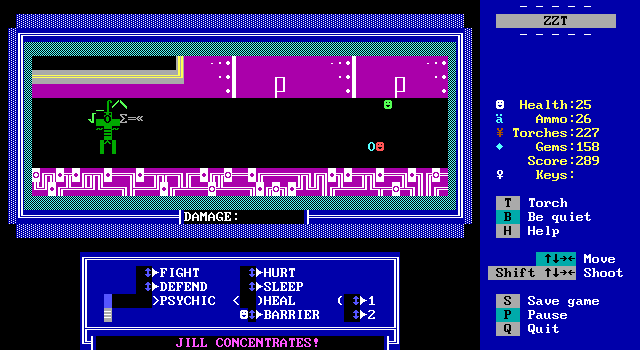
The decent odds of success with psychic powers makes the barrier power viable. Using it successfully acts as if both Jack and Jill used the DEFEND command to reduce damage. Since ZZT has no concept of division, the defend code involves manually checking if the target was defending and if so, skipping dealing damage once.

Jack still loses 10 HP while defended with a barrier so I think Jill was just rather fortunate earlier.
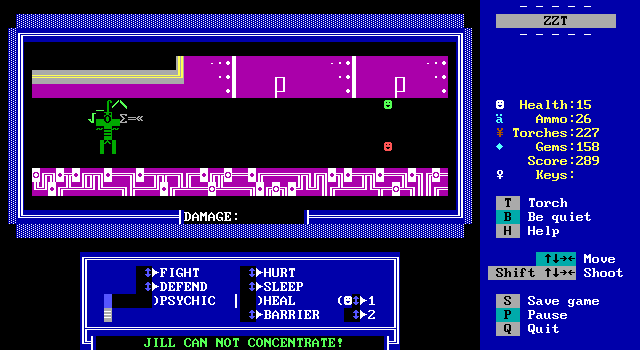
A later healing attempt fails at an inopportune time as I have to decide whether to heal Jack or use BARRIER.
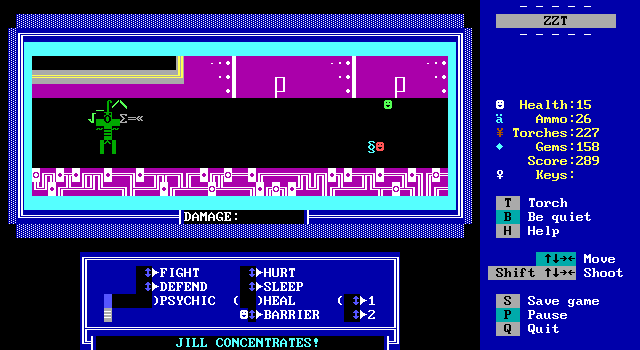
I decide on using BARRIER and Jill concentrates successfully.
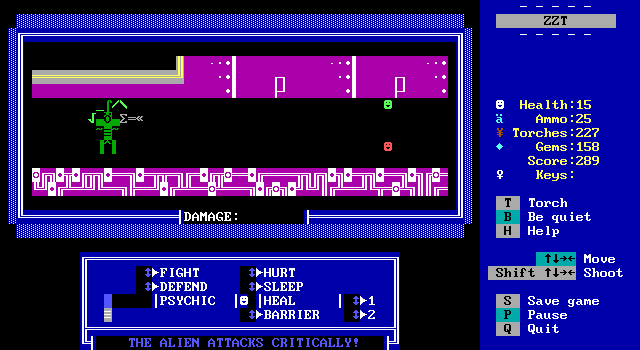
It pays off immensely! Jill manages to block the hit entirely! Enemy attacks are handled with two checks, one is randomness that determines if damage is taken followed by a defense check for the rest of the damage. A good roll of randomness combined with defending makes it possible to take no damage on an attack.
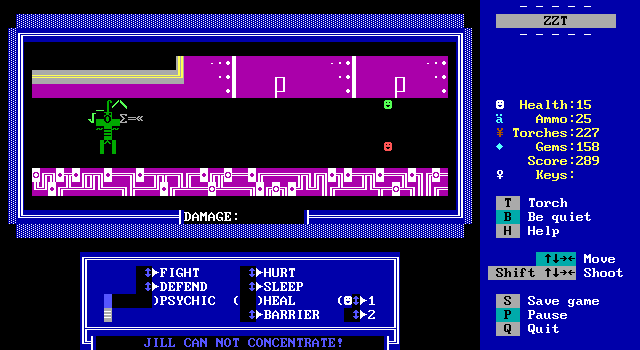
Things worked out for Jill, but I just cannot get a HEAL to go through on Jack.
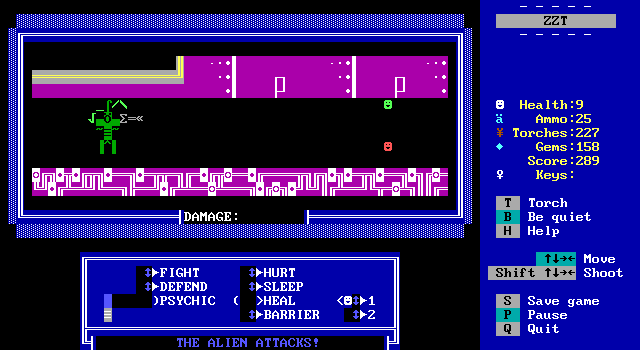
The situation begins looking pretty dire.
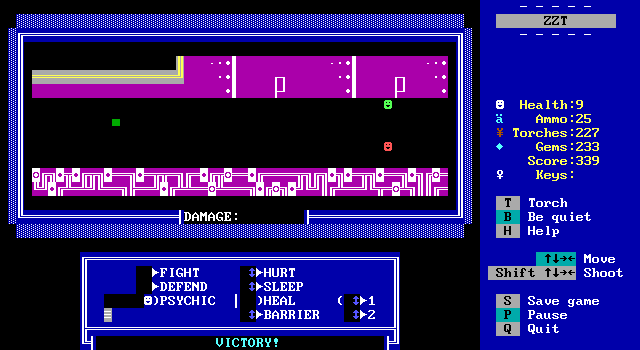
But Jack pulls through by finishing the fight himself! The party is generously rewarded for beating this boss fight, 75 gems and 50 experience.
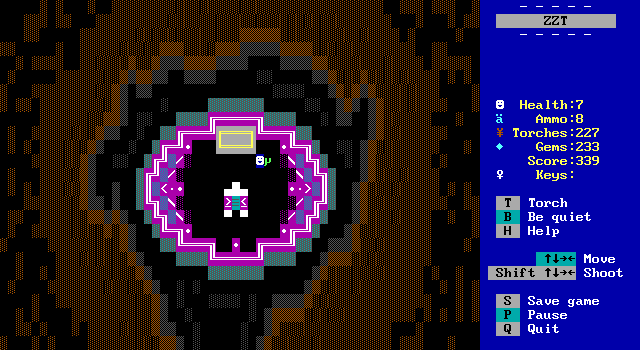
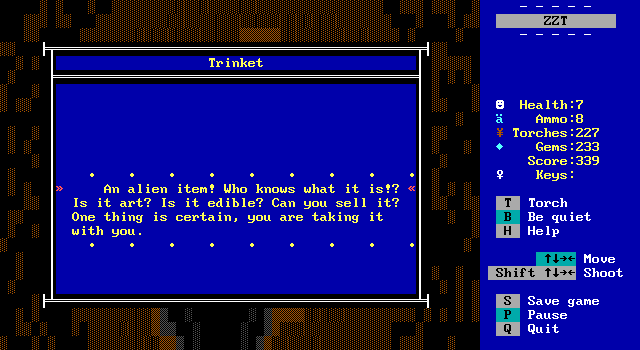
The UFO itself is pretty sparse. There's only one object that can be interacted with, some weird alien item.
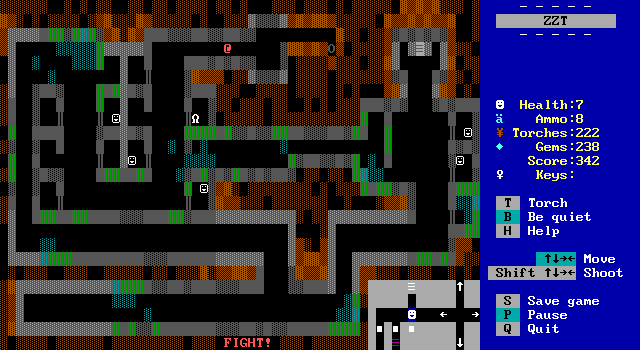
Of course, the party still has to make it back alive.
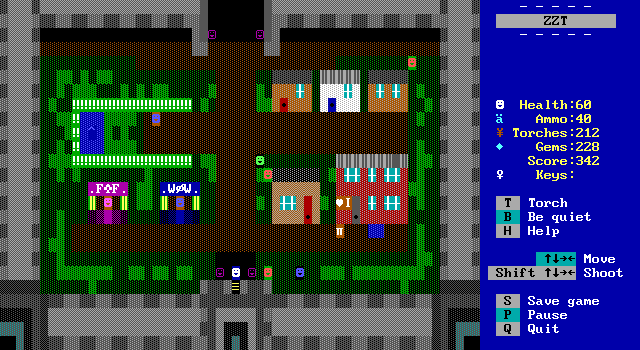
The level three party has 60 and 40 HP respectively, and their combat prowess has improved immensely since the start of the game. At the same time though, so far everything they've done has been optional. You don't need to go to the Robert mines, swamp cave, or castle jail. The party is still no closer to stopping the alien control than they were when they first started.
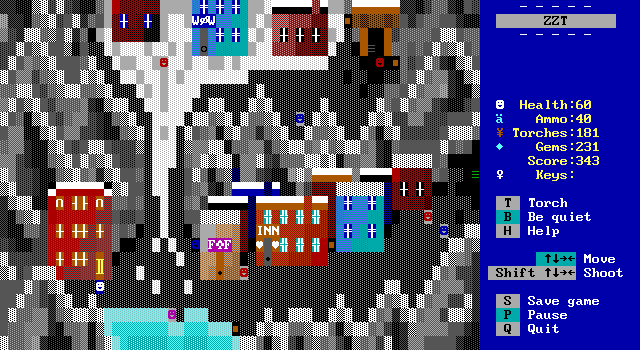
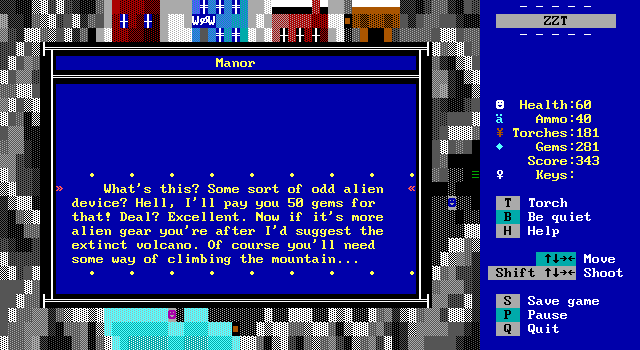
The purpose of the alien artifact isn't stated, but if you paid attention to the description of Mr. Riley in Robert it's known that he collects such things. In addition to paying a decent amount of gems for the item, he points out that the volcano would be a good place to look for more provided the party has some climbing gear.
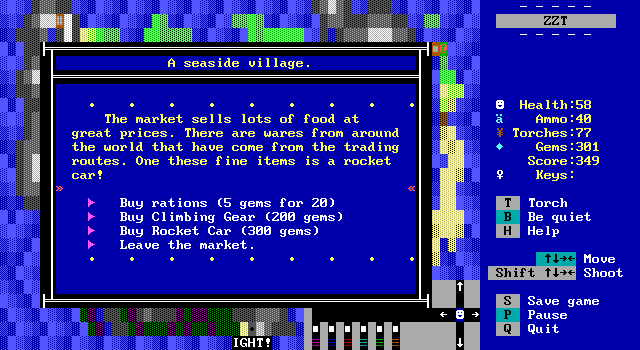
This of course means a trip to Hale to buy some. I could afford a rocket car as well at this point, but the last thing I wanted was to have to grind rather than make progress.
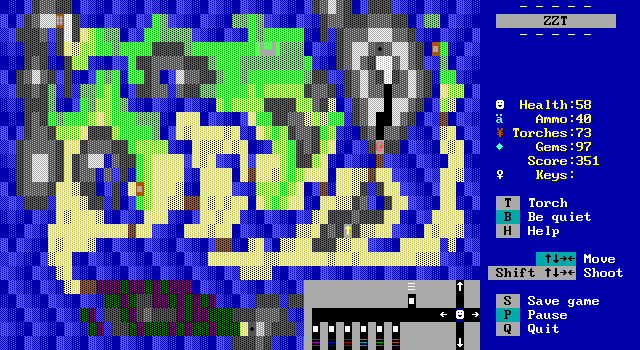
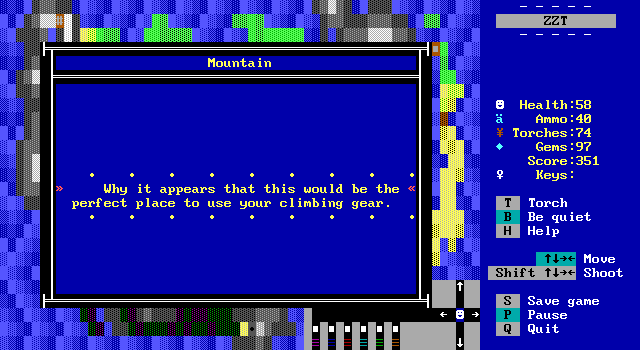
Moving in front of the large mountainous region instantly activates the climbing gear and allows the party to explore the volcano. If the party doesn't have any climbing gear no message is displayed, but there's an object within that can be seen on the world map to guide the player towards it.
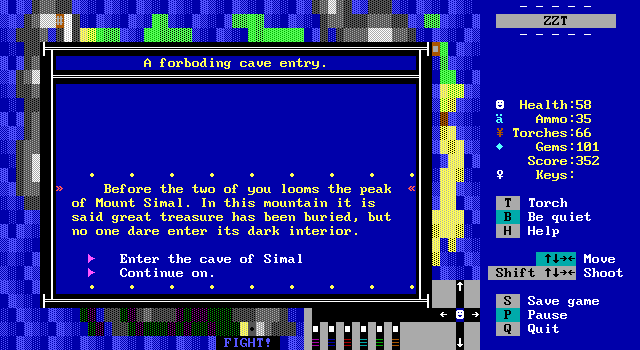

Mount Simal is the next dungeon and the first one that isn't optional. Although it should be a natural cavern, there's evidence throughout that there's some other presence here with locked doors and pipes scattered throughout the tunnel.
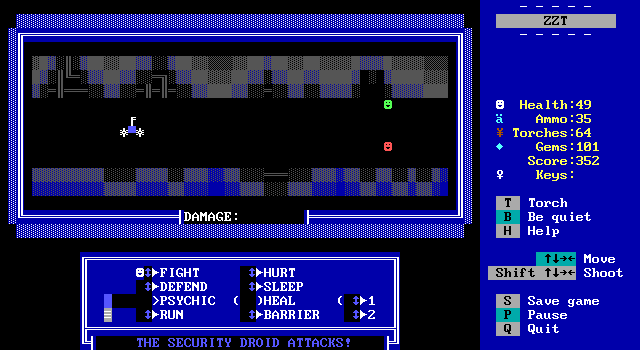
The little security droids running around also would imply that the party isn't alone in here.

The droids have a beam attack that hits both Jack and Jill, but unlike the alien from earlier there's no windup to the attack. Since it can happen at any time it's a bit riskier to use BARRIER rather than have both Jack and Jill attack.

Realizing my odds are 50% and that I'm dealing with random encounters and not a boss fight, I decide to try using SLEEP, but the droid still resists it. Probably because it doesn't ever sleep.
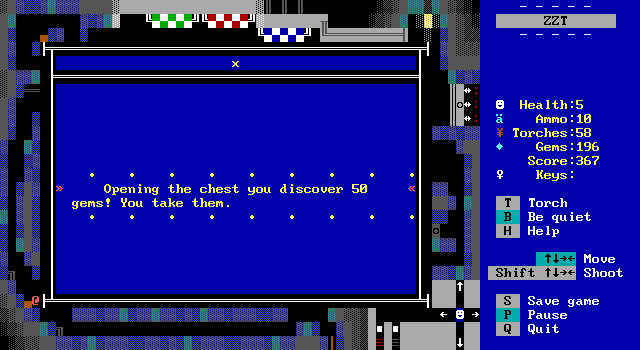
Money starts getting handed out more liberally now. Just the walk to this chest nearly doubled the amount of cash I had since buying the climbing gear in Hale.
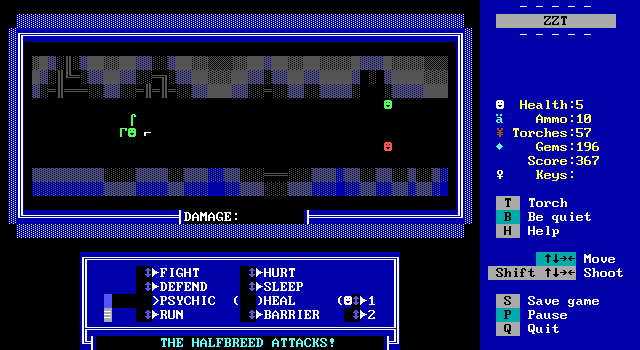
Another enemy in the volcano is the halfbreed which seems to be holding a gun. I suppose it's intended to be half human half alien, but the concept is never really elaborated on.

They can be quite dangerous though. Jill gets herself killed and Jack has to hike back to town. Hale seems to be the closest, though I haven't counted out the steps exactly. It's still a considerable walk to any town so having Jill die is something to really try and avoid.
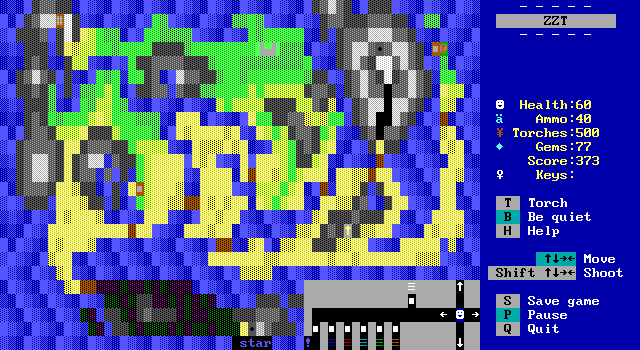
I also arrived in Hale entirely out of food and used most of my new riches on buying an absurd amount of it.
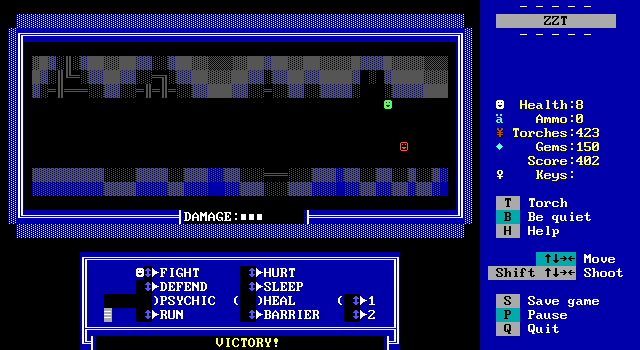
But it took no time at all for the party to nearly be wiped and another trip to be necessary!
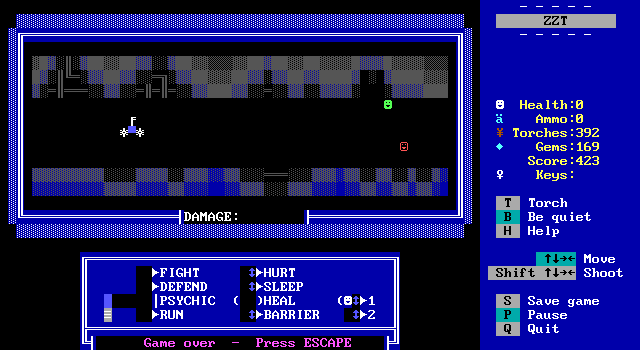
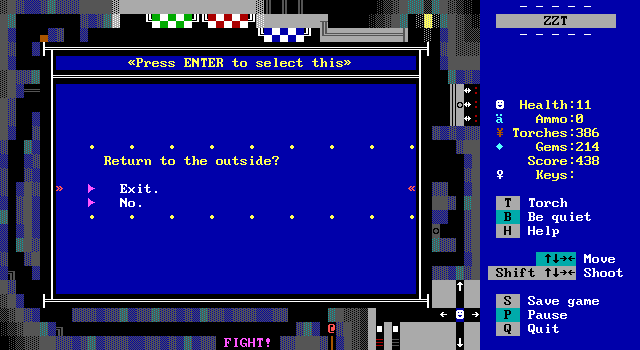
The volcano is extremely deadly. the security droids multi-target beams and the halfbreeds strong weaponry make it very difficult to keep up the healing needed to stay alive.
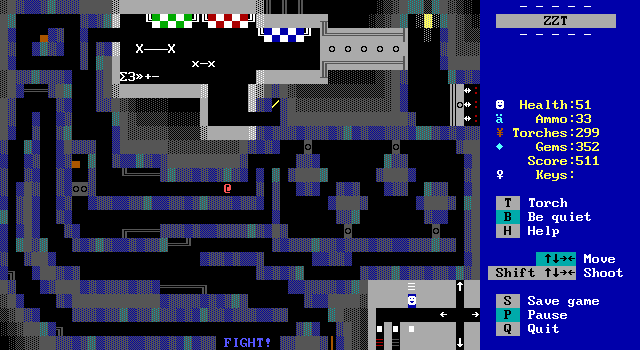
The tunnel is very linear as well so unlike previous dungeons where there are branches with treasure to go for every trip into the volcano plays out the same until you can brute force your way through.
Thankfully hitting 500 experience is enough to reach the fourth and final level, giving Jill a 75% chance of healing successfully. By this point even the difficult encounters here are mostly mitigated by Jill's healing.
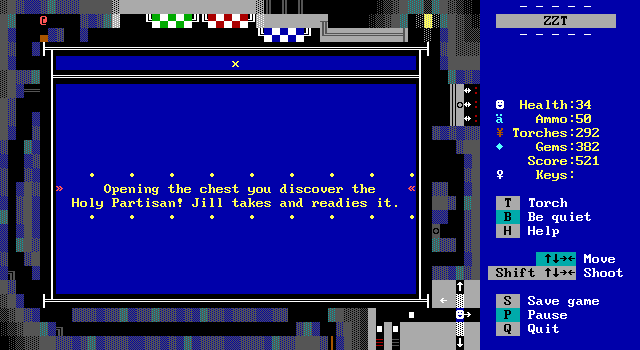
Jill also finds the Holy Partisan, her ultimate weapon. It's a useful upgrade, but with healing being something that can be depended on now it doesn't get as much use as it would have just a little bit earlier.
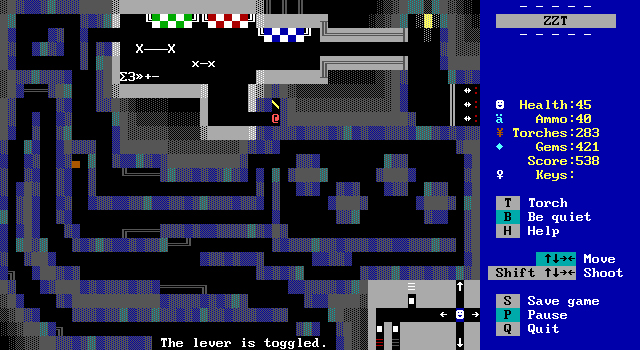
At the back of the volcano is some weird structure. A level inside opens up the doors that blocked the last treasure chest and make the rightmost room with the circular walls open up a little bit. It doesn't do a lot to speed up travel, but it helps.
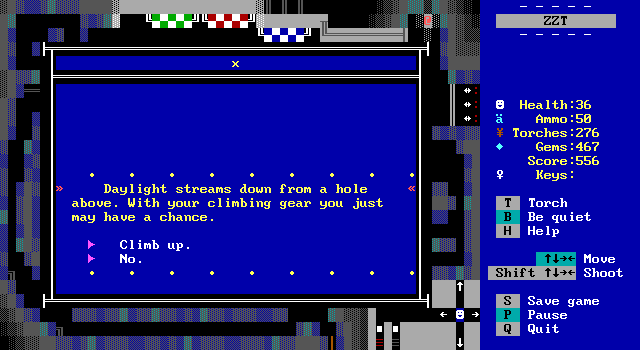
There's a large hole in the top corner of the dungeon which can be climbed out of as an alternate exit to the dungeon.
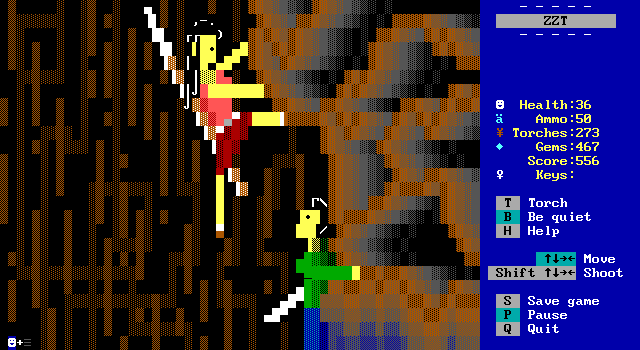
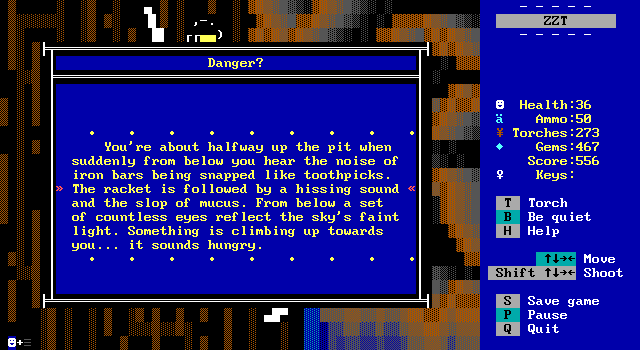
It's not free to use however. The climb is interrupted by another boss battle. The art board is our only other look at Jack and Jill outside of the title screen, and is the only decent view we get of Jill since she's mostly obscured on the title. I really like the ASCII hair she has. Hair made out of text is not something I can recall seeing before in a ZZT game.
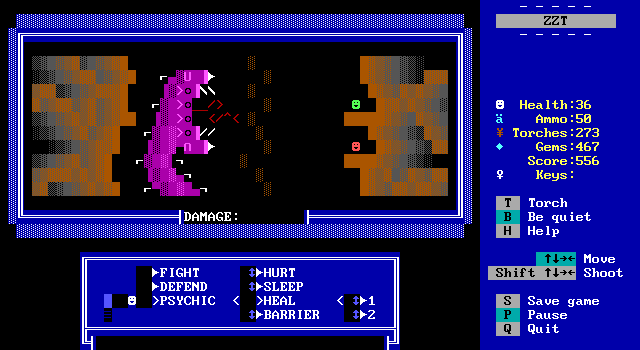
Of course, there's no time to talk about character design when there's a giant purple worm on the warpath. I do like the slight shift in perspective here. Even though the objects are still all positioned where they always are, the ledges turn the same layout into a vertically oriented fight rather than a horizontal one.
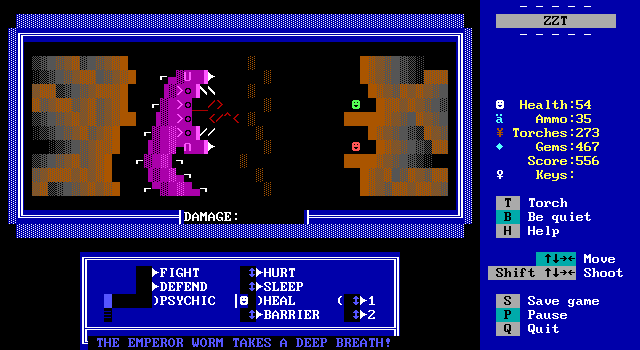
The emperor worm, as its called, has its own charging attack similar to the alien at Serpant's Hold. It hits pretty hard, damaging both party members for 12 damage, and it can't be defended against. It would be nice if I knew that while fighting the worm, since I was definitely spamming BARRIER whenever it began to prepare its attack.
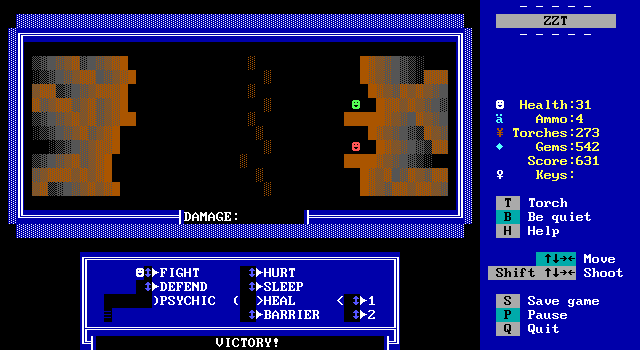
Still, compared to the alien it goes down easily. Its regular attack hits one party member for slightly more damage than the gas does. Despite warranting an art board, there's little difference between this fight and any random encounter as far as strategy goes.
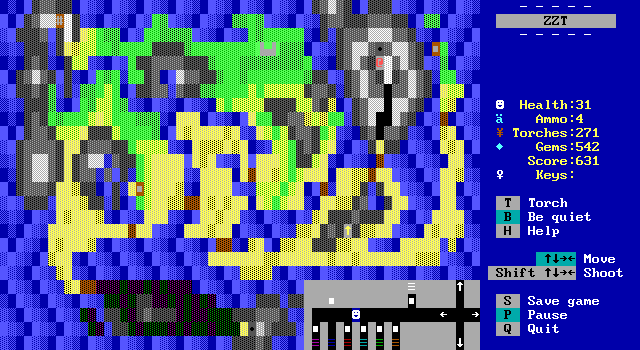
Defeating the worm brings the player back outside, but there wasn't any progress made towards getting into the Star Tower despite completing the dungeon. There was another chest though, so it seems like heading back inside would be worthwhile.
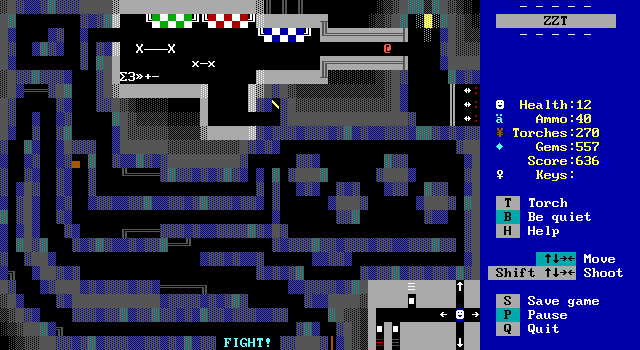
Entering after beating the worm means that the @ object will be at the end of the dungeon, so the player has to navigate them backwards. I also realized that Jack was pretty hurt and that I probably should've healed in a town first.
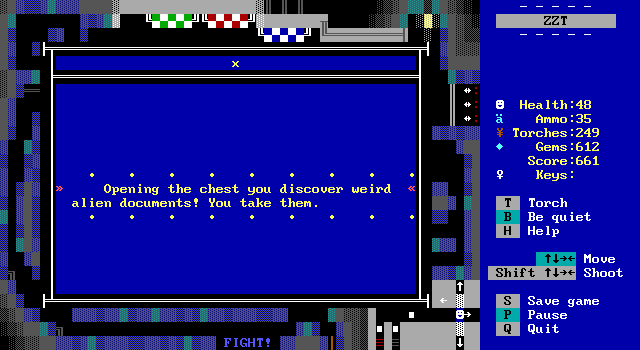
The last chest which was locked prior to hitting the lever is the important one, filled with some weird documents. No clue what to do with them though other than maybe take them to Mr. Riley?
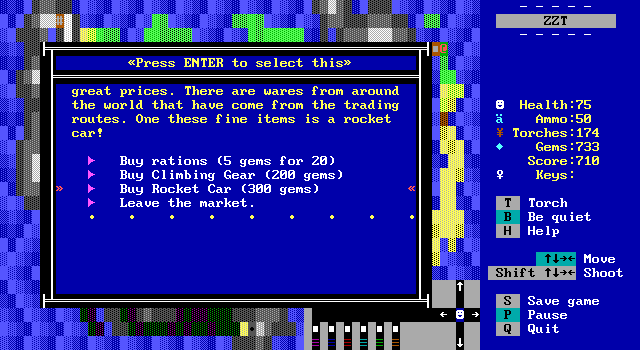
But I am also absolutely loaded with money now which means it's time to get a rocket car! I figured it would be necessary to complete the game, but it's really a disappointment. The rocket car just makes it so you consume food more slowly on the world map and reduces the encounter rate. At this point in the game there's very little travel left, and spending 300 gems on food instead of a car would've worked just as nicely. The rocket car makes for a very cool title screen, but in the game itself it's pretty pointless.
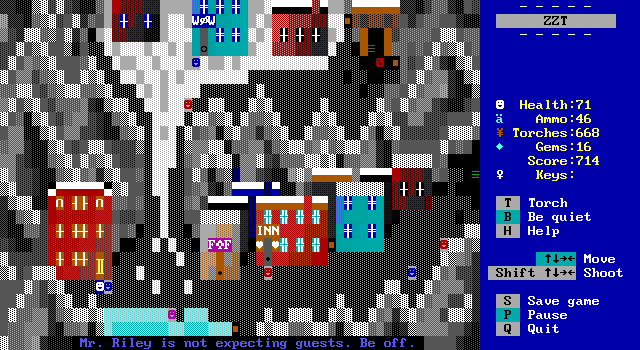
I walk from corner to corner only to discover that the documents aren't intended for Mr. Riley's appraisal.
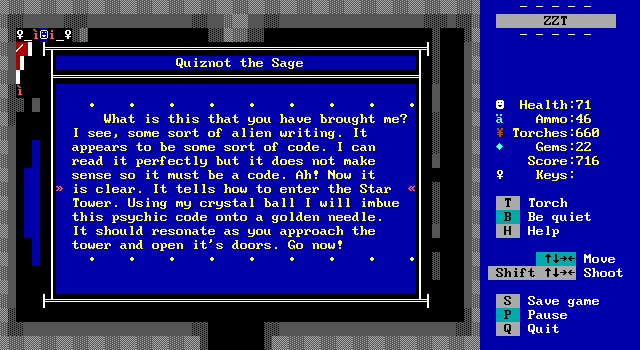
Fortunately, the actual place to use the documents is one town over in Serpant's Hold. Quiznot very quickly discovers that it's a code, and instantly cracks it. The code to enter the Star Tower is encoded on a golden needle and will allow the party access to their ultimate destination.
