
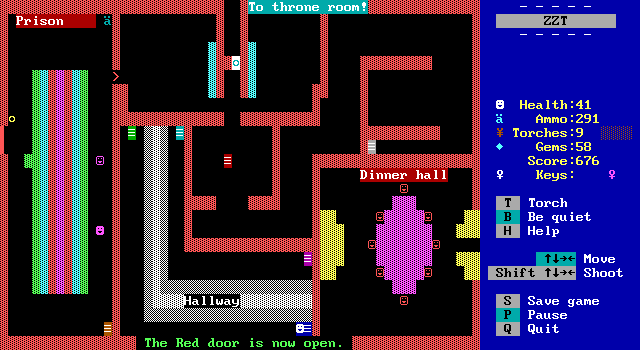
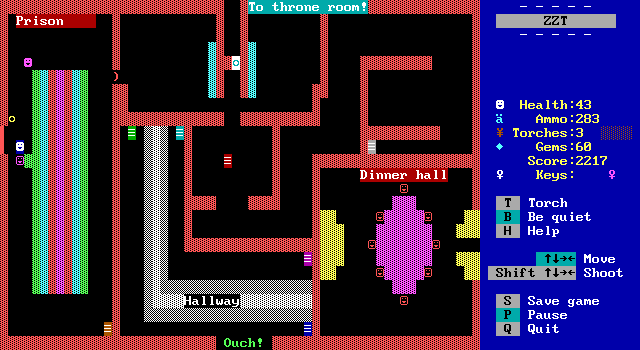
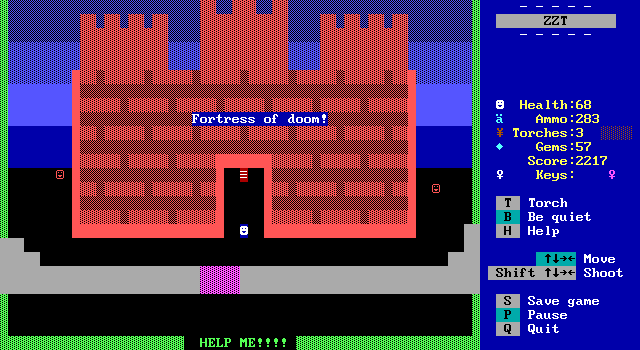
The fortress is a pretty large section of the game with quite a bit going on. The left area of the board features an escaped prisoner being chased by a guard, with the two yelling at each other for a bit. Meanwhile, in the dinner hall a cook serves everybody dinner, and gets fed up with their reactions and calls it quits.
All of this is going on while the player is shooting at creatures and collecting a red key to get into the castle's basement. Aceland has a lot of basements now that I think about it.
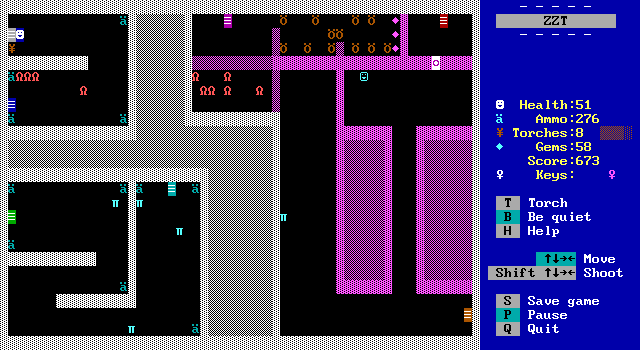
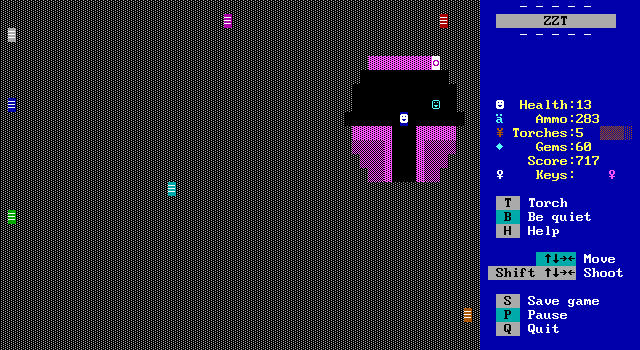
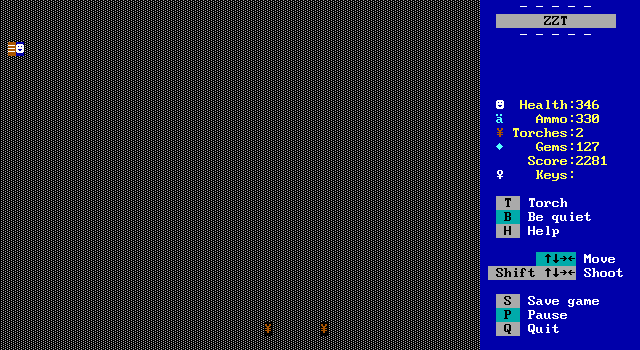
As you'd expect, the basement is dark. This one has several passages, but is structured very linearly.
The passage takes the player to the hallway, which takes them to the basement again, which takes them to the hallway, which takes them to the basement yet again.
From the bottom right corner of the basement it's possible to get into this area with the prison chase.
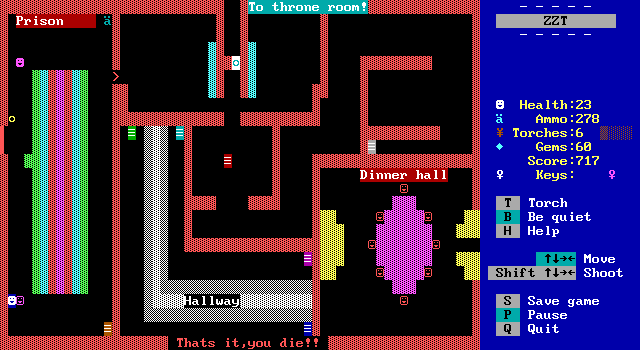
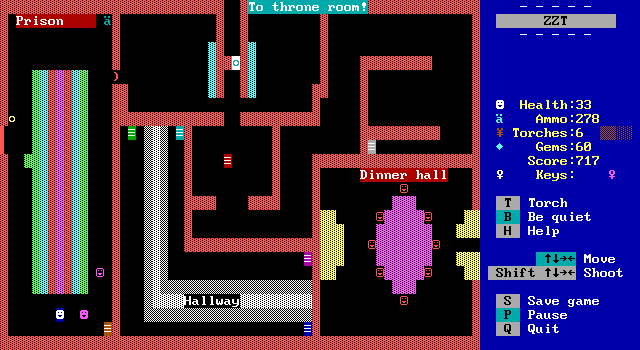
The guard is not happy with us being there and starts shooting and following the player around. The prisoner didn't seem to do anything else, and the button to the prison itself wouldn't activate as well. I figured I was missing something and would have to return later.
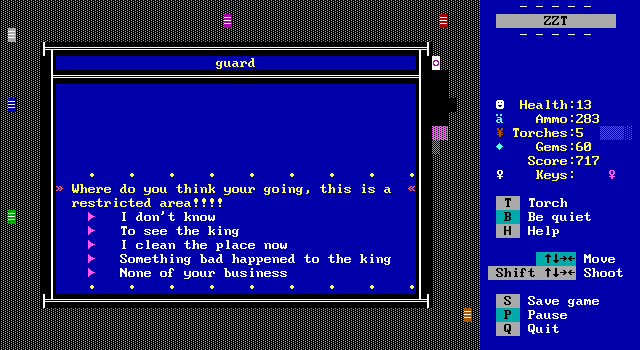
Exploring the rest of the basement lead to this guard. None of the options have any lasting effect other than telling the guard something happened to the king, which brings up a second prompt.
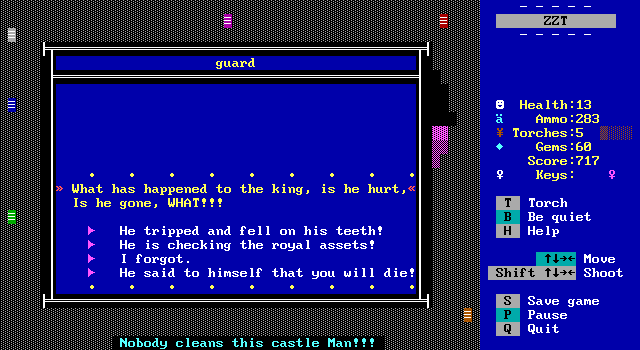
The guard considers dental injuries to be pretty minor.
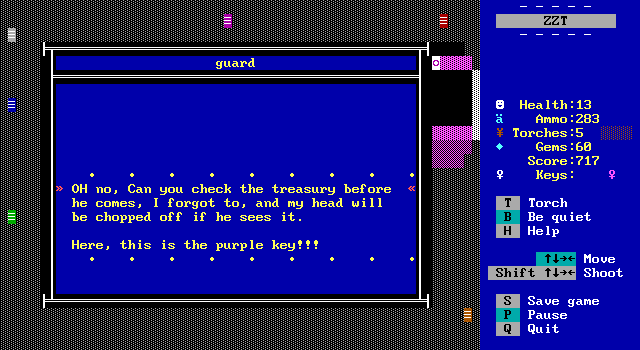
Oddly, the correct answer is the one about the royal assets, which has nothing to do with something bad happening to the king.
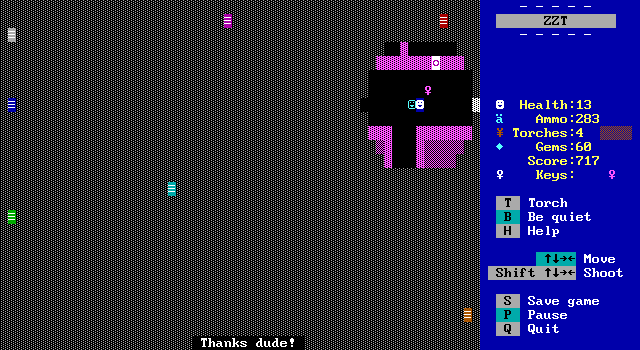
I already had a purple key from the forest I had yet to use, so I had to open the door and then pick up the one the guard gave me to replace it.
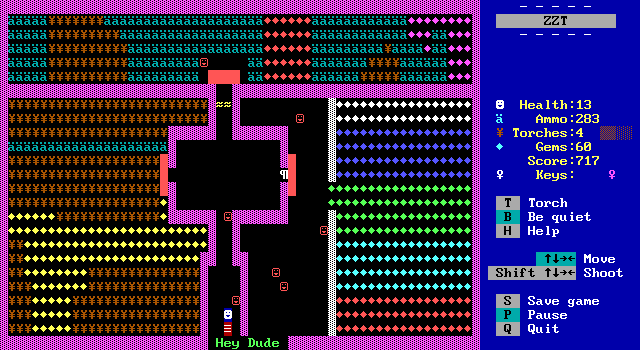
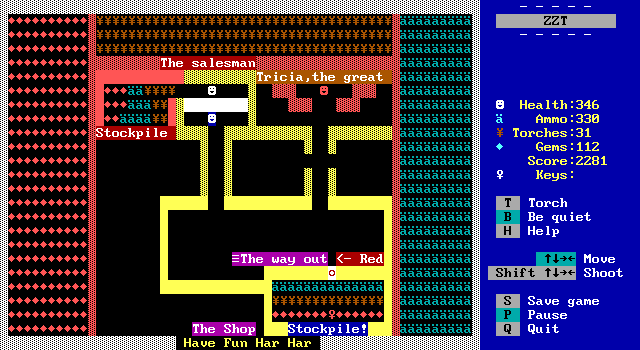
The treasury is filled with all sorts of items, but unlike the bank vault, can't be accessed in any way.
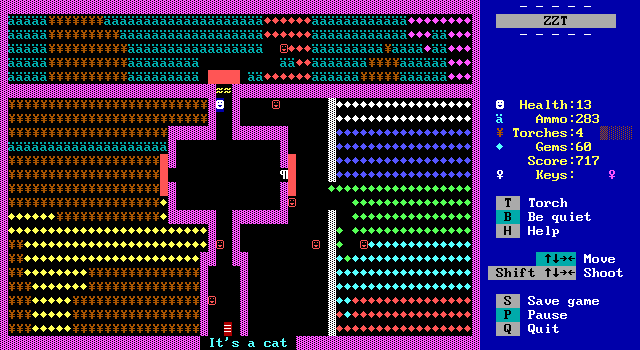
There are also some cats here! But most importantly is the paragraph mark object which is in fact...
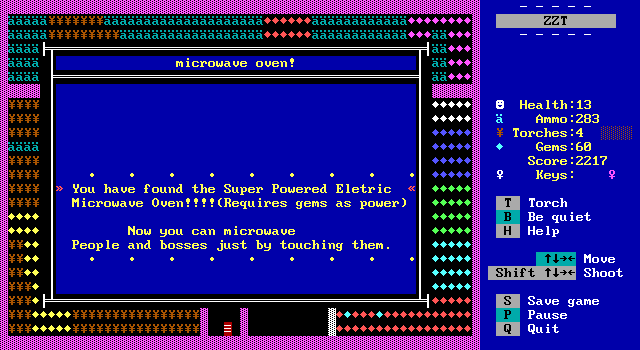
The microwave oven required to defeat Mugerlock!
It can also be used to kill basically any object in the game by touching them!
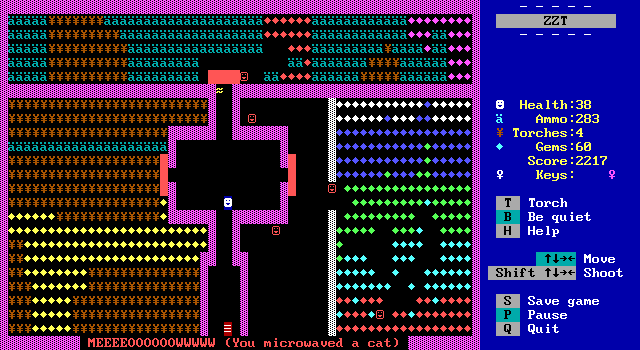
This includes the cats ;_;
But oddly, not the guard chasing the prisoner.
Basically at this point the player becomes a microwave murder machine.
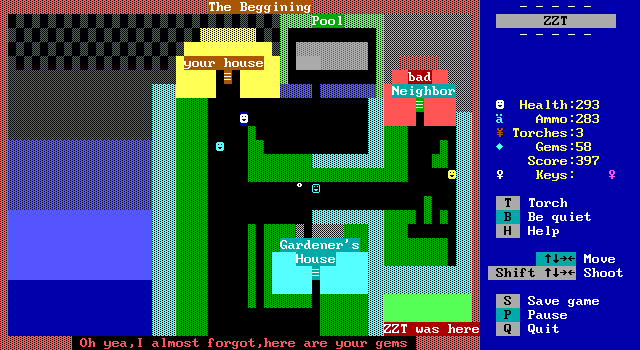
Attempting to fry my roommate resulted in me getting some money.
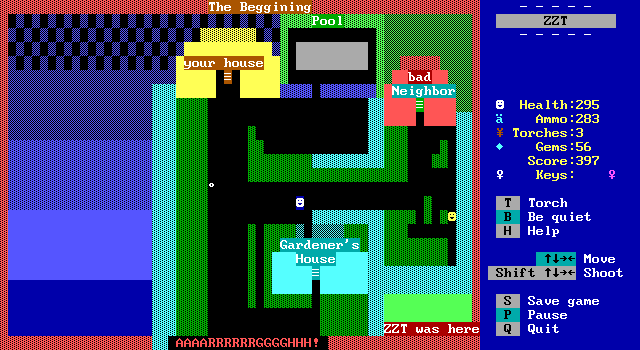
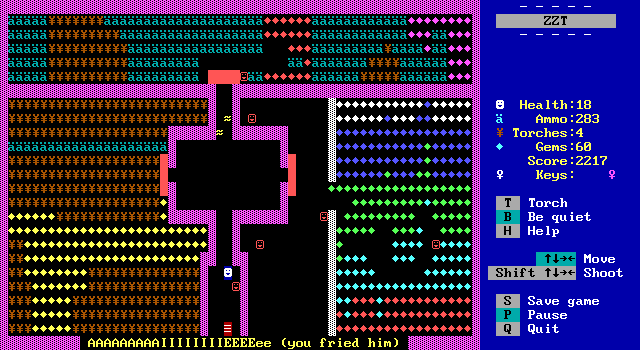
My neighbor was not as lucky.
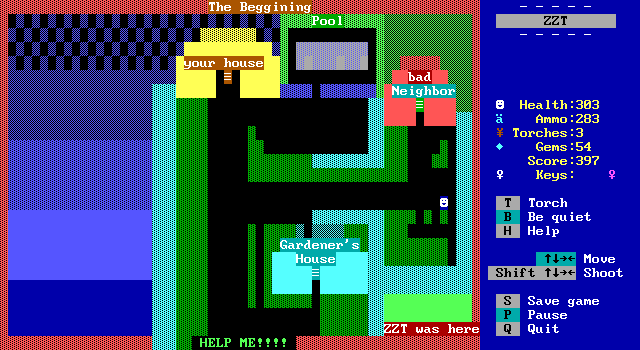
Nor was the gardener. I can't believe Prak put in this much effort into making nearly every object die if they're touched when you have the microwave.
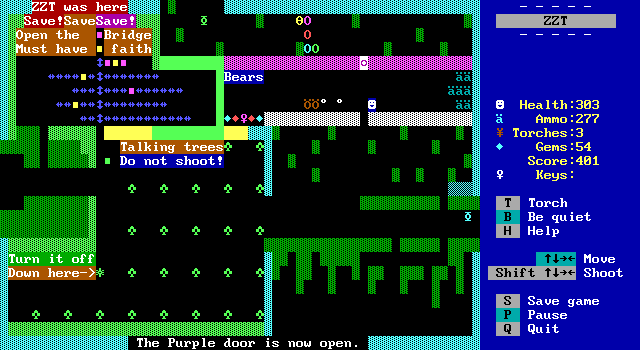
Taking a break from microwave death, I decide to explore the other path in the forest.
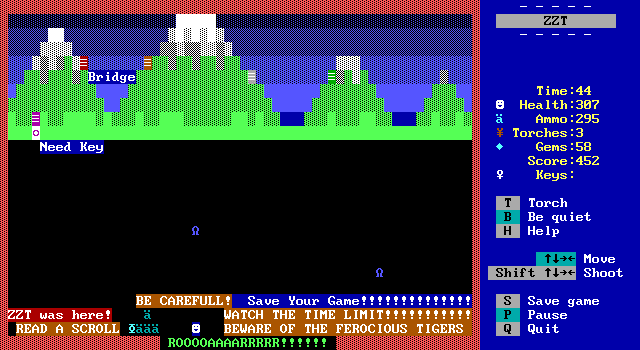
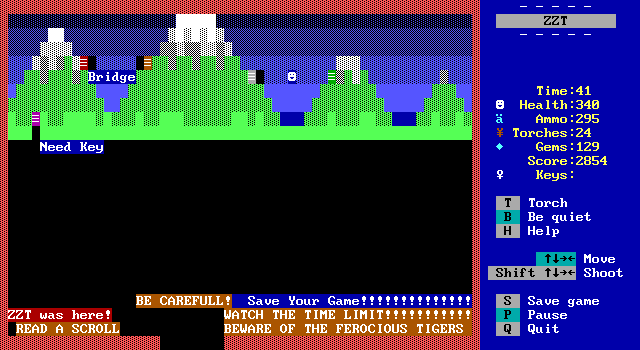
Another board that looks to be half art, half gameplay. In order to get into the mountain cave, the player has to defeat two tiger boss enemies that use the same character ZZT uses for lions rather than tigers.
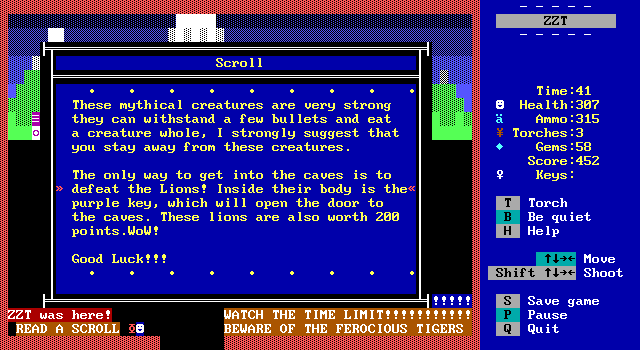
"You should stay away from the lions. Also you have to fight the lions. Also they're lions now, not tigers."

They do take a few hits to defeat, but there isn't much to worry about here. The board also has a time limit, but that can be reset by just leaving the board and re-entering, which probably won't be necessary.
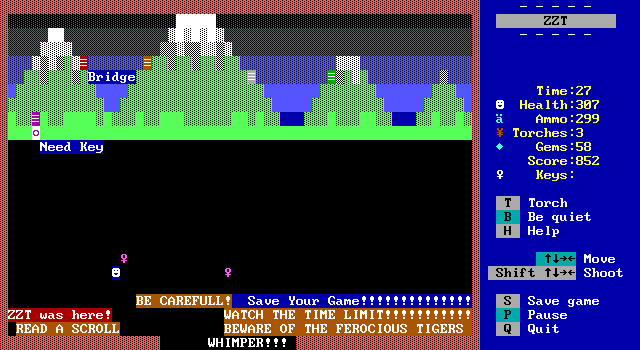
Both of them give out keys, which I wasn't expecting. I figured it was a matter of finding the correct one to get the key from.
Of course, upon entering the cave, the player needs a second purple key anyway, so you do need to defeat both of the lion/tiger things.
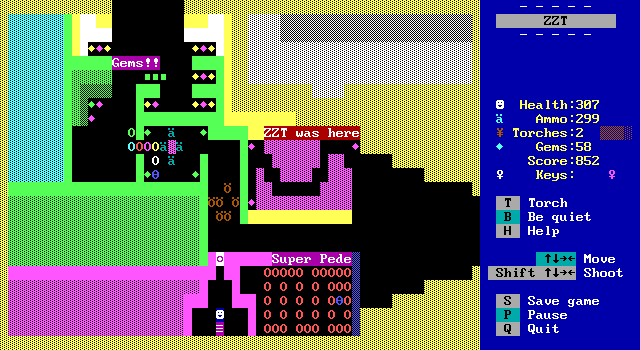
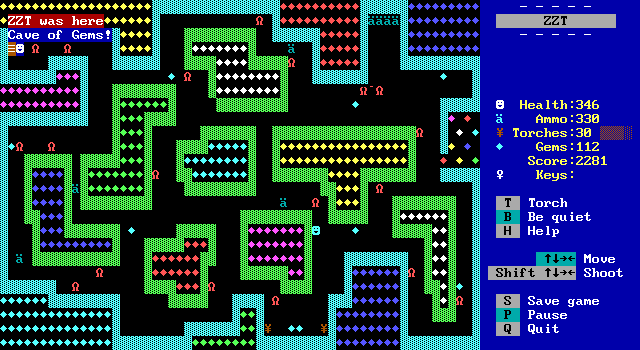
The cave is dark and has some interesting design choices. There's a dead end path with just a few gems, and a giant centipede that guards nothing and has to be freed by the player. Of course, with the lights out the player likely won't see enough to make realize these things until they're already gone down those paths.
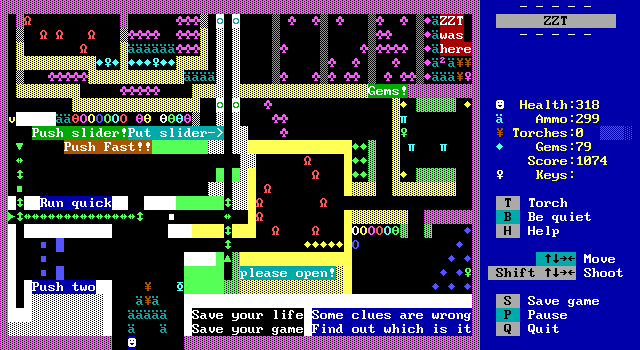
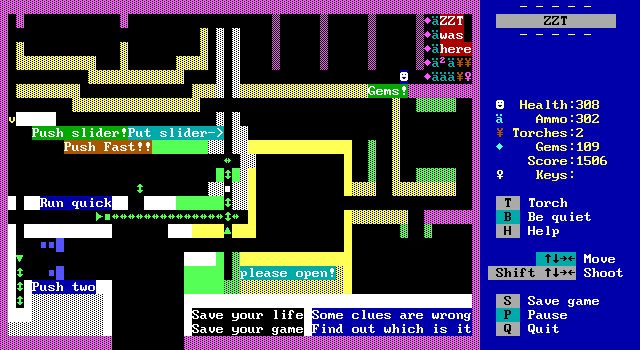
The upper path leads to a room that isn't dark, since it's a puzzle room. Like Town of ZZT's Rube Board, there are false hints to confuse the player, a type of puzzle design I have some pretty negative feelings towards.
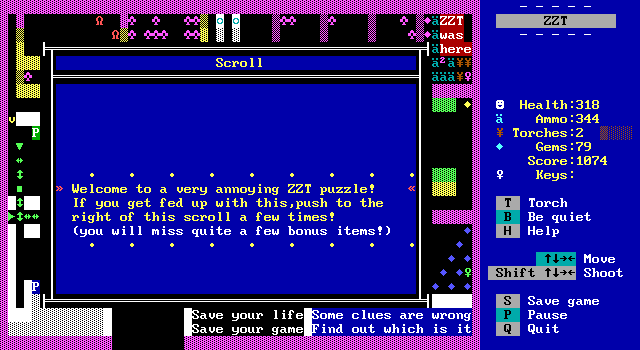
Prak offers the player some sympathy though, with an object that can be used to skip the puzzle in exchange for losing out on gems and points.
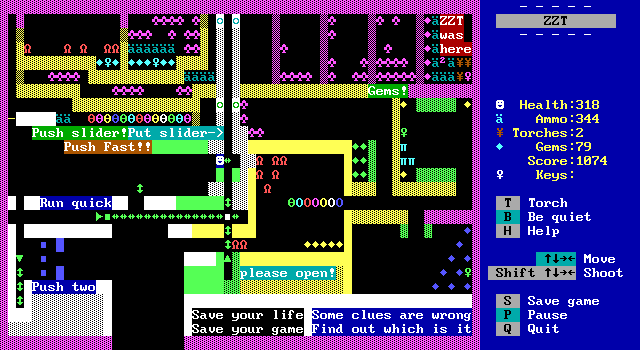
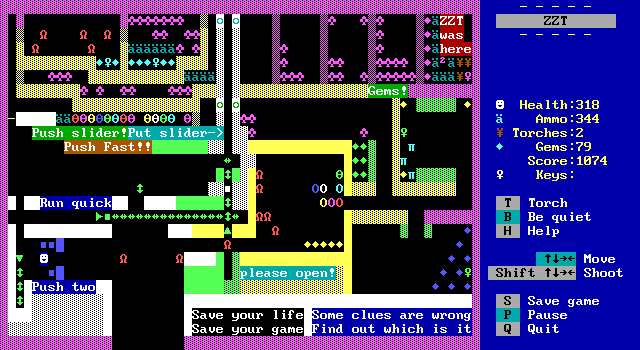
Getting through turns out to be pretty simple, the player just needs to block the last pusher from closing the passage to the doors in the upper area. Then there's the classic 3 boulder puzzle that shows up constantly in ZZT games.
After that, the board becomes an action sequence, full of keys and creatures. The one tile wide chokepoints are pretty silly with how trivial it is to avoid getting hit by just firing well in advance.
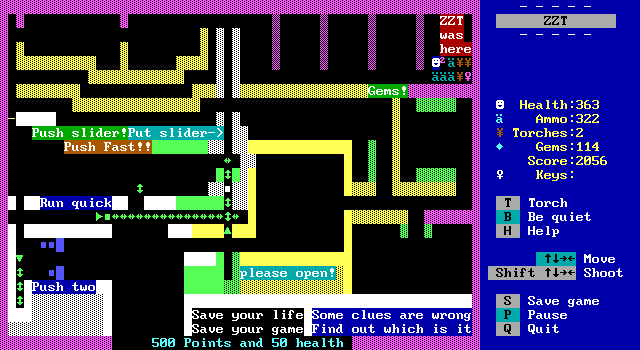
The reward for finishing the room is health and points, along with a purple key and yet more supplies. Though I am dangerously low on torches by this point.
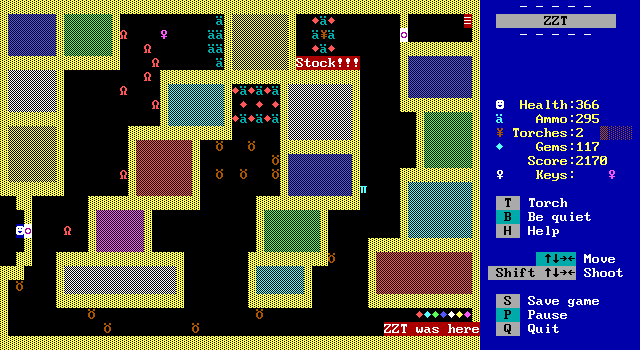
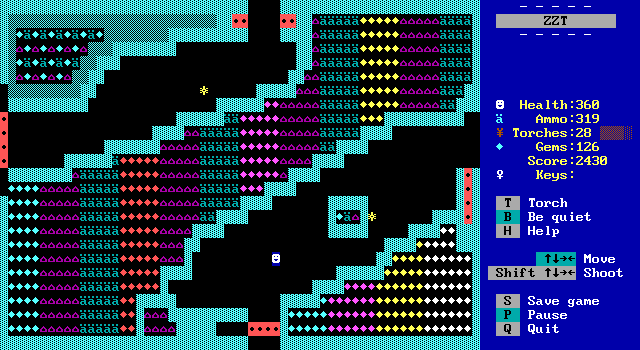
With a fresh purple key, it's possible to venture into the eastern corridor of the caves. It's dark and full of lions and bears, and a single tiger! This board looks very ugly to me, but you're normally seeing very little of it at one time. Maybe it's just an association of yellow normal walls with ugliness from years of bad ZZT games that don't do anything with the default border.
Thanks to cheating for the benefit of taking screenshots, I knew I could ignore that middle pocket there which was a nice little bonus.
The caves keep going, and it's pretty clear that I don't have enough torches. Aceland loves to dump ammo and gems on the player, but torches are far more scarce. I decided rather than get stuck in the dark that I'd turn back now and do some shopping.
It's a bit of a walk, but it's definitely needed. Aceland doesn't have forced purchases like The Lost Monkeys where the player can find themselves stuck, but using the microwave does cost gems (usually, some objects seem to forget to check). Again, infinite gems in the vault so no issues here.
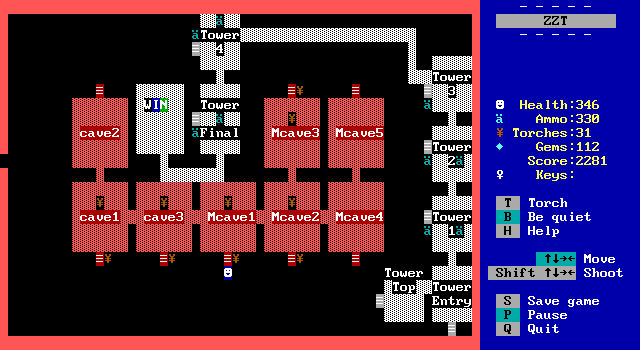
The nice thing is I remembered that I could use the hidden world map to just jump directly to the part of the caves I turned around in.
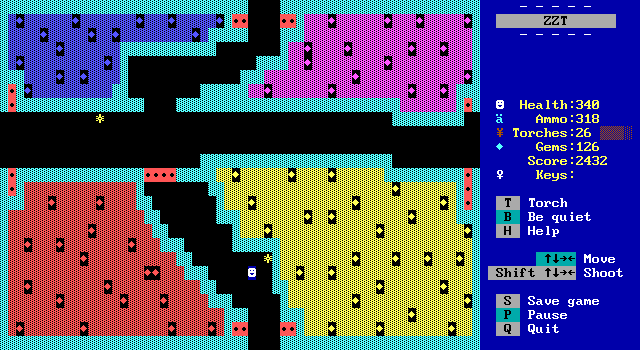
Just like that, I'm back on track in the M Caves. Mineral? Mountain? More? I don't know what the M is supposed to be. Mechanically it plays out like the ugly yellow room from earlier, but the use of colors looks a lot nicer here to me.
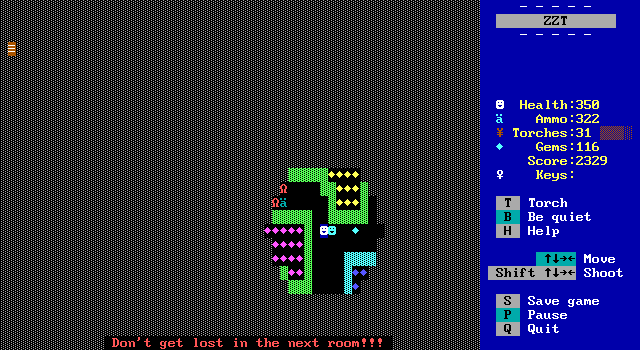
A friendly unmicrowavable local warns us to not get lost. The next section is pretty cool in its design.


When the player enters the next room, they'll find themselves locked in. This maze involves hitting switches which change which paths will open for the player.
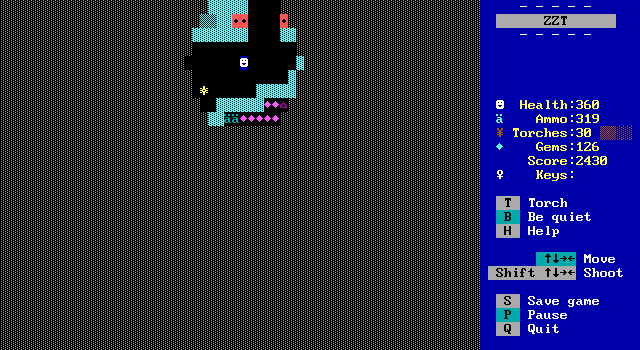
The yellow star here is a switch and opens the path to the next screen.
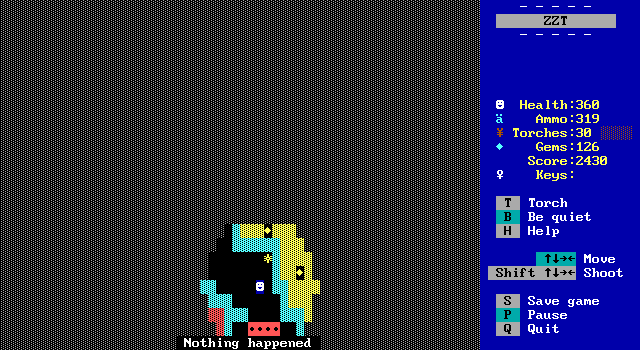
Some switches don't work immediately, and it's not exactly clear when a switch can or can't be

There are several paths and the player winds up running around, backtracking to the point where they'll be turning themselves around completely at times. It's confusing, but still ultimately linear enough that the player will only feel lost, and never really be lost.
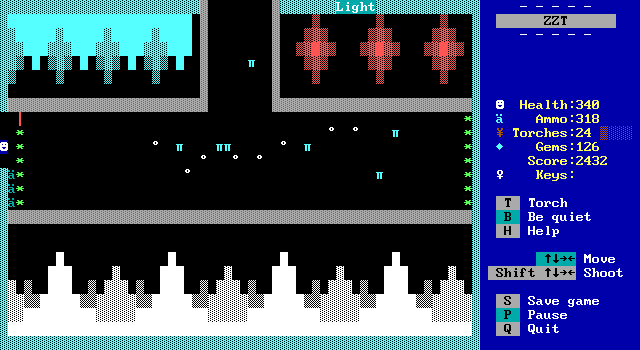
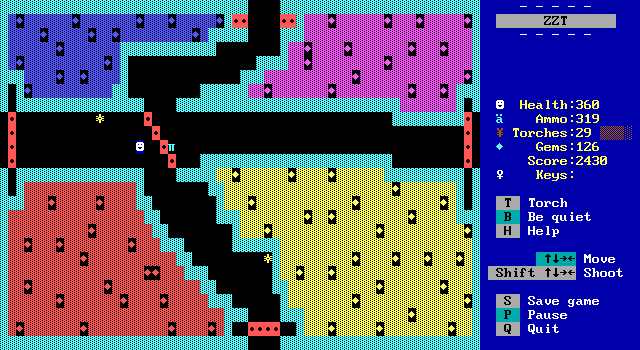
Eventually the maze comes to an end, as does the darkness thanks to the red "light" in the top right corner. I like the stalactites and stalagmites in the art portions of the board.
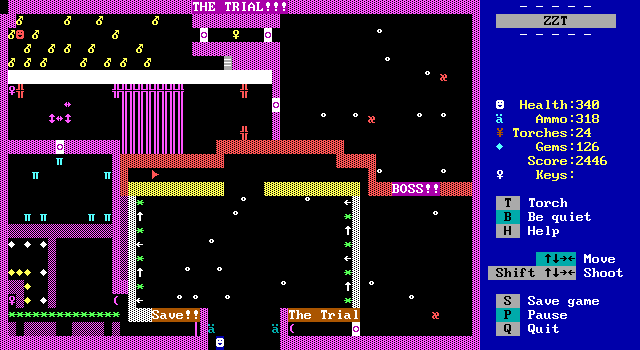
The final room of the caves tries to look intimidating, but is pretty simply overall. The only real challenge is rushing through the spinning guns fast enough to get ahead of that red pusher which will block access to the rest of the board.
The bosses are your typical move/shoot randomly forever enemies, and take a few shots to to defeat and get their purple keys. As is often the case with ZZT enemies that shoot, they tend to shoot each other a good amount before the player can even get there. Other than that it's just more tigers, and running past a blink wall.
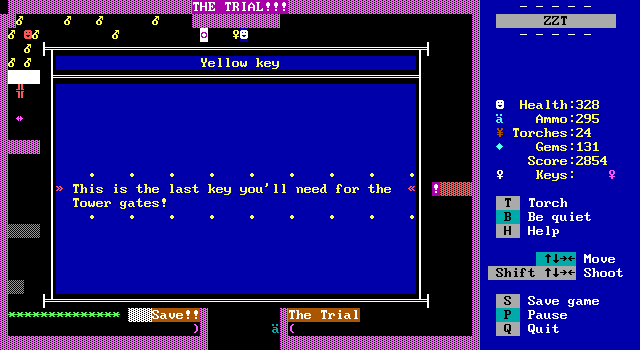
At the end of the cave is the yellow key to the tower. By this point, I should have had all the keys needed, but I still had one missing, and it was pretty clear something was missed in the fortress from earlier.

Oh, there was also this guy here for reasons unknown and whose message will never be heard. (He apparently tells the player that he left his microwave oven in the fortress treasury. I wonder if he appreciates the irony.)
The cave exits to the other side of the mountain, and though there's no bridge made out of text that says "bridge", the player can walk across the sky into the next mountain. Oversight? Secret? Who can say?

The next mountain's passage takes the player to the church. It's a strange warp, but one to be thankful for. Time to return to the fortress and figure out what's up with the prison and that locked door!

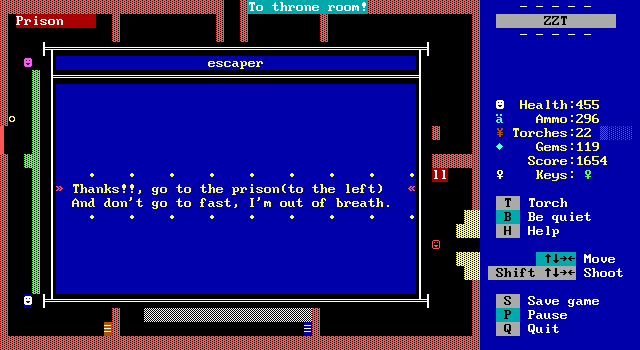
For whatever reason, the object cooperated this time and I was able to gain access to the prison.
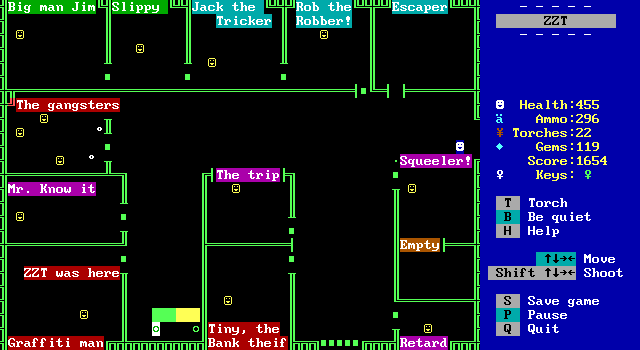
The prison contains the usual assortment of prisoners, "Big man Jim", "Slippy", "Jack the Tricker", "Retard"... Ok then. Let's just be done with this board.
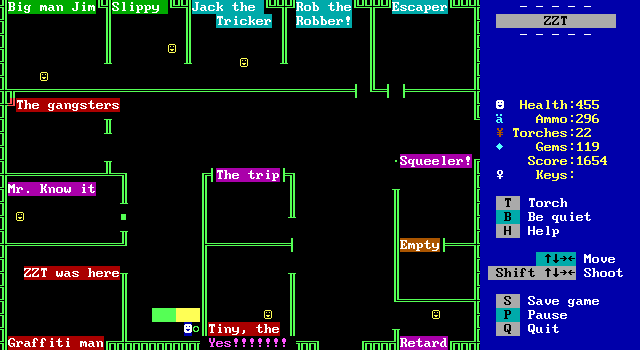
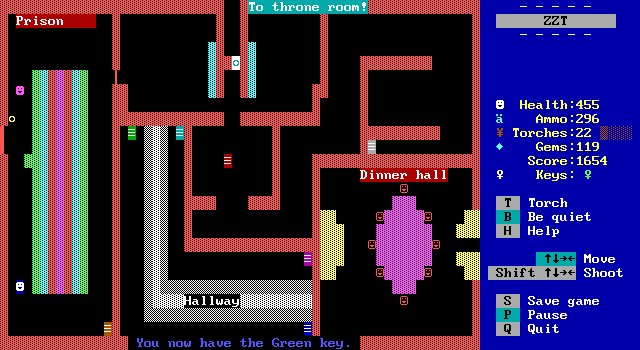
The green button releases all the prisoners. Most of them run to freedom, but a few stick around.
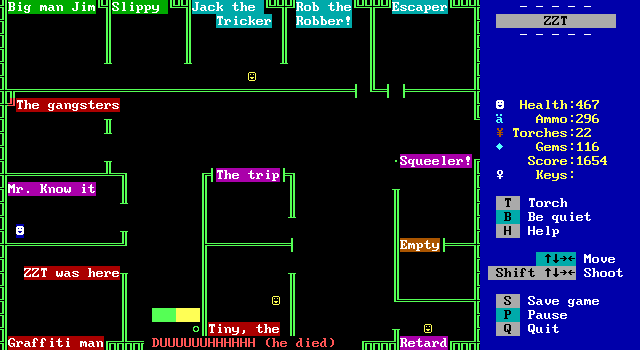
A FATAL MISTAKE.
None of the other prisoners can actually be killed. (I am very thankful for this.)
The Squeeler will tell the player about the secret entrance to the bank's vault in case the player hasn't found it themselves. Jack the Tricker points out that if the player kills the king, they can rule Aceland. That's all there is to the prison, and the player can actually opt to not release everybody.

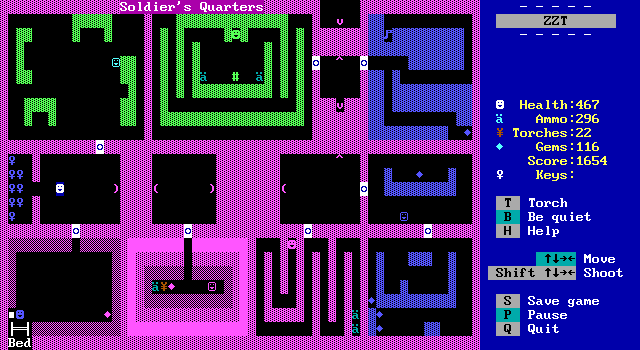
Below the prison is the soldier's quarters, a series of small rooms with a lot of locked doors and a big pile of keys.
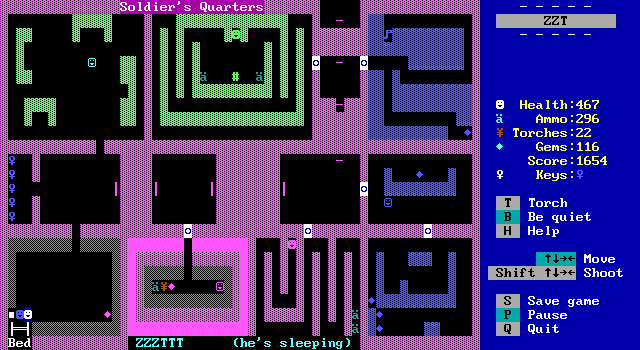
An early case of somebody sleeping saying "ZZT" instead of "ZZZ" occurs here. The guard in the top left explains that this sleeping person has the cyan key, so the player needs to find a way to wake him up.
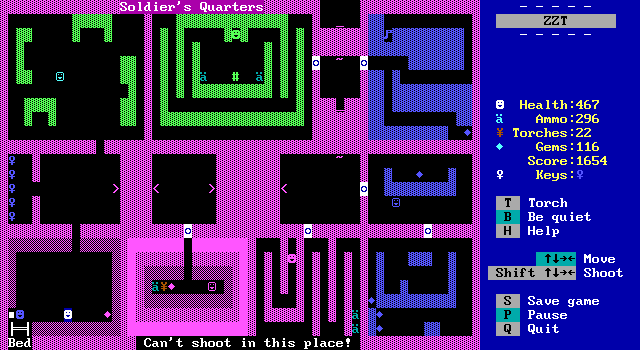
The obvious solution does not work. Talking to the other guards results in microwave death.
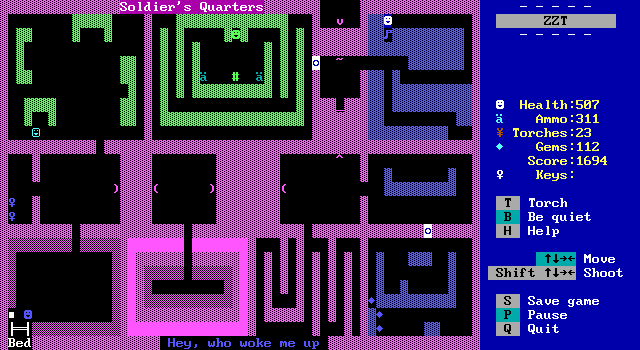
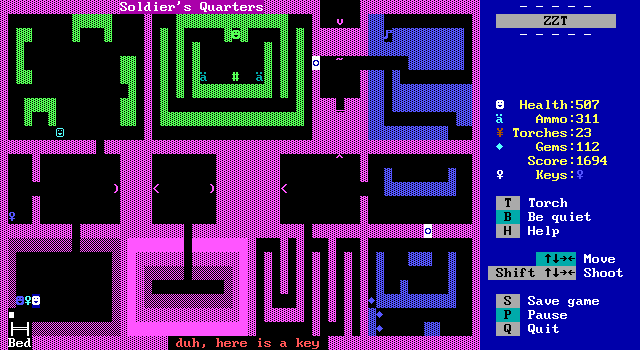
The music note in the top right corner plays a tune and wakes the soldier up, solving the sleeping soldier puzzle as the soldier happily hands the player the key to the throne room that they're looking for.
The king is surrounded by his subjects and is making royal proclamations.
King: Lower taxes for everyone!
People: Hurray!!
King: Guards Patrolling the streets!
People: Hurray!!
King: Free Repairs on housing!!
People: Hurray!!
King: More jobs!!
People: Hurray!!
King: Use of treasury for exspansion!!
People: Hurray!!
King: More winning battles for us!!
People: Hurray!!
King: Public bathrooms all over town!!
People: Hurray!!
King: Highways Made accessible!!
People: Hurray!!
King: Microwave ovens made cheaper!!
People: Hurray!!
King: Sacrificial killings for all!!
People: Hurray!!
King: Bla Bla Bla for all!!
People: Hurray!!
• • • • • • • • •
Excluding the sacrificial killings, it's a pretty good platform.
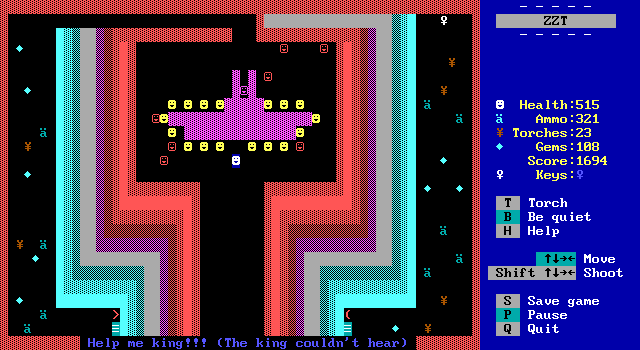

Alas, the king is pretty hard of hearing.
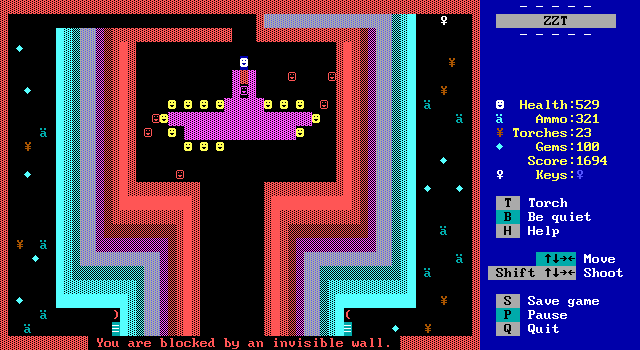
The king is protected by an invisible wall, so no ruling Aceland for us.
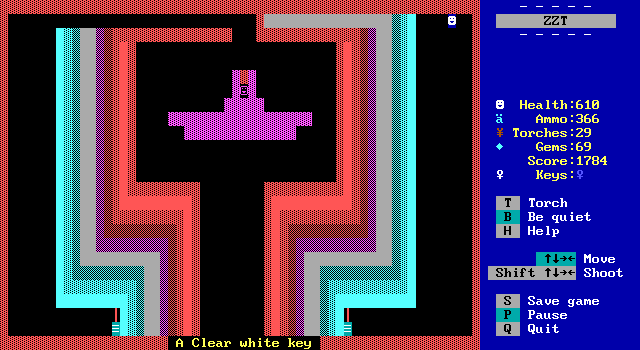
Of course, the real purpose of the throne room is to pick up the last white key. The two passages in the throne room warp the player directly outside the fortress as well making for a quick escape after killing everybody inside.
The king's speech ends with the "Blah blah blah" due to a typo. An amazing detail is that last message is meant to loop forever, but only if there's still a living subject to cheer for the king's newest decree. It's a shame that it doesn't work because it would have been an excellent touch.
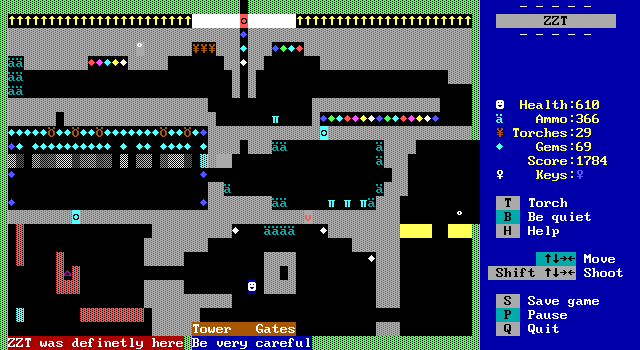
Now it's time to head into the tower and defeat Mugerlock.