Where can I get Nightmare?
Nightmare is available on z2
as well as playable in browser via Archive.org.
You can also explore the world yourself on the
Museum of ZZT Public Beta.
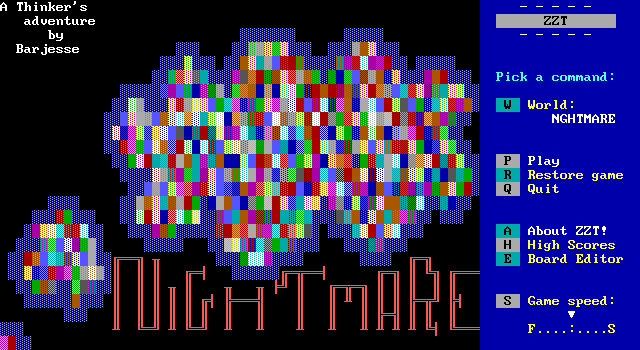
Nightmare
Released: Jul. 18, 1996
You dressed for bed as usual.
You pulled back the covers as usual.
You turned out the light as usual.
But that's where the usual stopped.
Barjesse's Nightmare is a ZZT game that really stands out among the rest. ZZT worlds usually stuck to action and adventure motifs, but Nightmare instead tried to challenge the player's brain. Did it succeed? Well, at the expense of cheapening the need to read the rest of this article, the answer is a very very strong yes.
Being a game of puzzles, there are several which will be spoiled by reading through this article, though many more which won't be. I highly recommend that you try this game out yourself first. It's one of ZZT's finest, and will be best enjoyed when you go in never knowing what to expect.

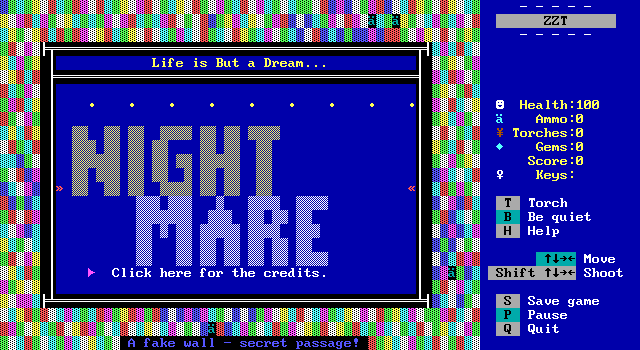
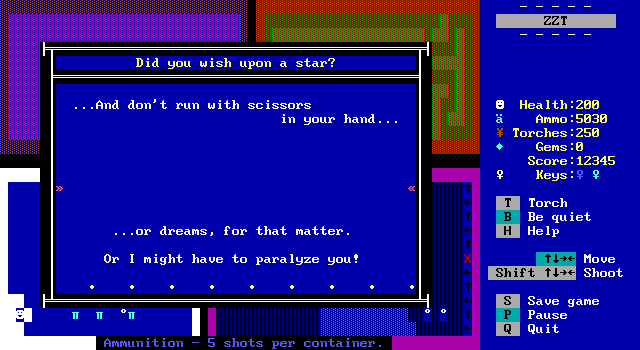
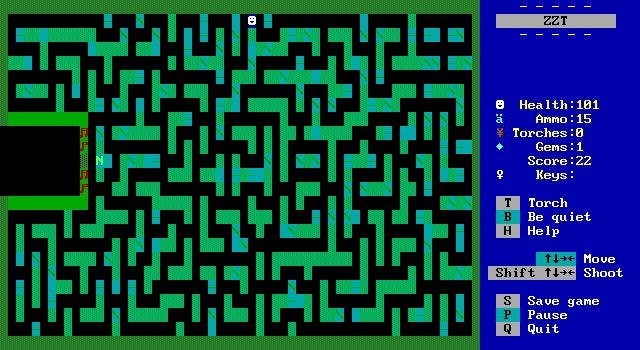
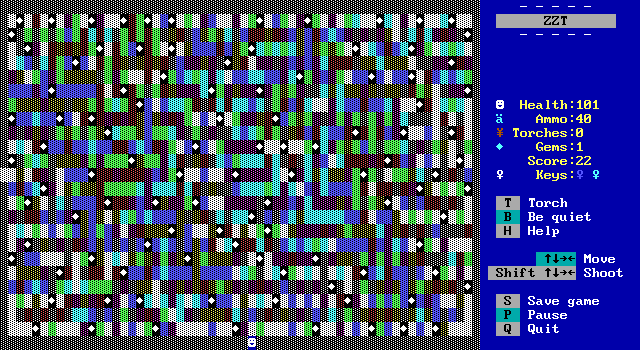
The game's already psychedelic title screen is taken to its extreme from the very first board, a swirling mass of colors, which flicker wildly as the player runs around the screen is the first thing the player will see, before getting an introductory message.
You went to sleep tonight as usual.
You dressed for bed as usual.
You pulled back the covers as usual.
You turned out the light as usual.
But that's where the usual stopped.
Just as you were drifting off to sleep,
you heard an eerie voice drift through
your head...
The eerie voice fades away, and you are
left in a dream-world filled with an utter
chaos of swirling color.
• • • • • • • • •
Nightmare's writing sets the mood wonderfully. The broken up dialog creates an otherworldly atmosphere. The player is trapped in the Land of Nod and has to regain their consciousness in order to wake up, and allow others to sleep.
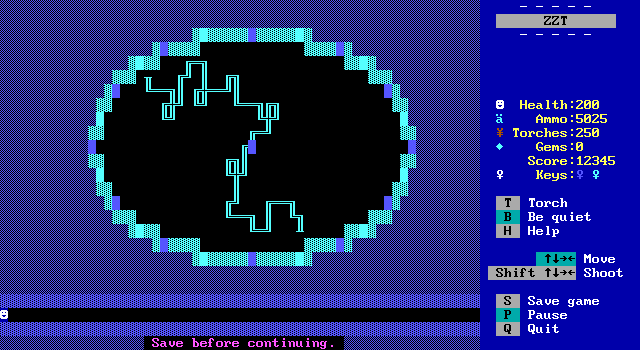
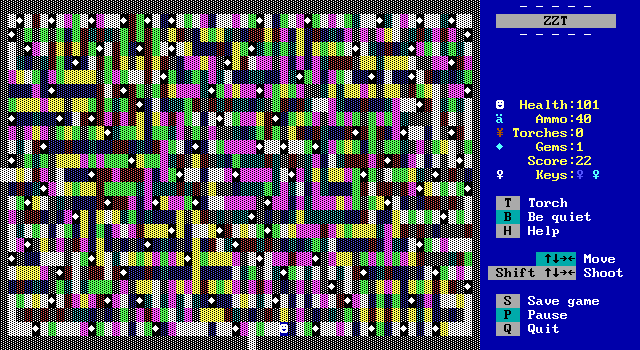
Like Town, the player is given their choice of places to travel from a central hub board. The game is very well connected so as to not require much backtracking, with paths from one branch of the main hub running into the other branches at times.
Among the chaos of the hub, there's some ammo as well as two keys. Another line in the intro allows the player to read the credits and get some supplies for doing so, which will ultimately be a wise decision as this board is the only source of ammo in the game. Even though the game is hardly an action packed shooter, bullets are still required to solve a lot of puzzles, and if you skip the supplies your margin for error becomes very slim.
I collected the keys and headed east.
The room consists of a straight hallway with a large clock with malformed hands up above. When the player passes a certain point, they'll be warped into the center of the clock and solve the clock puzzle.
You have been pulled into a sort of time
distortion... (And you're not even in
Star Trek: Voyager!) ...Well, actually,
what's happened is you've been trapped in
a giant clock. It chimes the hour, but it
doesn't play a tune. It just gongs as
many times as whatever hour it is. It
also gongs once on the half-hour to mark
half-past.
All you have to do to get out is press the
correct time mark on the edge of the clock
and you're free. The only problem is that
pressing any other marker will instantly
kill you.
Now, there is a three-hour period where
in the seven times the clock rings (once
at each end of the 3 hrs and five times in
the middle) there are exactly ten gongs.
The correct marker is the one that starts
this three-hour period.
If you need to read this again, push the
blue block at the center of the clock.
#end
:exp
For example:
A three-hour time period starting at 8:00
would have gongs like this:
8:00 8 gongs
8:30 1 gong
9:00 9 gongs
9:30 1 gong
10:00 10 gongs
10:30 1 gong
11:00 11 gongs
~~~~~ ~~~~~~~~
3 Hrs 41 gongs
• • • • • • • • •
The first puzzle sounds scarier than it actually is, a common theme for this game. Do you remember your algebra?
The next hour X+1, then X+2, and so on.
And between each hour, an extra gong for the half hour marks.
X + 1 + (X+1) + 1 + (X+2) + 1 + (X+3) = 10

3 + X + (X+1) + (X+2) + (X+3) = 10

3 + 4X + 6 = 10

4X + 9 = 10

4X = 1

X = 0.25
Ok, so that doesn't add up. There's no 0.25 on the clock of course.
The trick, is to realize that you can start on a half-hour rather than a whole.
1 + X + 1 + (X+1) + 1 + (X+2) + 1 = 10

4 + X + (X+1) + (X+2) = 10

7 + 3X = 10

3X = 3

X = 1
If X is 1:00, then we're starting at 12:30.
12:30 1 gong

01:00 1 gong

01:30 1 gong

02:00 2 gongs

02:30 1 gong

03:00 3 gongs

03:30 1 gong

~~~~~ ~~~~~~

3 Hrs 10 gongs
Did you get all that?

Touching the 12:30 marker will cause the player to be teleported back to the hall and let them continue their quest to regain consciousness.
Oops! You've wandered into the Sandman's
dream box! This is where he keeps many
unused dreams, for those rare times that
he can't come up with a good one.
Each of the dreams you've stepped in will
have to be played out to their conclusion.
Each of these four strange dreams has its
own subconscious objective. You will need
to deduce what that objective is, and how
to achieve it.
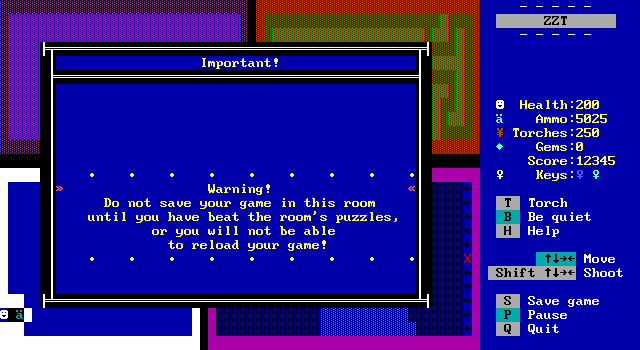
(A caution to chronic cheaters here: If
you zap around in here, you will not be
able to win the game!)
• • • • • • • • •
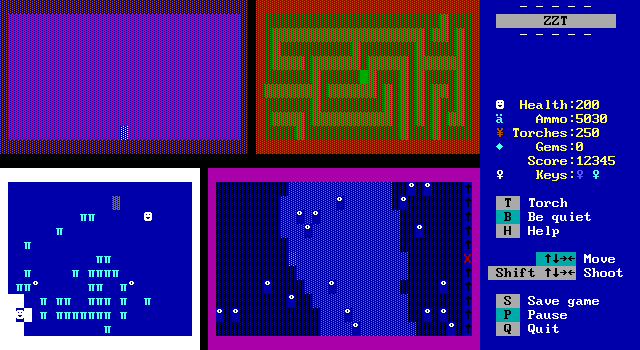
This board consists of four smaller puzzles, trying to interpret the dreams and figure out how to proceed. The first dream is in the bottom left, the player controls an object in a room filled with tigers. The object can move, but can't shoot (not that object bullets can harm creatures anyway). The player has to crush the tigers against each other to defeat them.
Prior to this, I never realized the weird behavior with pushing and crushing ZZT has here. If you push a tiger into another tiger, and that tiger can't be pushed as well, then a tiger gets crushed. However, if you try to push a tiger that's next to a wall, it will consider the movement blocked and the tiger will live. The bottom of the room has an object which will destroy tigers pushed into it, so as the numbers dwindle it becomes easier to use the object instead.
One minor annoyance with this dream, is that the tigers will generally try to move towards the real player, who juts out into the room. This causes the tigers to have to be pushed first out of the way of the player until they move to the bottom row where they can be eliminated. It can be a bit of a nuisance.
The second dream involves catching a blue object that runs around the room (look in the top left!) which causes all the bullets on screen to turn into fake walls. The object moves in a counter-clockwise square so it's easy to catch which is good since the bullets will be shot randomly, and the player has to make a bridge of fake walls across the river.
It can take a bit before a suitable crossing is complete.
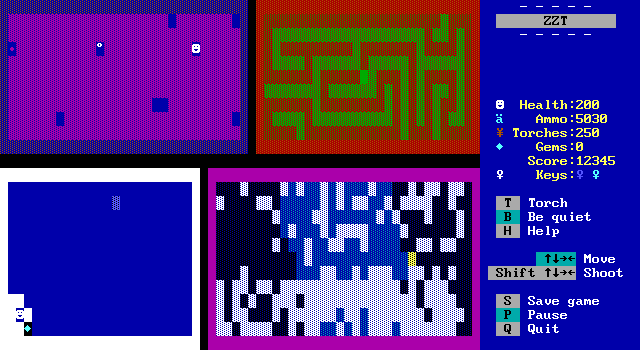
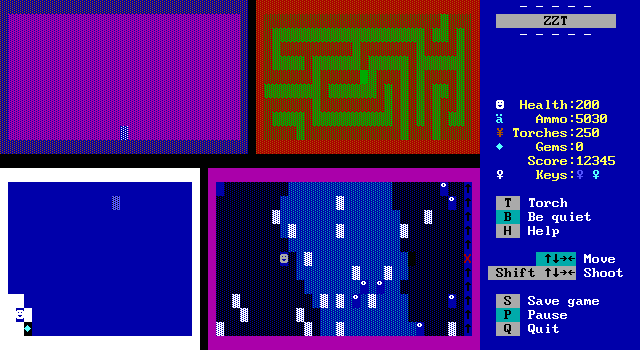
The third dream has you controlling a slightly different object. This one moves and shoots in the direction pressed on the keyboard. A single purple object will be visible at any time, and need to be shot. To make things more of a challenge, shooting the empty spaces will reset the puzzle. The player has to step carefully in order to shoot the star in the correct order.
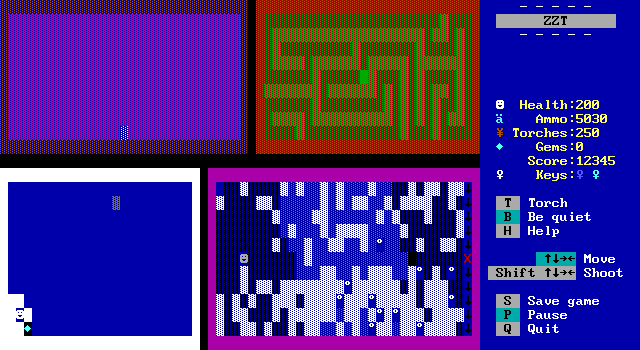
The final dream is the strangest of them all. A small maze is filled with slimes. The player's goal is to destroy them. This is done by blocking their path causing them to fizzle out. At the same time however, their trail of breakable walls is randomly erased, leading to the slimes having another outbreak.
Eventually, the player will have them cornered and be able to destroy them completely. Be cautious about touching the controls as the dream sequence ends however! In my case here the controls didn't erase themselves and blocked the path back to the hub, trapping me in the eastern path and forcing me to restart (or zap, but I figured I'd just reset since it was so early).
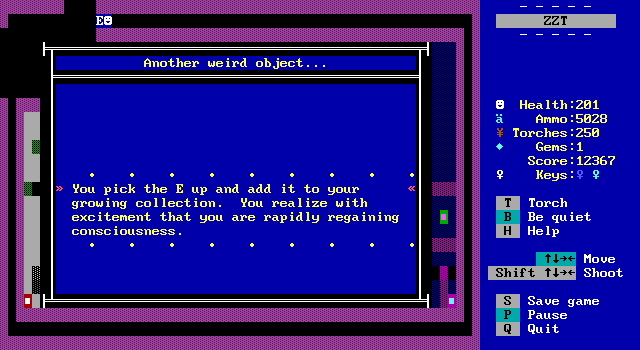
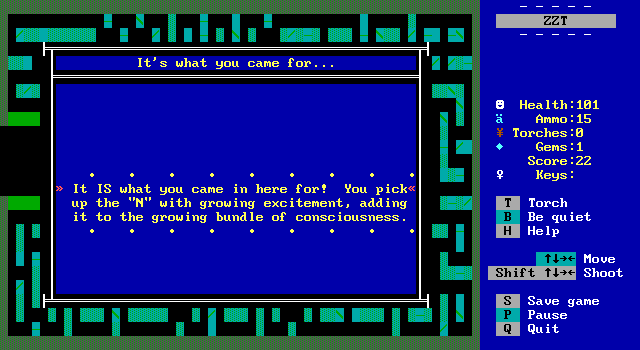
Fake walls appear around the room, which are used as a convenient way to mark board exits. There's also a piece of the player's consciousness as a reward!
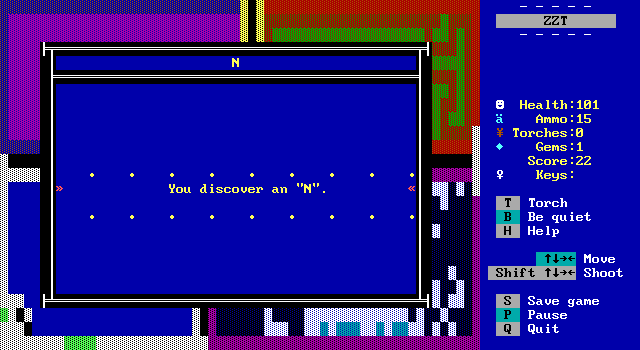
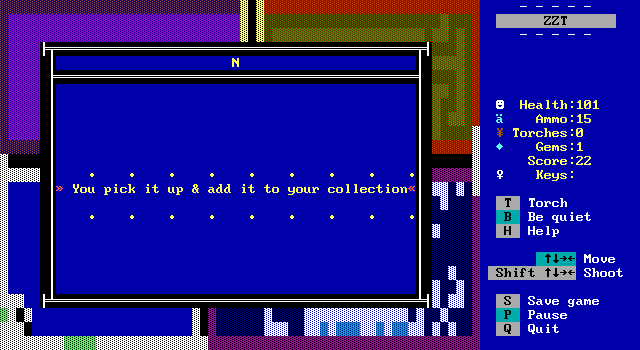
Nightmare is divided into two types of puzzles, minor ones like the clock room which are used to get from point A to point B, and major ones like this which return a piece of consciousness to the player. In order to wake up, the player has to solve all thirteen major puzzles to gain all the letters that make up the word CONSCIOUSNESS.
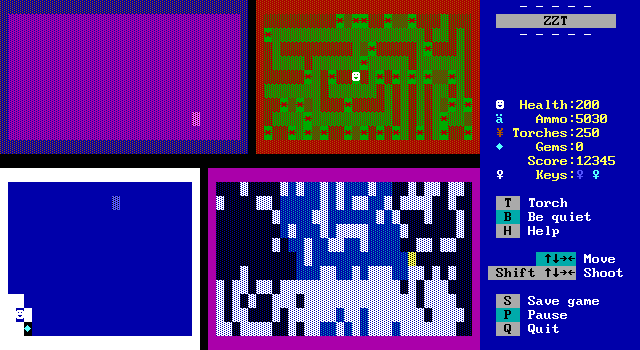
The next major puzzle is to the south, and consists of using a robot to collect spinning triangles. The player has to use the controls provided to move the robot in each direction, as well as two additional buttons to shoot either east and west or north and south simultaneously.
Complicating things is that some of the triangles refuse to be collected until others have been. There's no real indication of what the correct order is, and it seems like there's some flexibility to it, but you'll always be able to collect if you go in the order of ZZT's colors: blue, green, cyan, red, purple, yellow, white.
The game warns about making the board unwinnable, and while it would be possible to do so, it would be very difficult to mangle the extremely basic boulder and slider puzzles to actually get stuck.
One nice touch of this engine is that the robot can pick up keys and open doors. It's all done with other objects, but plays ZZT's key and door sounds appropriately.
When the puzzle's completed, the player has a long walk to obtain the white triangle, which states that it should be touched from the right rather than the left when touched otherwise. It's a pointless walk, and I'd have preferred for the white triangle to just be put behind 7 solid walls and more readily collected.
Oddly, despite their being a path west, the player is unable to travel down it. This will be revealed later as to why, but for now, it's back to the room of four dreams, and this time the eastern path.
You walk into a room with BRIGHT green
walls. It's much smaller than most of
the rooms you've been in so far...
Posted in the dead center of the east
wall straight ahead of you is a sign the
size of a poster.
The rest of the east wall is blank...
for a moment.
Then the strangest combination lock you
have ever seen materializes, covering the
entire east wall, except the spot where
the sign is plastered.
• • • • • • • • •
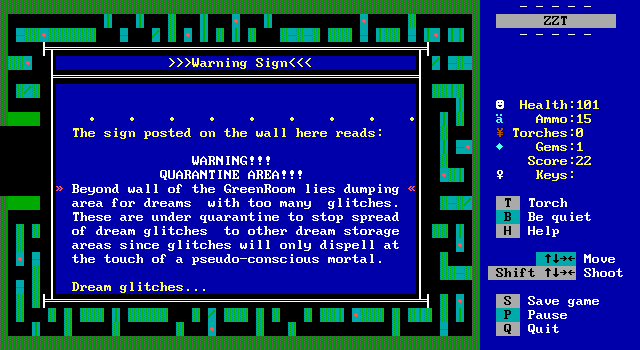
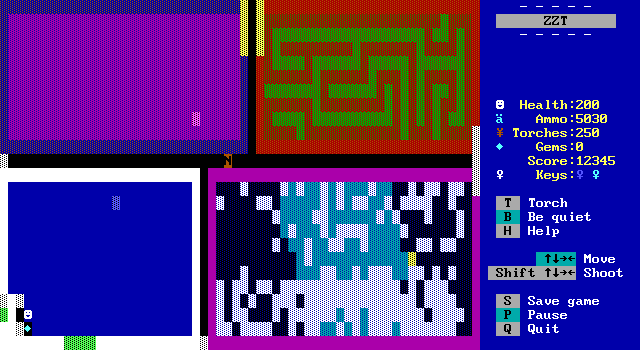
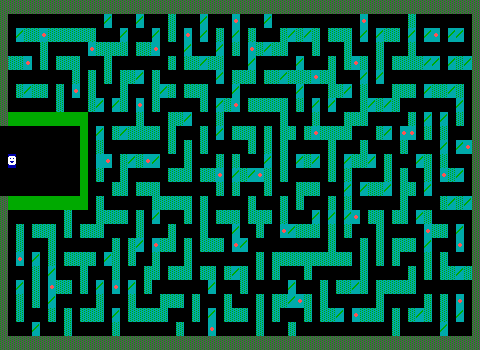
This screen's puzzle is actually two parts. The first, is to make it inside the vault where the dream glitches are kept. After reading the sign some music notes appear which play parts of "Rock A Bye Baby" when touched. Once the tune has been played in order the player can enter the vault itself.
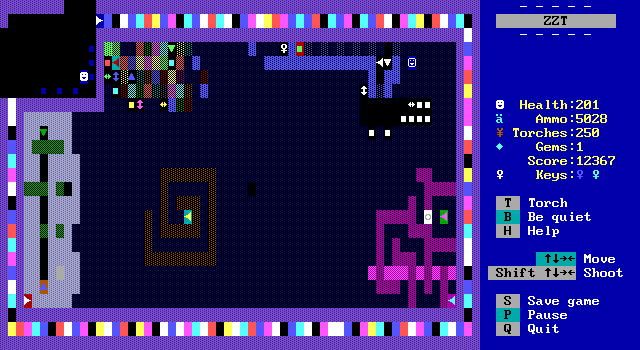
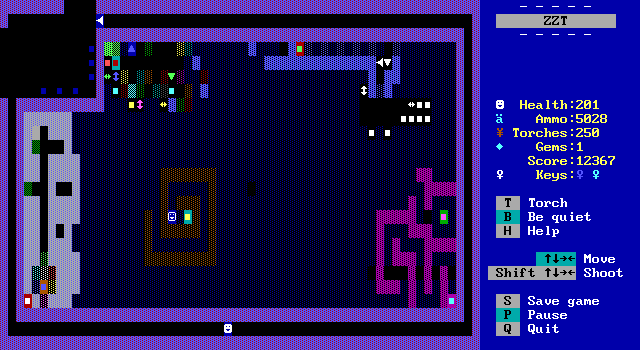
The next portion is to collect all the dream glitches in the vault which can be dissipated by your touch. At first glance, the vault appears to just be a maze filled with red dots to collect, but look closely and you'll see that the walls also have conveyors scattered throughout. The player has to navigate the maze in a way to be able to collect the pieces, and also move with the flow of the conveyors (or simply mash their keyboard to go against them). The sudden zippy movement of being along a conveyor really caught me off guard when I was first navigating the vault maze. The choice of dark green on dark cyan is very deliberate here with how well the colors blend into each other.
This puzzle counts as a major one, and the player is rewarded with a piece of consciousness. There's one more path in the east wing to explore, but I may have forgotten about it at first. Whoops.
Firstly, one really awesome feature that Barjesse thought to include in Nightmare, was minimizing backtracking. When the player moves west on the board with the four dreams, rather than going back to the clock room, they're taken directly to the hub. Since approaching from the east means the player has solved the clock puzzle already, Barjesse saved the player from having to traverse a now empty room.
Secondly, look up and you'll see the letters that the player has collected so far appear. This serves as an indicator of progress.
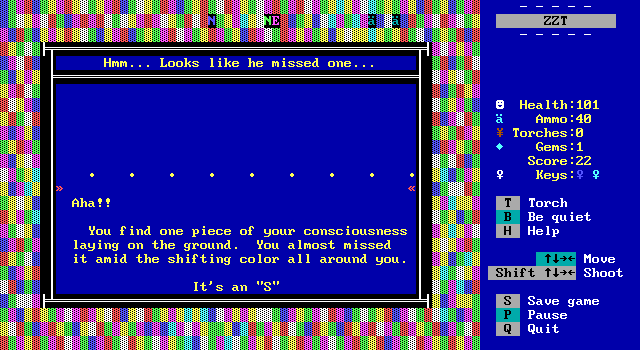
While walking across the hub, the player will stumble upon a piece of consciousness that the Sandman forgot to hide in a puzzle. You might think that finding a hidden object that gives you a letter is far worse than any puzzle, but the game is not cruel. There's a simple timer on the board and the player will automatically pick up the letter after spending enough time on the board. This being the hub of the game, there's no worry the player will ever not be able to find the piece.
One last thing to point out here, is that the player needs to collect a total of thirteen letters to spell CONSCIOUSNESS, and ZZT can only store ten flags. The game actually uses some clever memory management to keep track of all the letters. Firstly, the one that's on this board doesn't need a flag since it's on the board that checks if you have all the letters to begin with. So in reality there are twelve letters and ten flags.
What Barjesse did, was have each letter check what letters you currently have in a four letter chunk and adjust a flag appropriately. So you'll pick up the C and get a flag "CXXX". Then pick up an N and it will erase "CXXX" and set "CXNX" in its place! This way the game only needs three flags which are manipulated to hold the state of four letters each. It's a clever workaround to ZZT's lack of data storage.
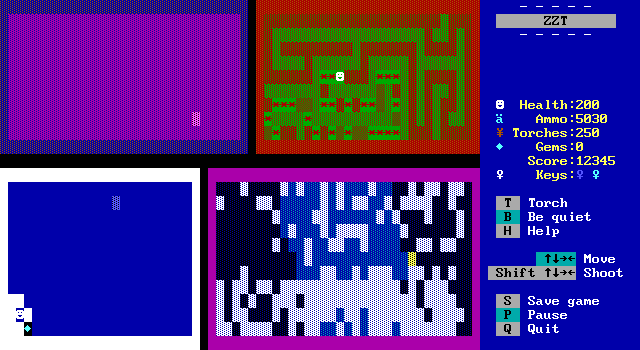
Going back through the clock room and four dreams room to the northern unexplored room leads to another maze.
Oh, boy.
You've just wandered into the tank that
holds the dream element of instability.
This is the stuff that makes the location
of your dream change every time you turn
around.
The Sandman's voice echoes through the
chamber of the tank, as if it was
something he'd said some time ago.
Looking around, you indeed see tiny pieces
of consciousness lying around.
It looks like you're going to have to
gather them up and piece them back
together like some abstract jigsaw puzzle.
• • • • • • • • •
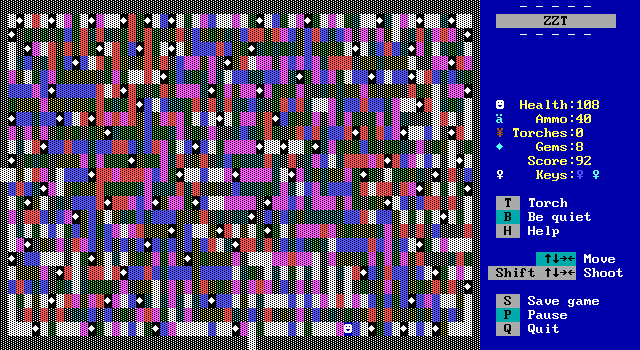
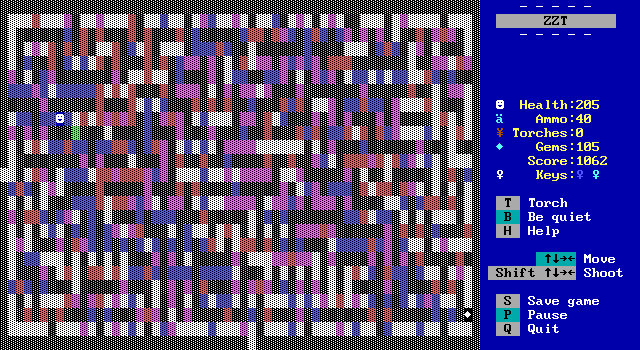
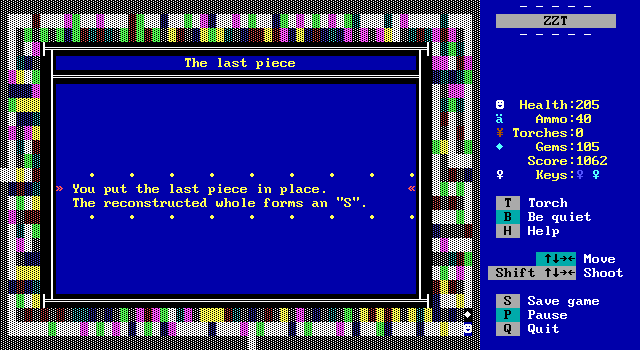
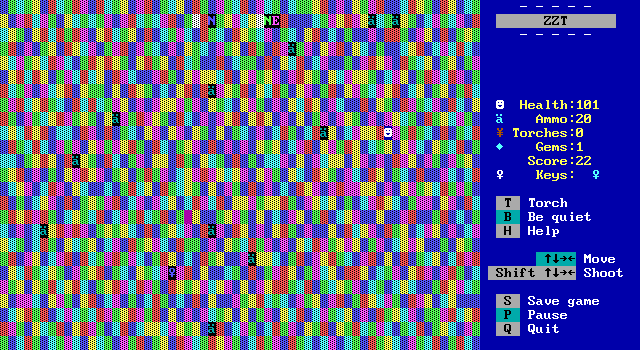
Similar to the conveyor maze, this board also consists of picking up the pieces. This time however, the challenge is that which colored tiles are walls and which are floors is constantly changing. The reward is another piece of consciousness. With this, the eastern branch of Nod has been conquered. It's time to head west.
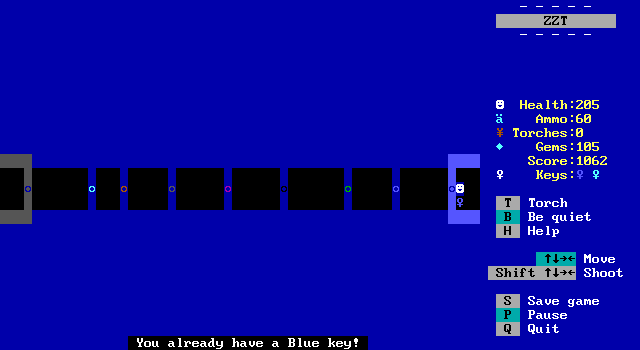
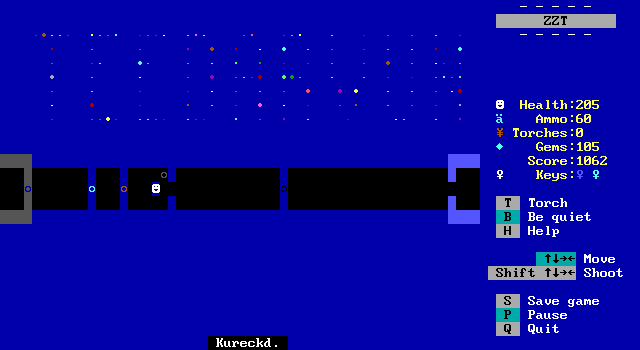
The western path consists of a lot of doors. It's time for some trivia questions!
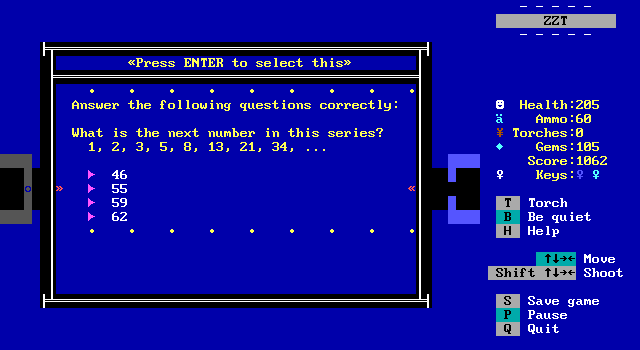
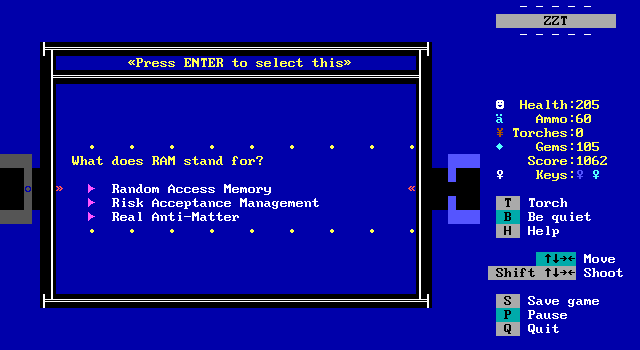
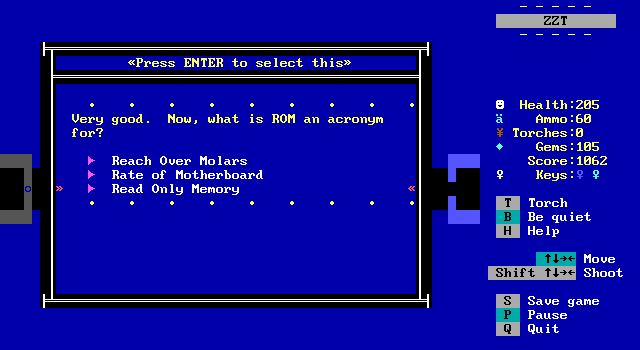
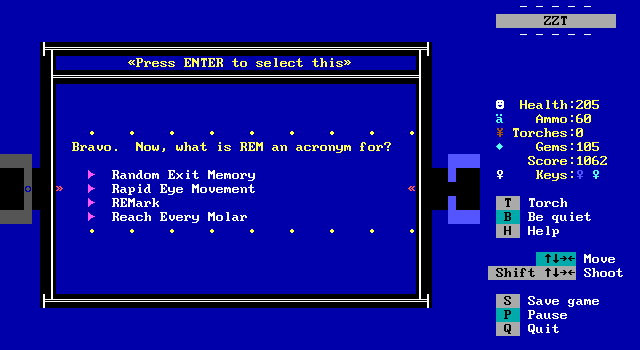
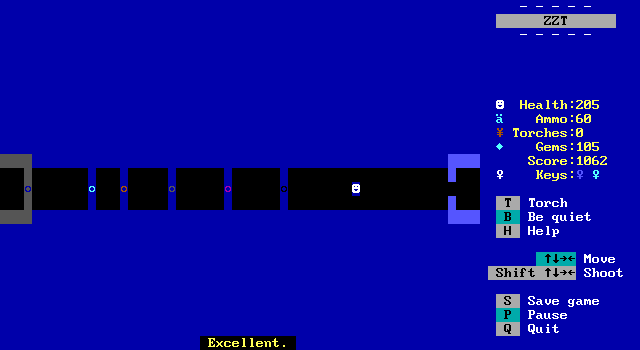
The first quiz door asks a bit about pattern recognition, computers, and sleep.

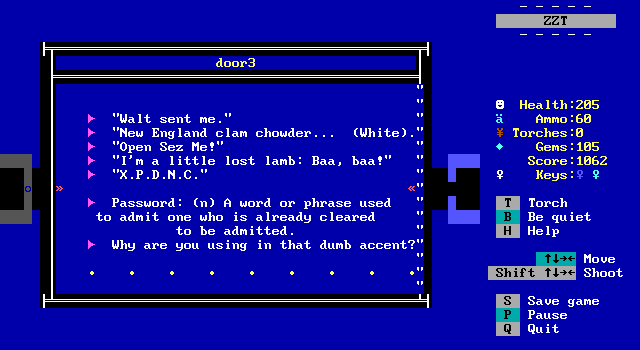
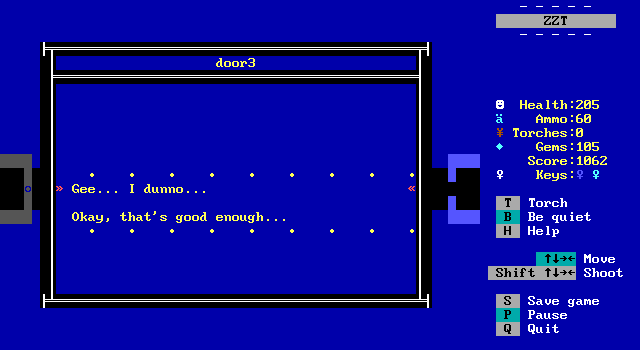
The second door requests a password. Fortunately every single option is valid, though pointing out the accent adds the "Gee..." message as well before opening up.
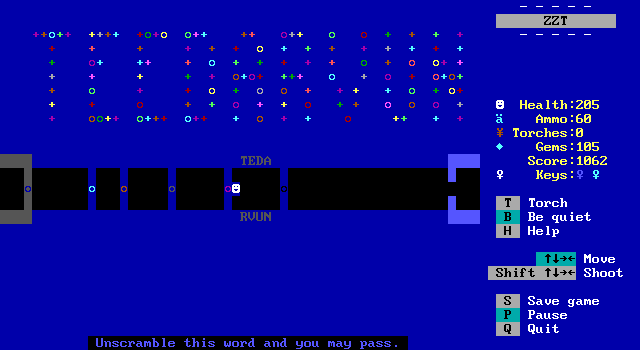
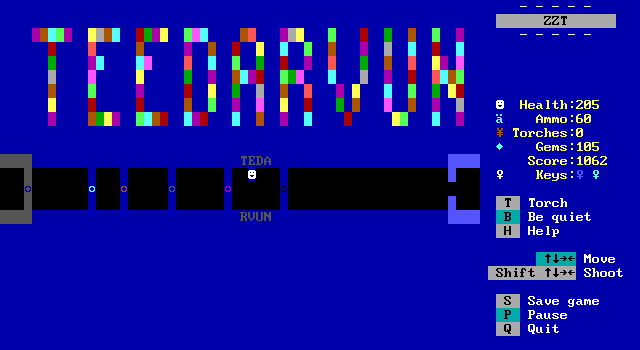
Suddenly, things get very flashy as a large scrambled word appears above. The player has to use the objects to input the letters for the actual word.
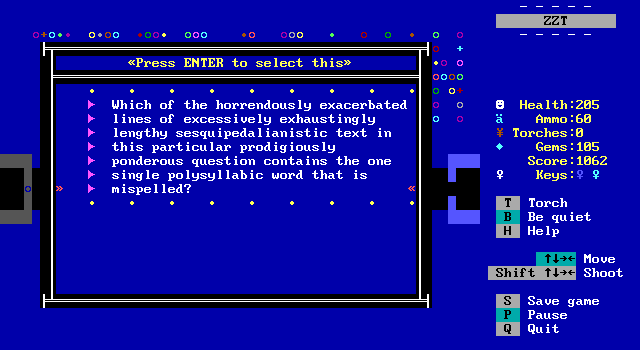
The next question is just to find out that misspelled has two s's.
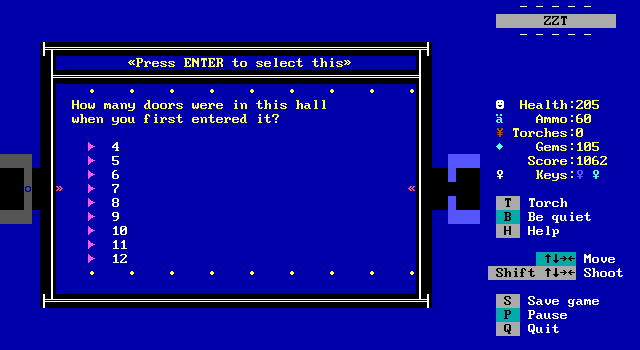
Then there's this cruel door. Hope you paid attention to the door count because I sure didn't. The penalty for wrong answers is losing health and of course an eventual death.
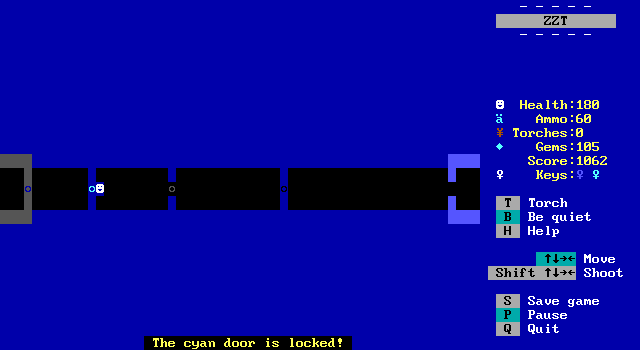
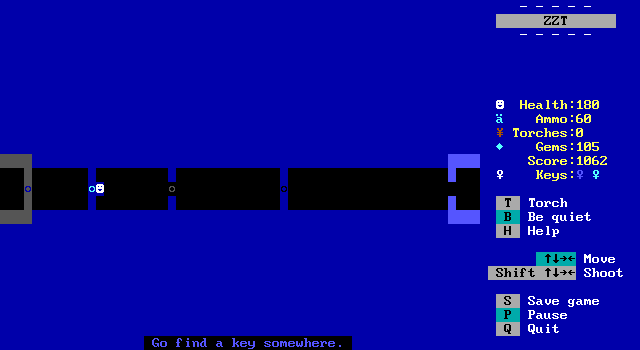
Next is a cyan door that isn't really a cyan door. The player has to search around the room for a secret compartment to locate its key.
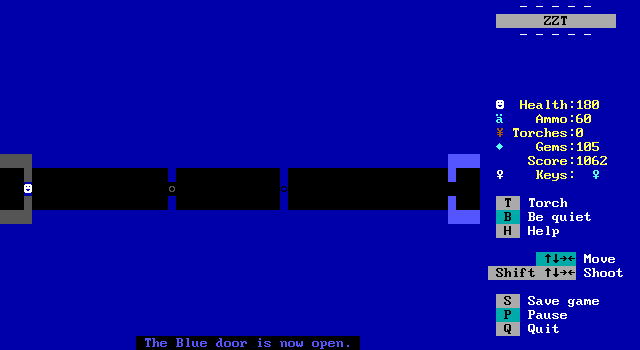
And the final door is a blue door that is really a blue door.
The next puzzle is probably the one I enjoyed the most overall.
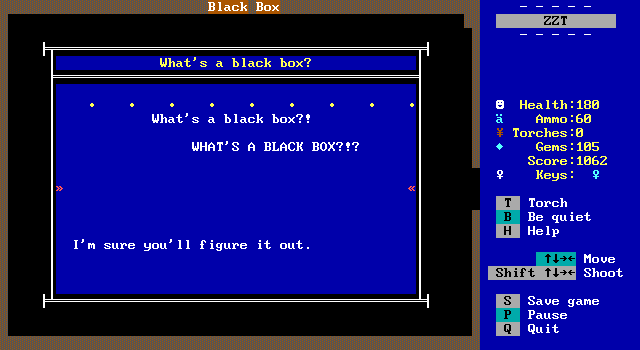
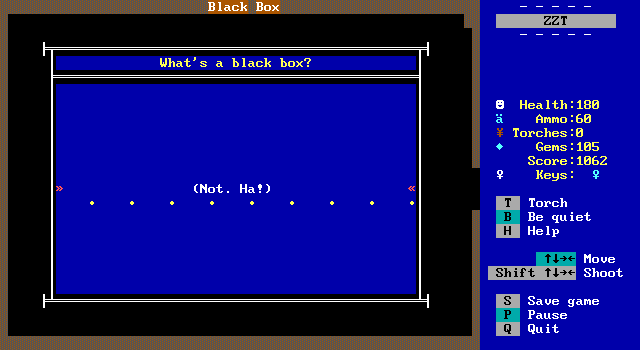
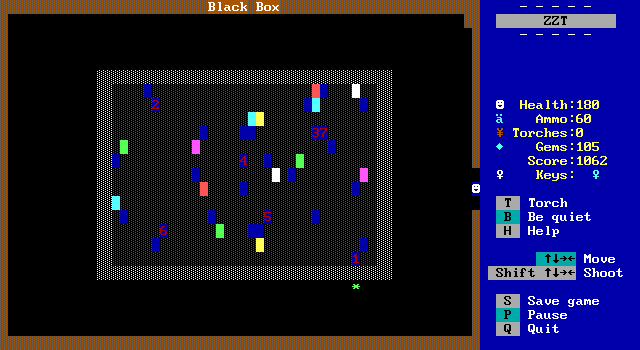
After a cool 90's "NOT!" joke, the player is left to their own devices to figure out what it is they're supposed to do with the black box. The only real way to interact with it is via shooting, since the whole thing is made up of water tiles, so it doesn't exactly take very long to figure out what to do.
The player needs to shoot all the numbers from 1-7. Unlike the robot puzzle with the colored triangles, there's no order enforced, and whichever one gets shot is one step closer to finishing the puzzle.
The challenge comes from the dark blue ricochets within the box that will deflect any bullets that come near.
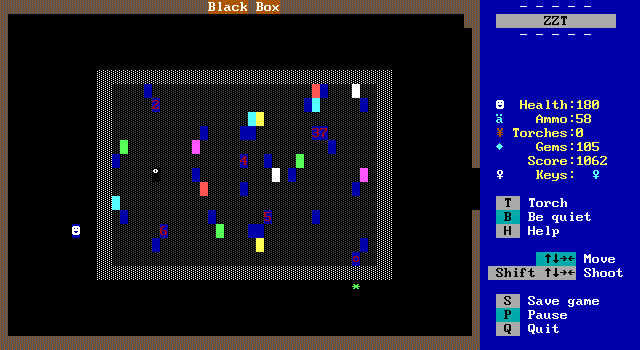
So, shooting east from where the player is here, despite aiming directly at #6, causes a ricochet to deflect the bullet upwards and hit target #2 instead. You basically need to draw imaginary lines out from the numbers to find out what direction they can actually be hit from, and then follow any ricochets to figure out where you're supposed to stand to actually hit the target. It's actually a lot of fun!
My only complaint, is that one ricochet outside of the box. If it wasn't there, the #1 target would be able to be shot from two different directions which I suppose Barjesse didn't want, as all the others have only one vulnerable spot. However, that ricochet looks extremely out of place. I think a more reasonable alternative would have just been to extend the box down an extra row and place a solid wall or ricochet directly below the one.
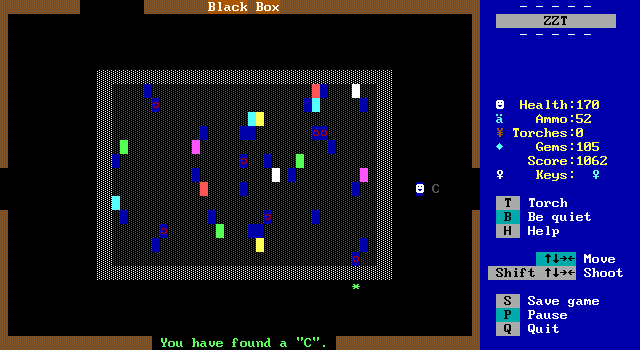
The Black Box counts as a major puzzle and gives the player a C as well as opening up new paths from this board.
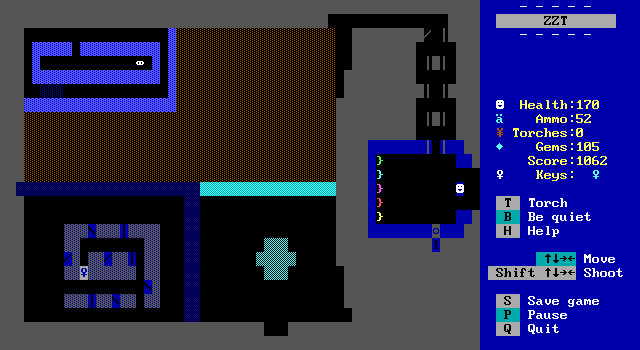
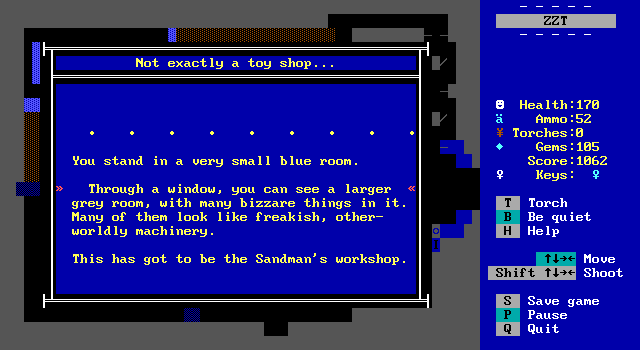
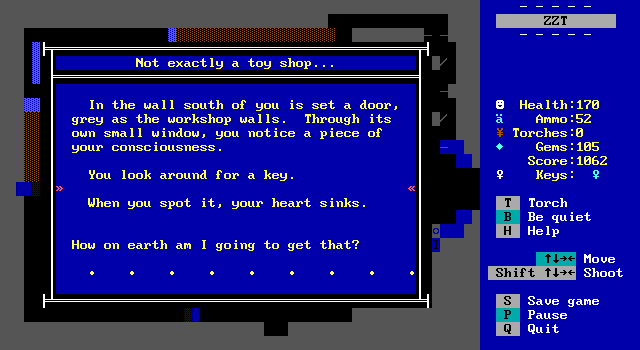
To the west is a desolate looking board that is supposed to be the Sandman's workshop. The writing describing the board doesn't really match its contents, there's not really much in the way of machinery.
Like the triangle room, this board is also a puzzle that involves remotely operating a robot. While the first puzzle's controls were arranged more sensibly, here from top to bottom the controls are west, shoot, south, north, and east. Shooting is done in the last direction the robot moved in.
The less logical (to me at least) order, means a lot of fumbling with the controls as you accidentally press the wrong button, and realize you now need to correct the mistake and then hit the button you needed to press to begin with.
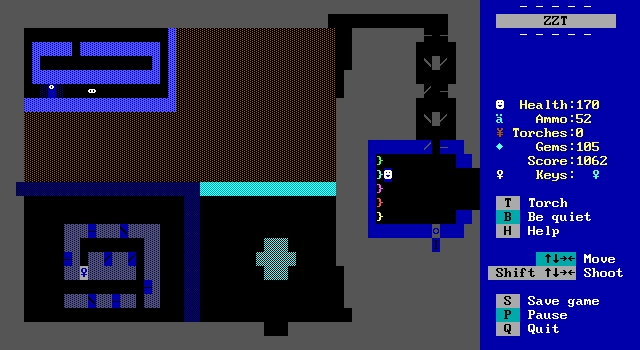
The first order of business is escaping from the room in the top left area which requires finding a fake wall. Graciously, there are some dark blue fakes near the exit to guide the player.

Once free of the bright blue room, the robot needs to push the key into the conveyors to get it out into the main area. At first glance it may look like the key is now stuck on the bottom row, but there's a small groove in the rightmost room which lets the robot get back underneath the key and push it upwards.
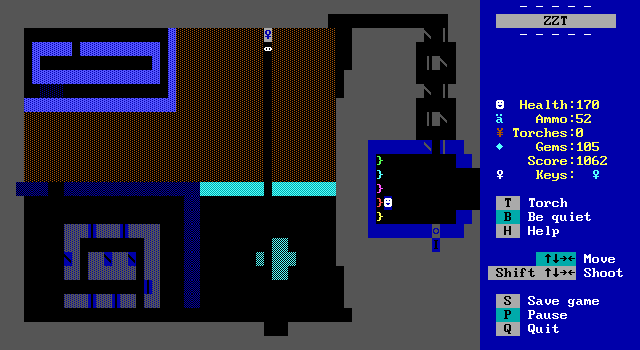
The way pushed elements ignore whatever is underneath them means that a trail is left across the floor as the key is moved. Perhaps it would've looked nicer without the brown carpeting.
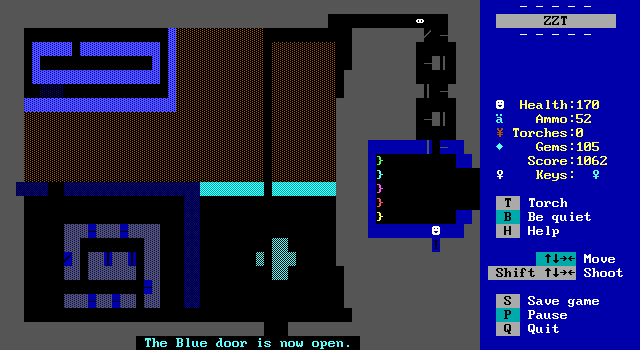
Regardless, once the key has been safely pushed into the final conveyors, the player can collect it and open the door to their next piece of consciousness, an "I". Puzzle solved, it's on to the northern path from the Black Box room.