Where can I get The Lost Monkeys?
The Lost Monkeys is available on z2 as well as playable in browser via Archive.org
The Lost Monkeys
Released: Apr. 21, 1993
The Lost Monkeys is about as iconic of early ZZT games as a ZZT game can get. It's bright, colorful, and also clearly a labor of love. I picked this game for an article since I remember it showing up on a lot of smaller ZZT sites I'd find in the late 90s, seeing that it won a Classic Game of the Month award on z2, and I knew I had played it several times without ever finishing it.
I wasn't expecting a lot from The Lost Monkeys. I figured it would be a short game about exploring an island and shooting some lions and tigers, finding said monkeys and being done with it. Instead, currently out of all the games I've (re)played for these articles, this one was absolutely the most enjoyable. In the later years of ZZT, complexity was king, but this simple by the book game from 1993 holds up incredibly well today. It's not perfect, and when you run into its flaws, they're pretty severe, but it exudes so much charm that I highly recommend that you take a little bit of time and try it out yourself.
At the moment of writing, I don't know how old Chris Jong was when he made this game. If I had to guess, I would say 12. It definitely feels like the kind of adventure a child would make both in terms of game design as well as the numerous spelling mistakes in the game's dialog.
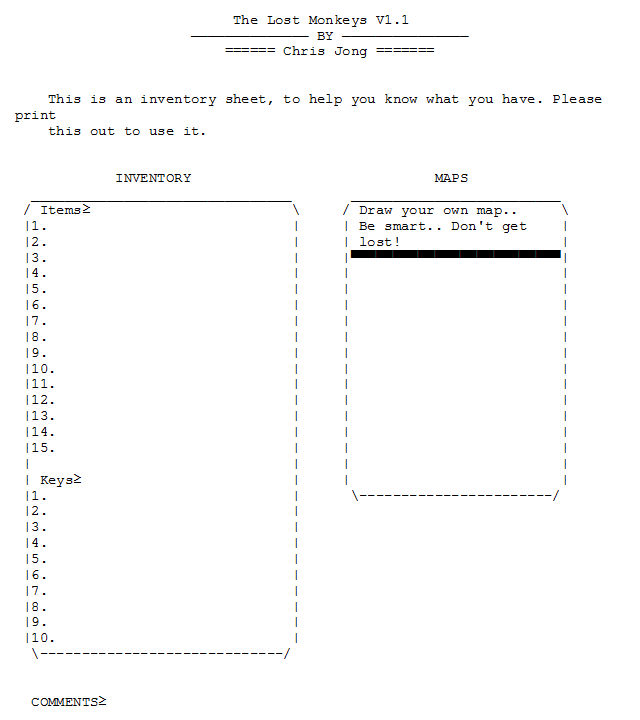
The game includes a word document which opens with a suggestion to have a printed out copy with you when you play. There's not really any need for it, as the boards aren't the difficult to navigate without any aid, and your inventory generally goes untouched.
The second page is a catalog listing the other games Chris had released. There are a total of 14 games listed! As well as a few demos of those games. It's a massive amount of output for one person, especially since ZZT was no more than 2 years old when this game was released. Chris promises to put as many of his games on a disk as can fit for $5.00 to handle postage, or suggests you find them on your local BBS.
The final page suggests that you register The Lost Monkeys for $10.00 to receive a hintbook, maps, and more of his games.
I always wonder how successful these endeavors were. Especially for younger authors where even making $50 off a game they made would make them feel like they were a huge success and professional.
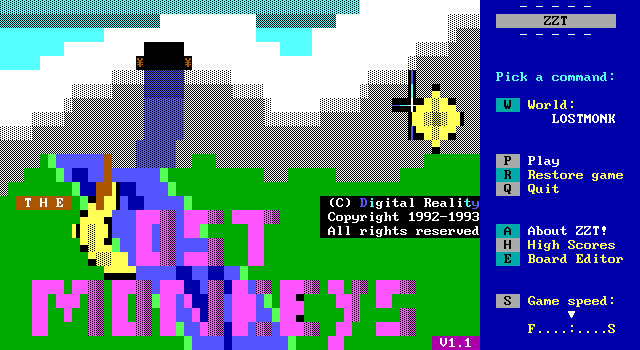
Done with the documentation, it's time to actually take a look at the game itself. This game was released prior to the creation of Super Tool Kit, so its graphics are going to be very bright out of necessity. The lack of STK also means black borders around the L-shaped banana and the half blocks that make up the E in monkeys. Despite the limited graphics, Chris makes good use of text as a way to produce some dark solid coloring.
The game is credited on the title screen to Digital Reality, a ZZT company I am otherwise unfamiliar with. ZZT companies of course, are not actual companies paying people to make ZZT games. They're just a loose collective of individuals who can reasonably count on other company members to help with their games, by contributing graphics and music, as well as beta testing. There were a lot of ZZT companies over the years, and most were pretty forgettable. I can't name any other members or games released under Digital Reality, and there's unfortunately no easy way to find them short of manually looking at every ZZT world out there.
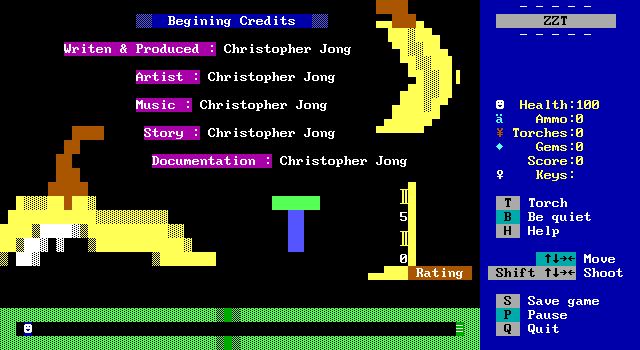
Despite the company being mentioned, the game's opening credits mention only Chris Jong. Most ZZT games were one man shows for everything except maybe testing, company or not. In the corner there's a simple two frame animation of a hammer hitting a strongman game letting you know to expect a five out of five in quality.
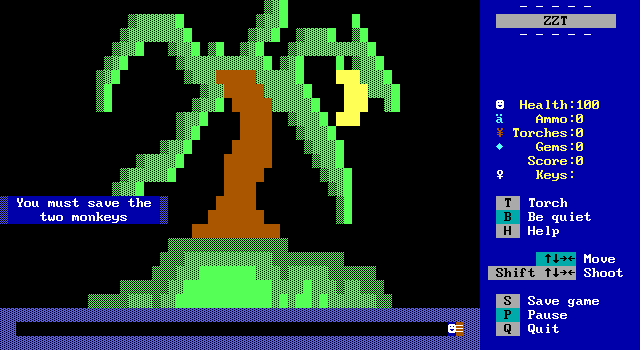
The next screen gives the player their motivation. Once again text is used to get brown when it would otherwise be impossible.
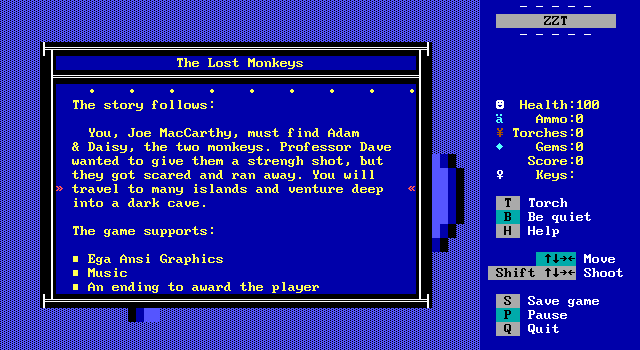
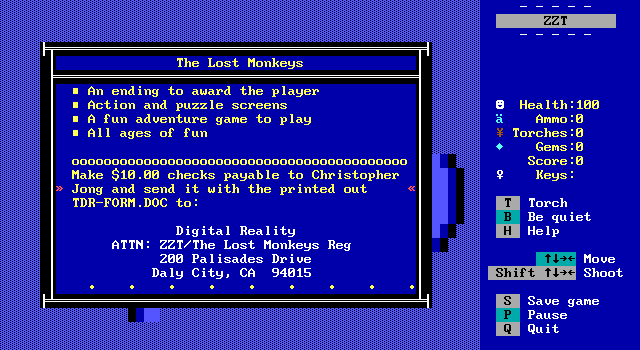
The gameplay begins with a quick exposition. The monkeys ran off, you're in charge of finding them. I love that "an ending" is a bullet point on the game's features. There's also the first of many reminders to register your shareware.
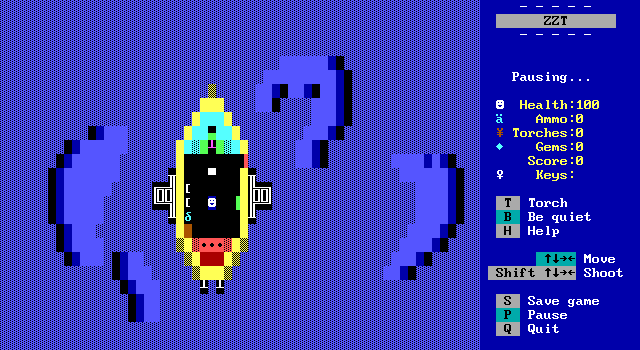
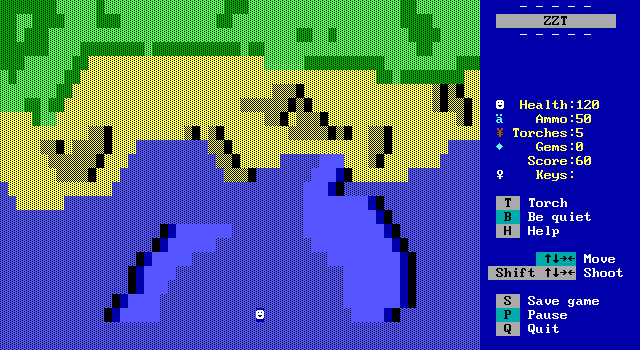
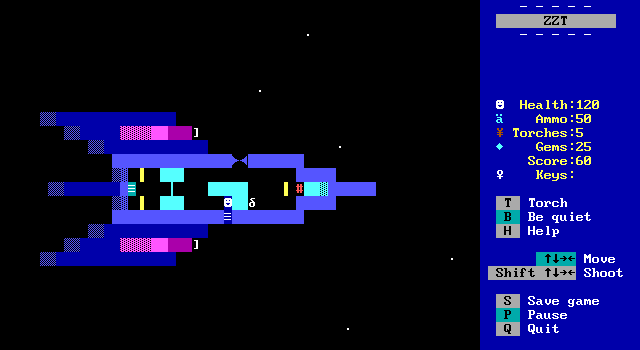
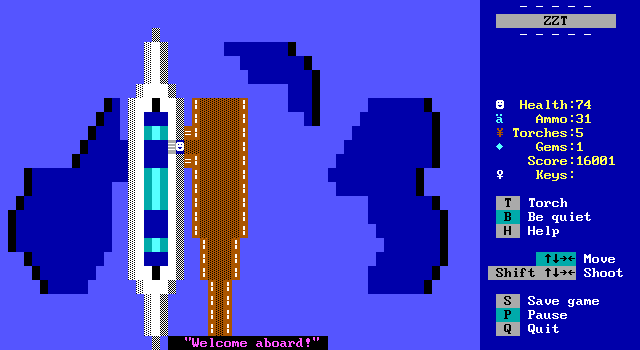
The player is then set on their boat, just off the coast of the game's first island, "Monkeys Pleasure". Objects representing bubbles, move along the screen as a way to convey a sense of movement across the ocean.
In the lower left area of the boat is a sack containing supplies the player will need on their journey: Ammunition, silk torches, healing pills, some rope, and a banana.

On the right side is a panel showing the boat's current status. It's just a fun bit of flavor with a simple illustration.
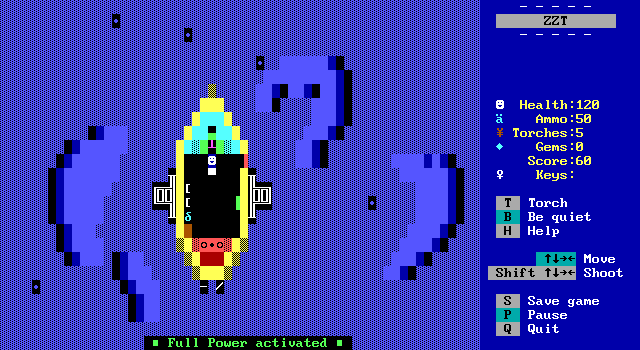
At the ship's steering wheel, the player can increase power to the engines, causing the bubbles in the waves to start moving even faster. There are also options to open the ship's hatch, or activate the emergency eject system.


Activating the emergency exit results in suddenly being thrown from the ship to your immediate demise. So try not to do that.
Instead, the player is supposed to open the hatch and swim the rest of the way to Monkeys Pleasure. Having the boat still appear to be in motion kind of breaks the immersion here, but some time from now the ability to leave the boat like this will be explained.
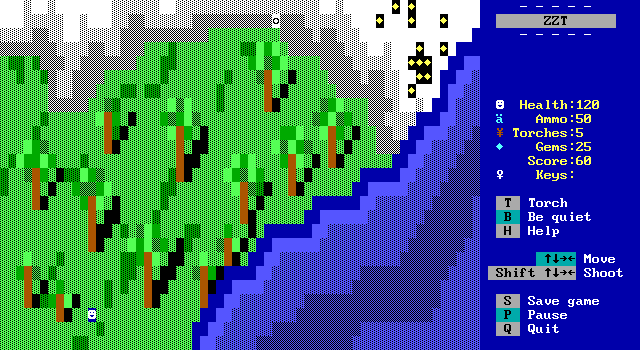
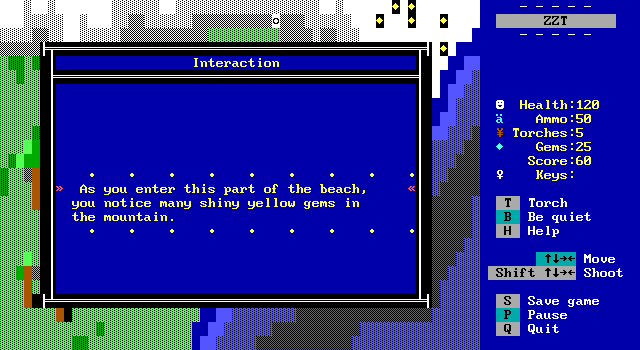
Having made it to land, the player is free to explore the island. It consists of a large area, taking up eight whole boards for the first area of the game, but is mostly empty.
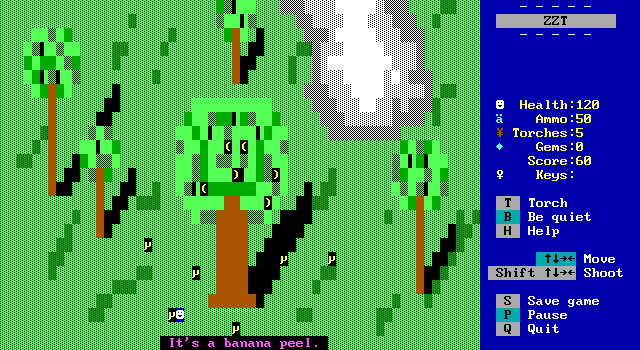
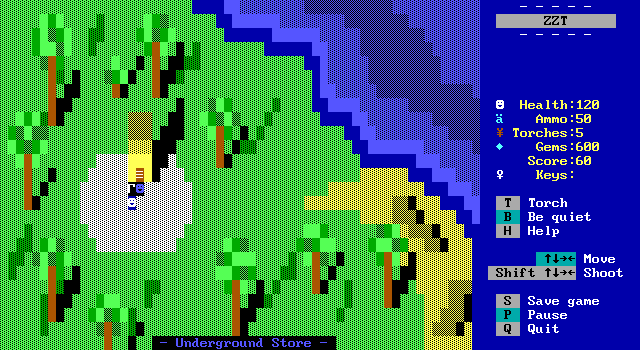
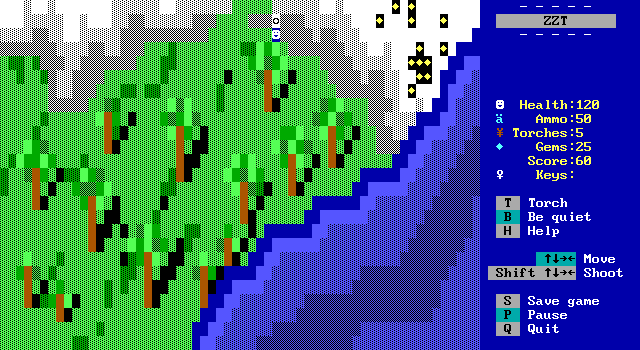
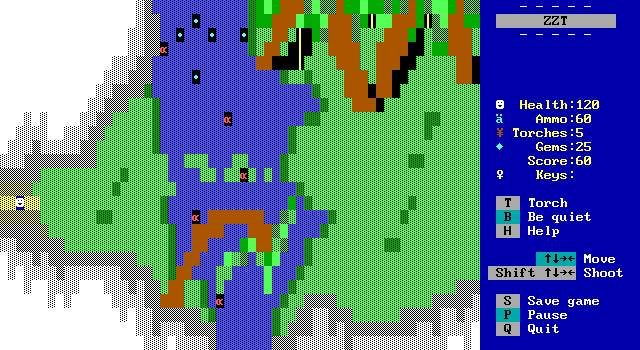
This board in particular highlights most of what you'll find on Monkeys Pleasure. Banana trees and a white mountain range. As I mentioned before in my earlier article on ZZT's graphical limitations and how people got around them, it's worth looking at how this screen in particular manages to produce shadows and shading using only what ZZT can produce naturally. The graphics in The Lost Monkeys really come together to create a colorful jungle environment for the player to explore.
North of the banana trees is this board which is split in two by the mountain range. On the left half is the professor's hut, where Adam and Daisy ran off from. The mountain division is completely unnecessary from a gameplay perspective, but works quite nicely aesthetically.
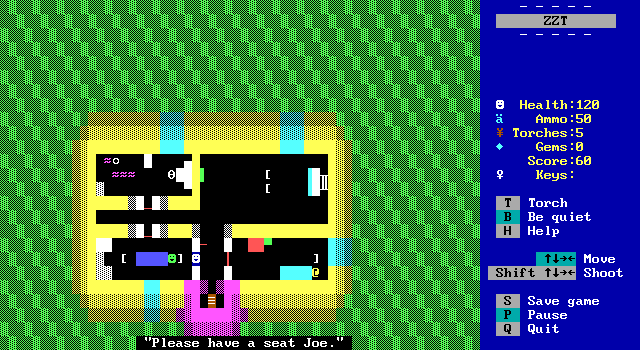
The hut is furnished rather abstractly. There's a bathroom with a (flushable) toilet and shower; a living room with a television (playing an ad espousing the benefits of registering The Lost Monkeys) and a hanging picture of Professor Dave; a bedroom with a desk and bed; and lastly a kitchen containing a sink, fridge, and Professor Dave himself.
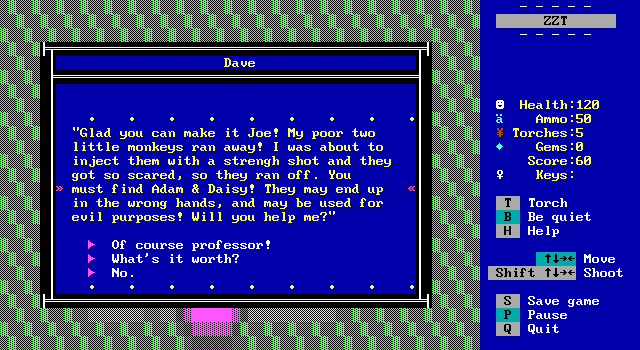
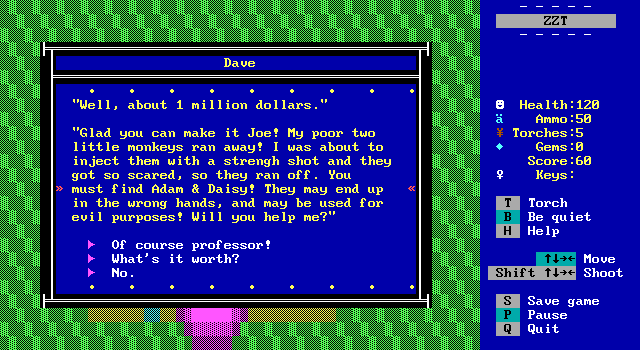
What's it worth?
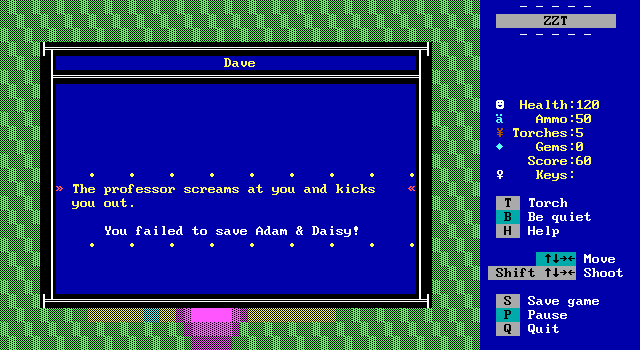
No.
Of course professor!
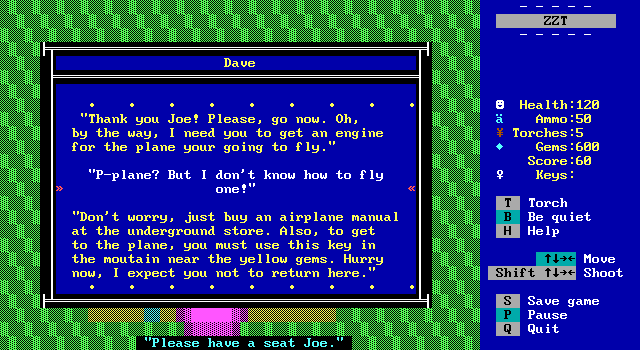
For accepting the task, the player is given a large quantity of money, the majority of which is required in order to get the plane engine and manual.
On the eastern coast of Monkeys Pleasure is the store that the professor mentioned. It's very clearly above ground, unless it's supposed to be taken as a black market? Though nothing inside seems to indicate it as being illegitimate in any way.
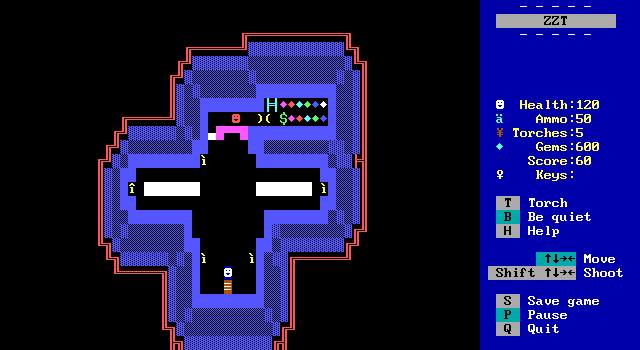
The inside of the store is decorated with flickering candles and lined with empty shelves. Anything you can purchase must be bought directly from the store's clerk.
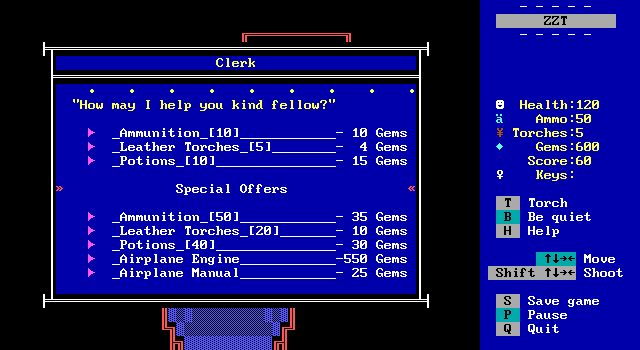
Despite the empty shelves, there's quite a lot of choices to be made. Though 575 of the 600 gem budget the player has needs to be spent on the plane's engine and the manual to learn how to fly it.
This store demonstrates an issue The Lost Monkeys has and shares with many other ZZT games. It's impossible to know if you should be spending your money on supplies, or if you need to save it for a mandatory purchase later. Gems in ZZT games are limited, and if you spend too much you run into the risk of softlocking the game. It's all too easy to make the player afraid of spending money, and thus having a more challenging game without being able to rely on any shops present.
After making the necessary purchases, I headed to the northeast corner of the island where the door to the plane could be found.
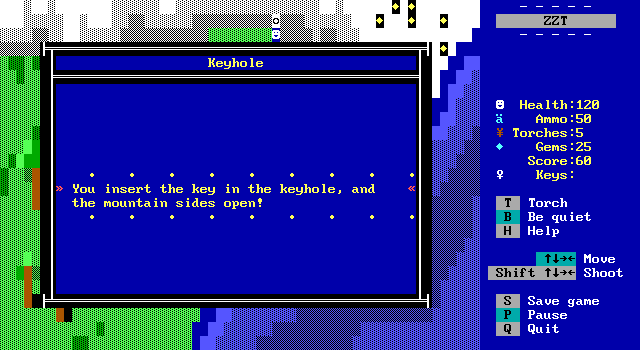
With the key in place, the player can make their way to the airplane and begin their search for the missing monkeys proper.
Upon boarding the craft, stars pass by to give the illusion of flying through
the night sky.
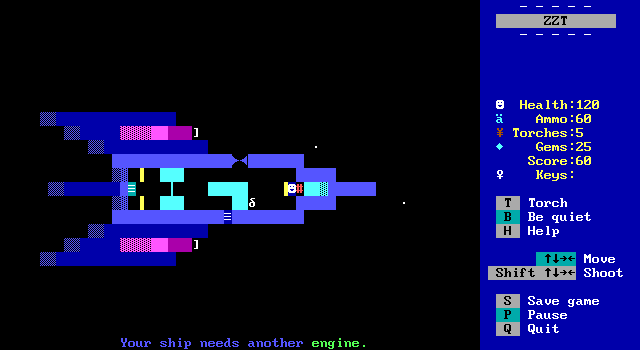
Unfortunately, without installing the new engine there won't be any actual travel.
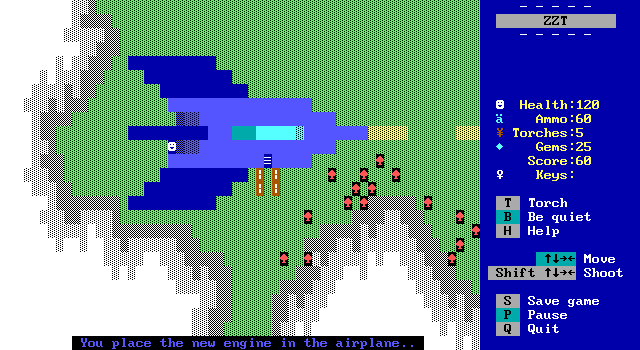
Installing it is simple enough, but there's no real indication that the rear of the plane is made up of objects and not just regular walls. You can see this style of object design in the professor's hut as well. It can be a bit difficult at times in The Lost Monkeys to realize when something is actually an object the player can interact with.
With the engine in place, it's time to go back on the plane and get off the island.
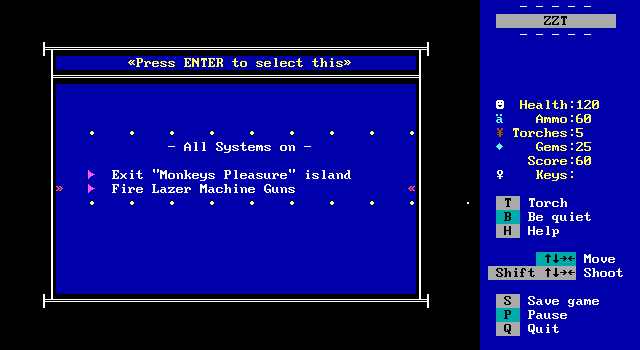

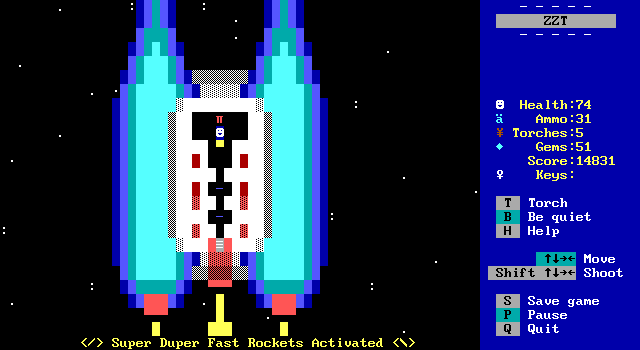
I of course immediately fire the plane's weaponry causing some red lasers to dart across the screen.
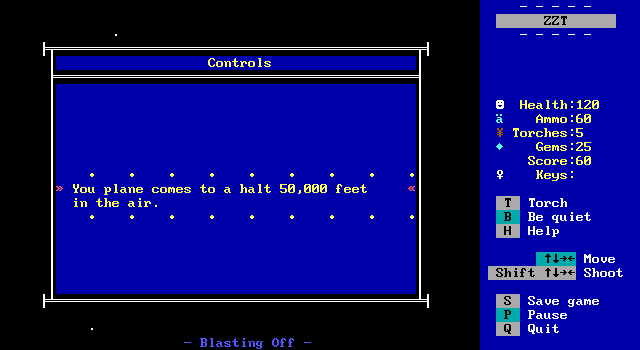
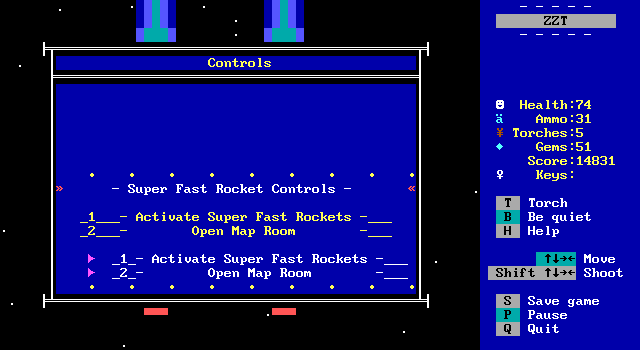
This... could be worded better. One the plane has reached the desired altitude, the door to the plane's map room opens and the player is free to choose their next destination to search for Adam and Daisy on.
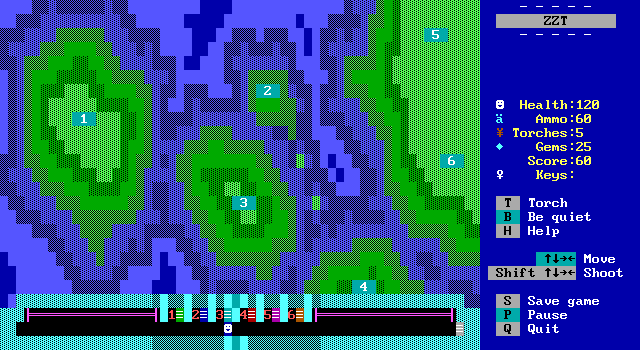
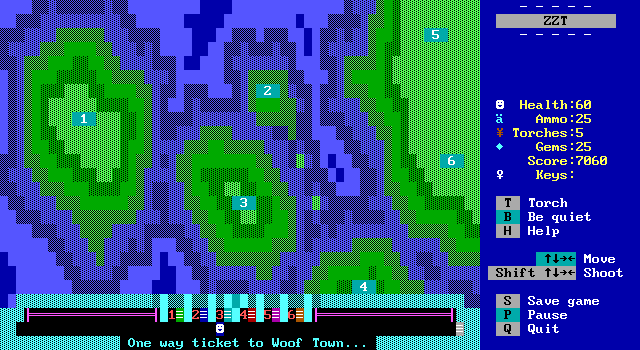
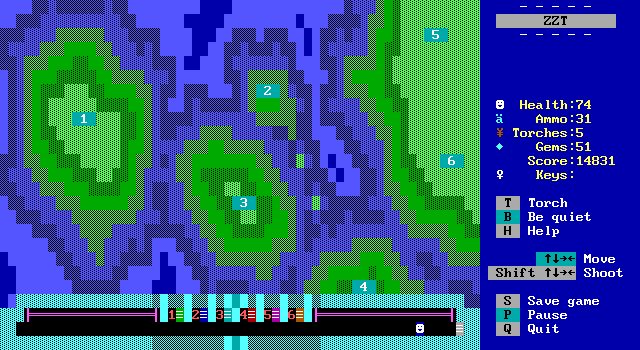
The map room gives a view of the world the player will be exploring. There are six locations to explore, and though it's not made readily apparent, you'll have to visit all of them in order to complete the quest.
- The Africa Jungle
- Monkeys Pleasure
- Woof Town
- Banana Island
- The Underground Caves
That last one doesn't have a name for some reason. The passage that you enter the map from also doubles as a passage to a second store, a fact I was unaware of for the majority of my playthrough.
Having no real leads, I decide to start off with Africa.
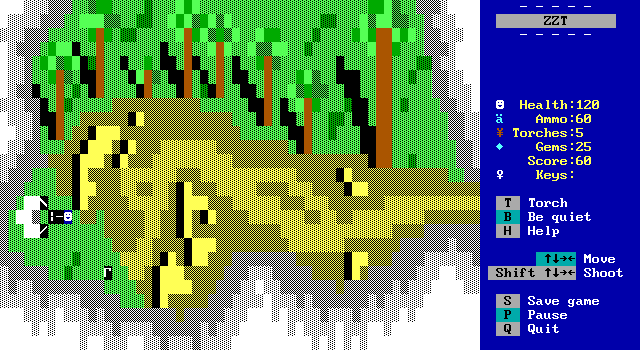
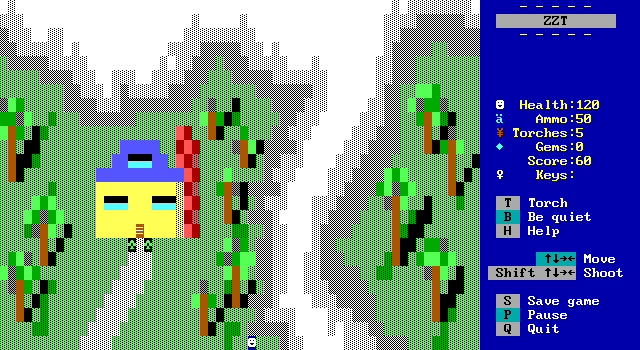
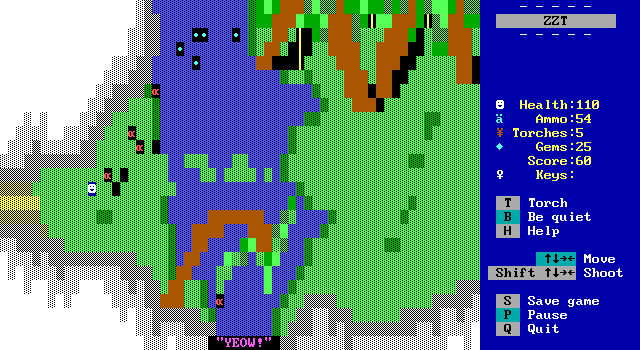
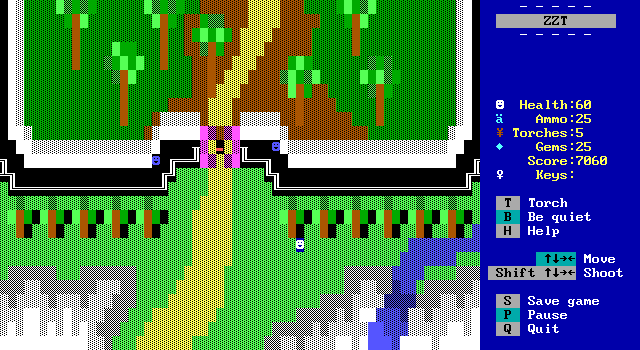
After parachuting from the plane (leaving it to crash no doubt), the player lands in Africa. This is another board where I'm in love with how it looks. It must be the shadows on the trees.
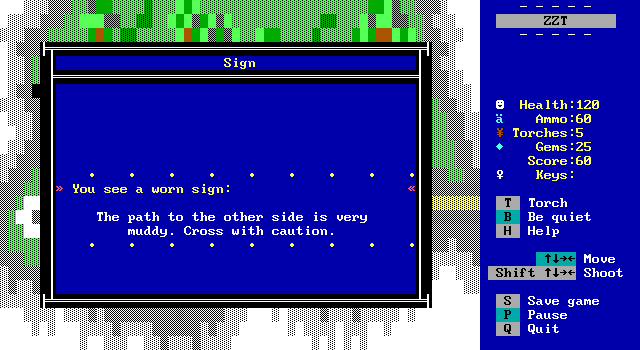
Unfortunately, I'm not in love with how it plays. The path is littered with objects that blend into the scenery and cause an instant game over from quick sand if touched. You just have to slowly cross the board, constantly saving your game to be able to progress.
The next screen is the first board with some action on it. A river crossing with dangerous piranha swimming within. ZZT has water and sharks that can swim in it, but the player can't move across it. Jong instead is forced to just use fake walls an objects, which means it's very much possible for the fish to get out of the water and continue swimming across the grass.
It doesn't take much to get them to do so.
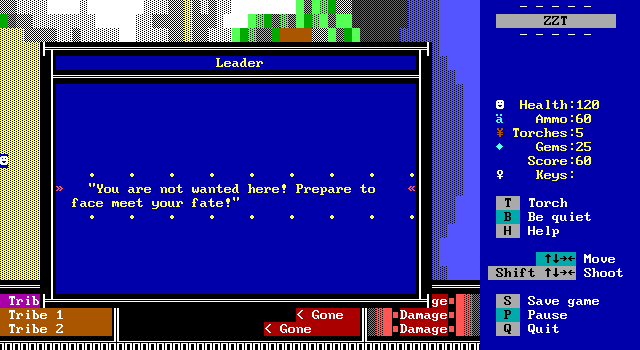
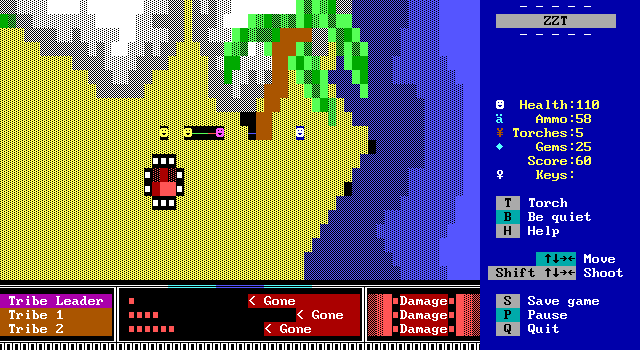
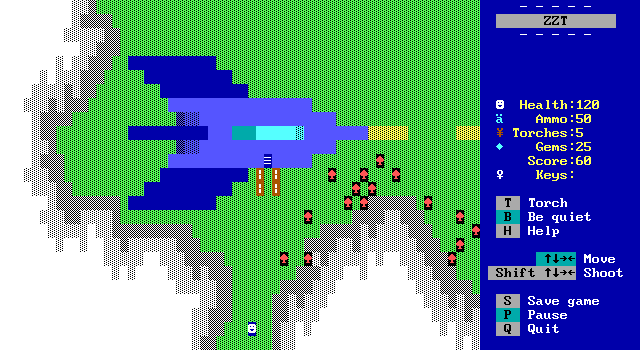
The next screen features a boss fight with a stereotypical jungle tribe. For the most part, they just move around, shooting in the player's direction. Once one gets shot, they throw a player-seeking star which means the player has to keep moving. Since I like breaking games I did my best to get them to shoot each other and save me some ammo.
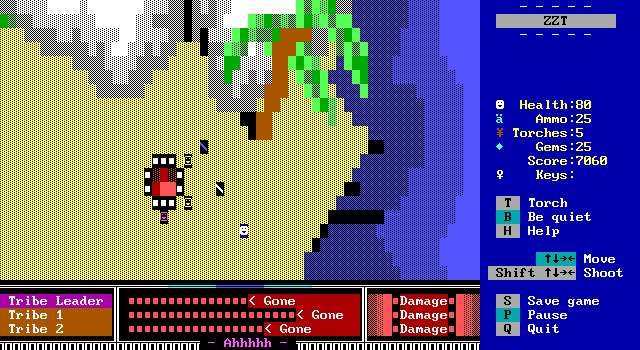
It takes a very long time to actually defeat all of them, but they're not all that difficult. The scenery took a bit of damage from all the bullets that missed their targets. Jong was wise enough to put some objects in the mountainous area to prevent the player from just tunneling through the breakable walls and skipping the fight.
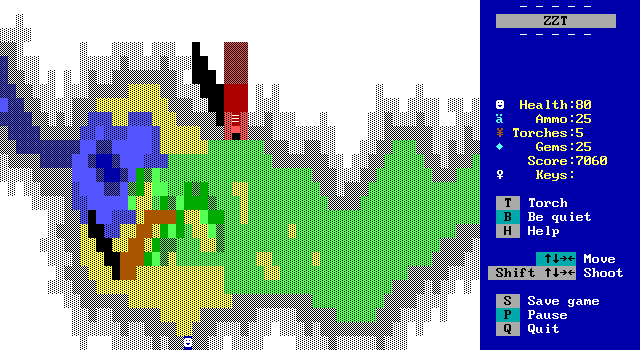
The next screen features the source of the river crossed earlier as well as a large red building that's currently locked with a diamond shape in the middle of the door. With nothing else to do here it's time to move on.

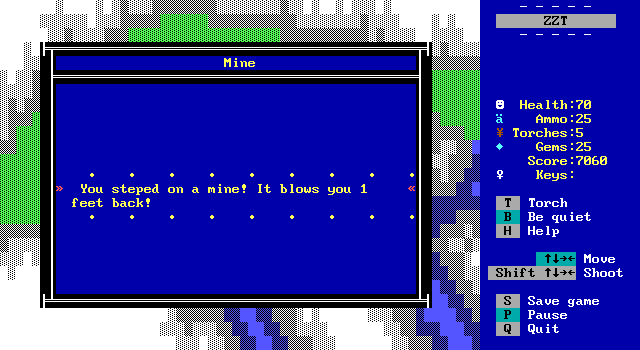
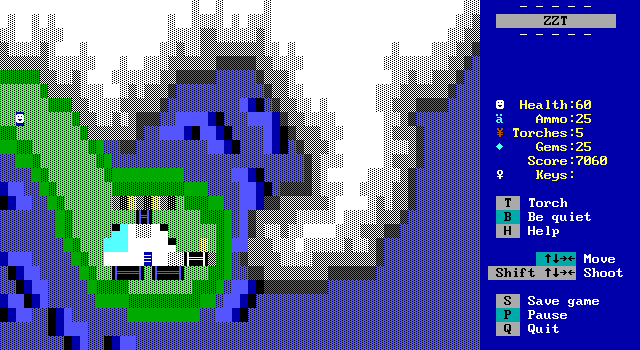
The next screen is ominously empty, but it doesn't take long before discovering the danger: hidden land mines. Fortunately unlike the quicksand hitting one isn't an instant game over, just a loss of 10 health.
The less than obvious shop on the map screen offers a mine detector for sale, but these mines aren't coded to react to it. You can also shoot them to reveal the mines safely from a distance, but most likely the player will think this is like the quicksand screen and that there's nothing they can do about it.
Of course, even if the mine detector did work here, there's no way to go back and buy one since the player parachutes onto the island and is committed to the jungle until it's completed.
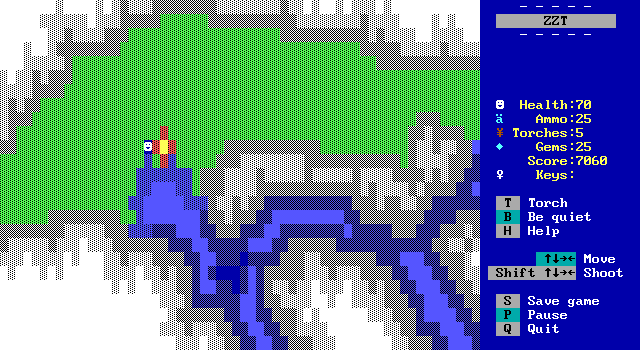
On the last board of the Africa section of the game is a helicopter already prepared for takeoff. The blades animate and a surprisingly effective sound effect plays repeatedly on this screen as well.
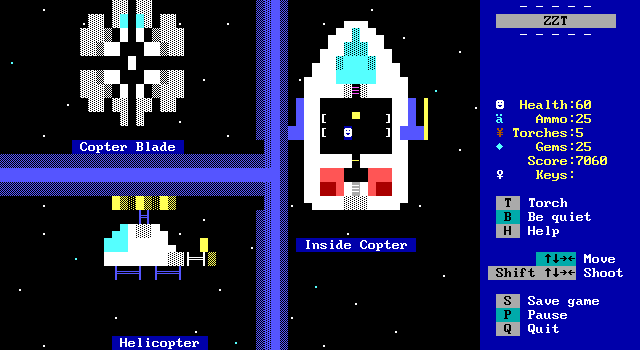
It's very apparent that Chris Jong had a lot of fun making vehicles for his game. The copter blade can be seen spinning around and the side view continues the animation from the previous board.
Again there's a control panel that unlocks the map room. Despite there being machine guns on the helicopter, unlike the airplane there's no way to fire them.
Africa was revealed to be a bust, but there are still four more locations to search for Adam and Daisy on. The 2nd island is Monkeys Pleasure where the game first began, so it's onward to Woof Town.
Woof Town is surrounded by a large wall with patrolling guards that explain they're making sure no wild beasts or enemies get in. Fortunately they're happy to open the gate for you if you just ask.
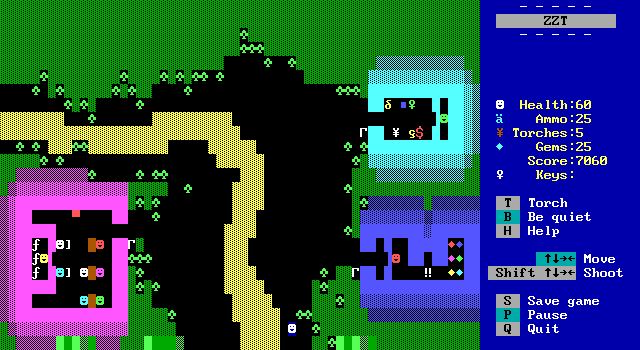
Woof Town itself consists of a few buildings, but there's not a whole lot to actually do in town.
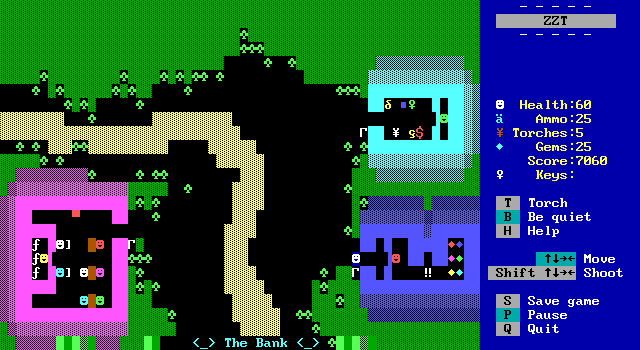
The bank teller will let you withdraw any gems from your account, which results in them walking to the back area and discovering you don't actually have an account.
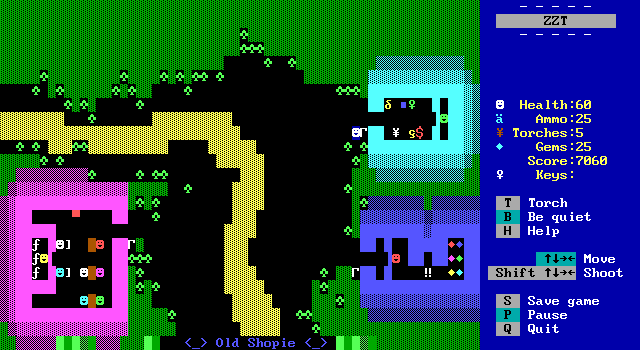
The "Shopie" works out a bit better for the player. Examining a sack inside nets them 50 gems. The other knick knacks can't be purchased, and the shopkeeper doesn't offer anything when talked to. Even the green key is just a decorative object.

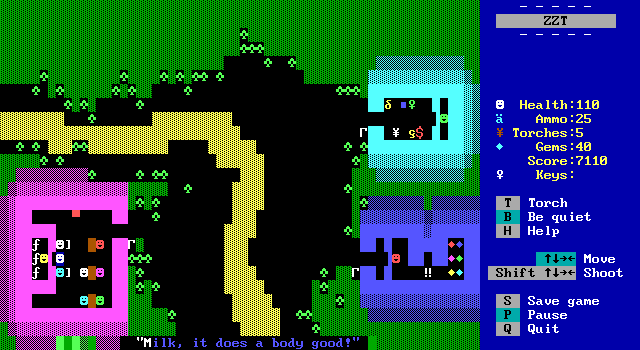
The last building in town is the local bar. It's packed with customers, but not one of them has any code. You'll get nothing but a cold shoulder trying to chat.
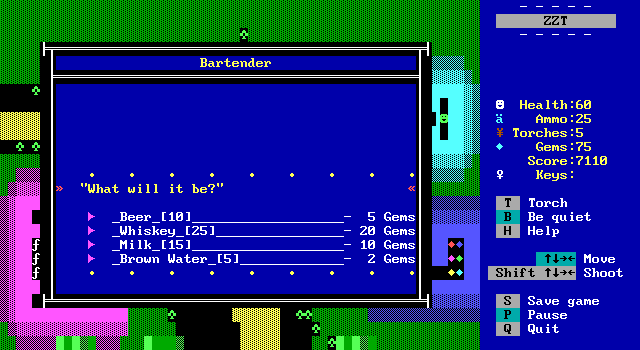
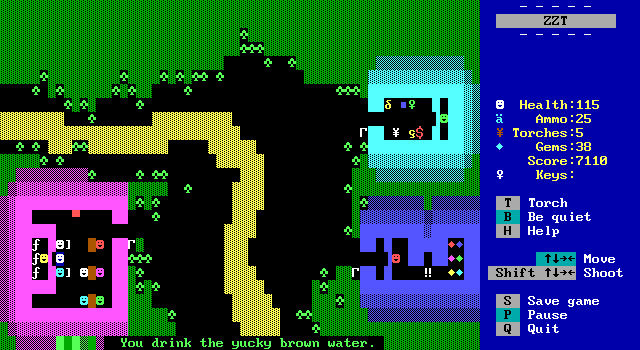
The bartender is friendlier and offers a variety of drinks for sale. The beer here costs less than the milk. Doing the math, your best choice for maximizing health for the least amount of money is to repeatedly buy brown water. For the sake of completion, I sampled the entire menu.


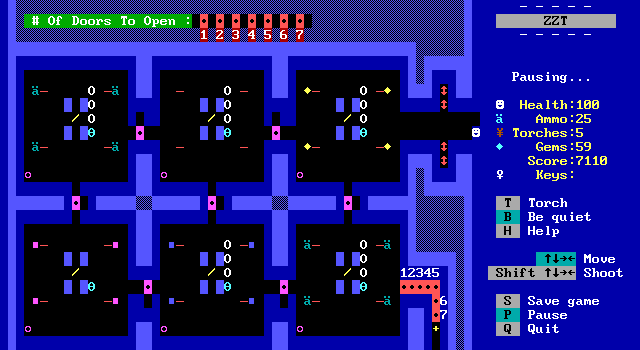
Following the path out of town takes you to an arena filled with centipedes and moving doors. Once the player enters, the gate closes behind them, trapping them inside. Each section of the room has a button which can be used to adjust the doors. It's not really a puzzle, though the path you can take changes as you press the buttons, as you just need to hit each button to open the doors to the next board.
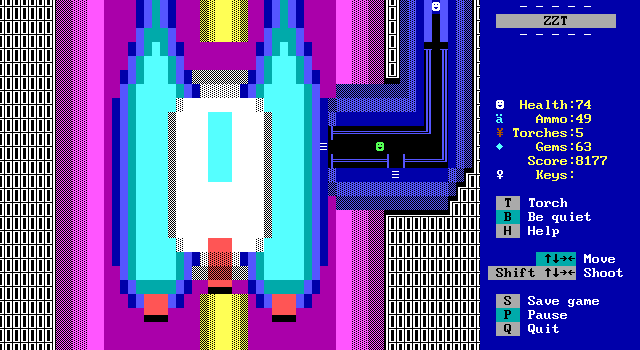
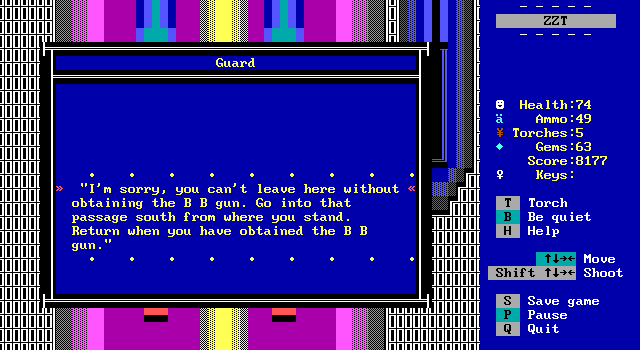
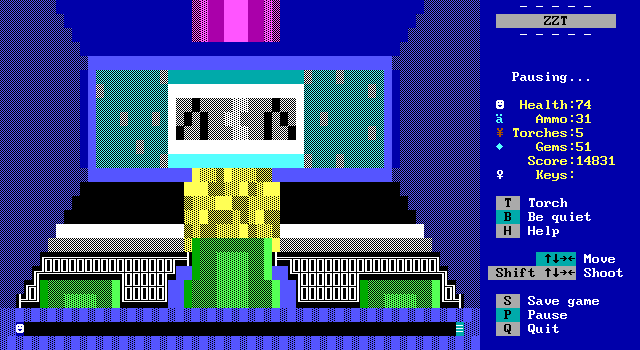
Our vehicle of choice for leaving Woof Town is a rocket ship. It looks a bit like something out of Galaxian to me. The guard won't let the player leave until they obtain the B B gun, an odd requirement if ever there was one.
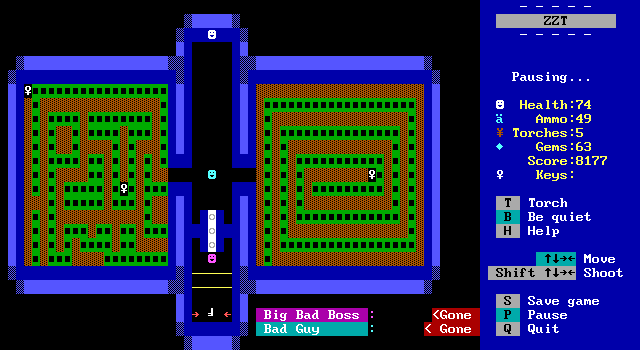
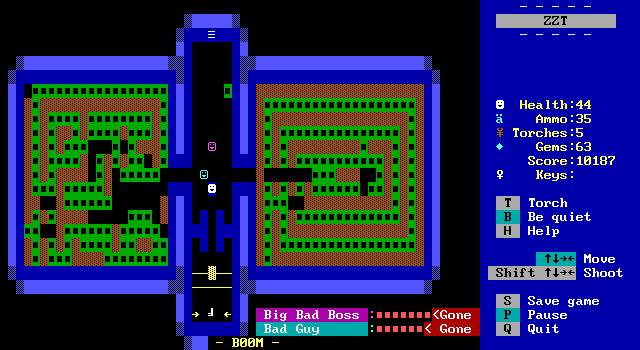
The B B gun is protected by a series of doors, a laser wall, and a few bad guys. The brown fakes and black on dark green boulders give away that this board originally had torches and forests on it which were changed to fakes/boulders to get some uncommon colors for ZZT back in 1993.
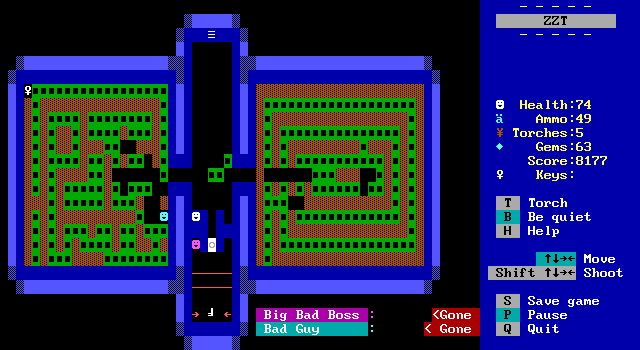
The Bad Guy generally tries to move towards the player, so it's easy to keep him pinned against walls like this. With some poor boulder positioning it would also be possible to block off a key and prevent the player from completing this board.
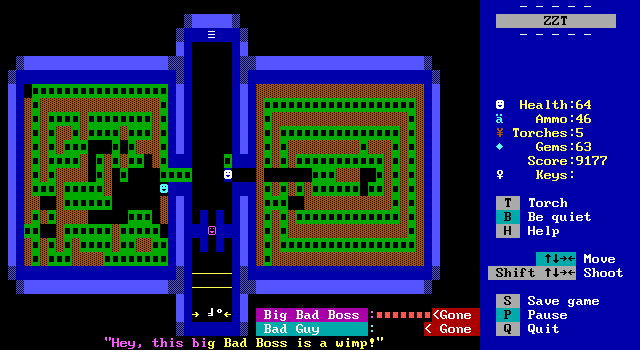
As I also found out, it's possible to softlock the game by shooting the Big Bad Boss while they're in the narrow pathway.
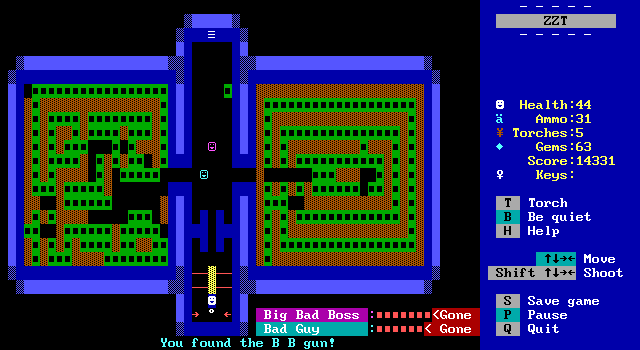
Reloading my save, I take a more careful approach the second time. Making sure to take out the enemies where there's plenty of room to move, and then breaking the laser wall.
Now armed with a B B gun, the player can board the rocket ship where they're treated to an over the shoulder view from the cockpit. Apparently we're a blonde.
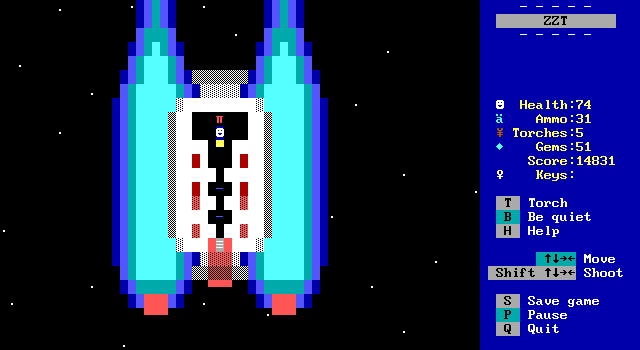
By now you know the drill. Play with the vehicle's controls and then open the map room to return to the island selection screen.
So far all the explored islands hadn't amounted to any progress towards finding Alex and Daisy. By now I figured the way the game was structured was that you could explore the six islands, and five of them were essentially pointless, just wrong guesses as you picked your way through them.
Since the next island was "Banana Isle" it seemed like the obvious choice for where to find the monkeys and complete the game. I decided I'd explore the rest of the remaining islands in reverse order, so it was off to the unnamed island number six.
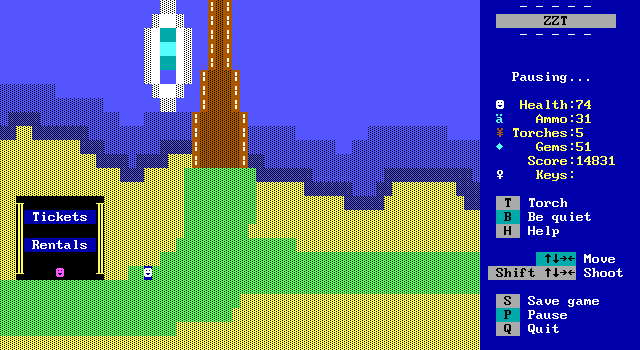
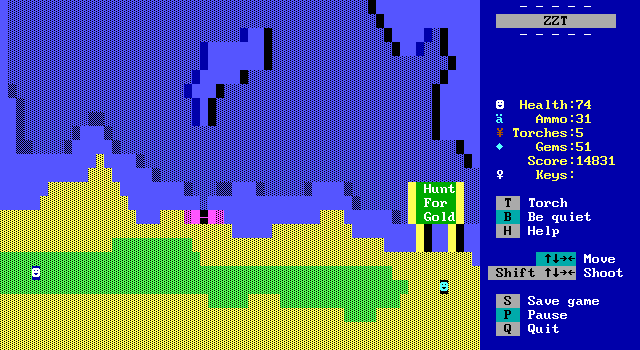
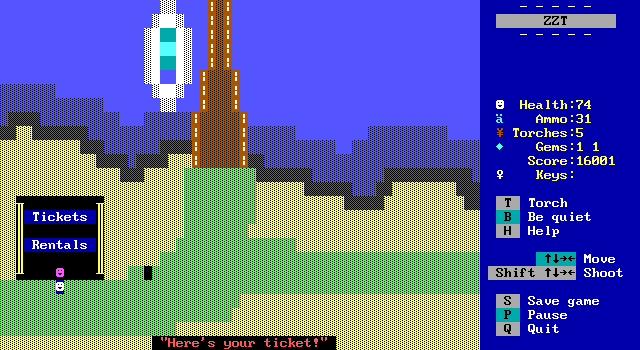
The sixth island puts the player on a beach with a cruise ship in the distance and a ticket seller along the coast.
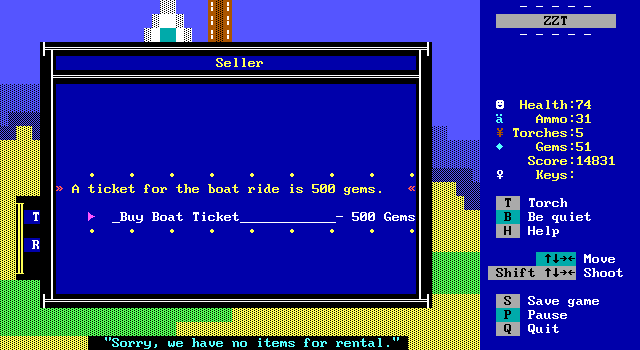
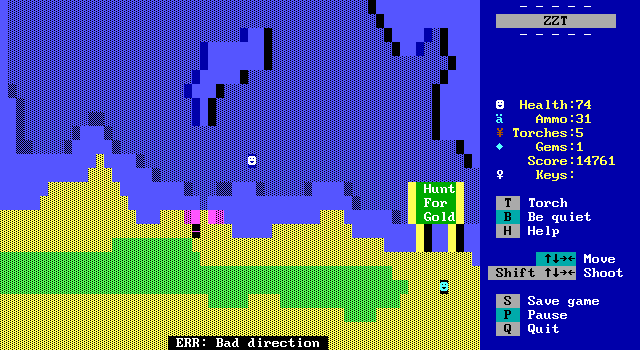
The seller offers a choice on whether the player wants to buy or rent something, but there's nothing to rent. To get on the boat, the player needs an astonishing 500 gems. It's time to start hunting for a source of cash.
How convenient.
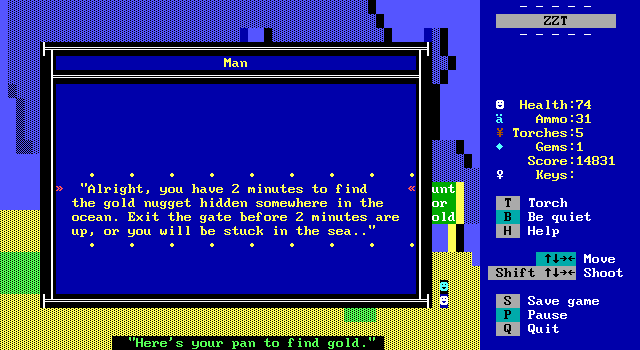
This part is easily the low point of the game. You need 50 gems to be able to buy a pan for gold and then to buy access to the ocean where the gold can be found. It's very possible to go here without enough money and be trapped on the island with no way to proceed. I bought some brown water for health while still in Woof Town and just narrowly avoided such a situation.
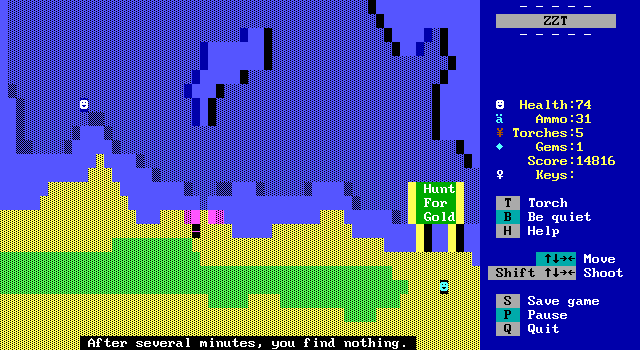
The ocean is full of invisible objects, but unlike the quicksand or landmines seen earlier, this time the player wants to run into them so they can pan for ocean gold. (Are coastal gold deposits a thing?) You're on a time limit for this and it's not fun at all, just a glorified Where's Waldo.
With about a minute and ten seconds left on the timer, a missing idle direction in the timer's code causes the script to break repeatedly, so you actually have infinite time for this sequence. You'll also want to turn off the sound at this point since the error noise is very grating and the object tries the invalid command every cycle so you'll be hearing it constantly.
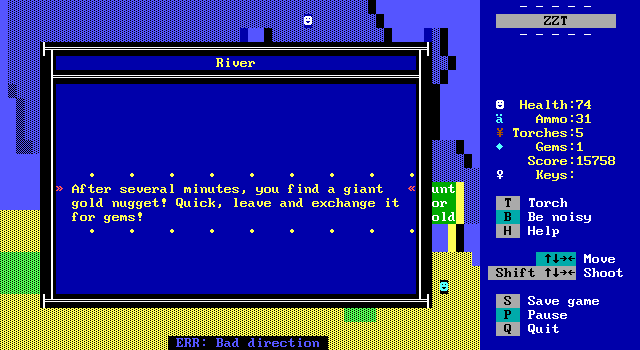
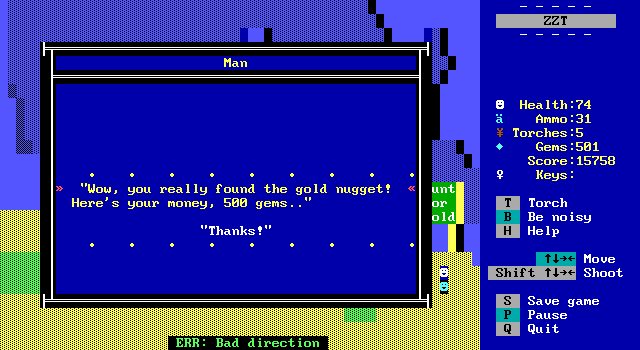
With the nugget the player can collect their gems and purchase their cruise ticket.
You can board the ship right away, or you can take a long walk off a short pier.
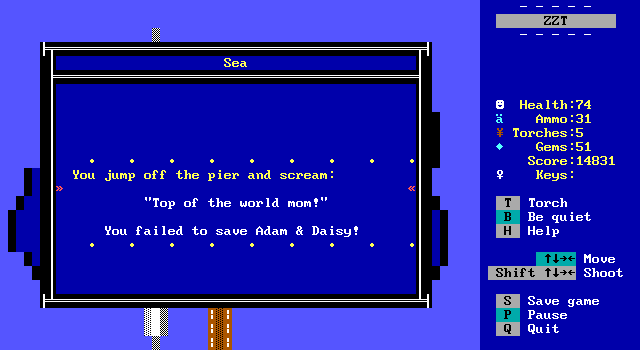
Which has disastrous results.

The ship involves a walk up to the main deck and then offers three locations to explore on it.
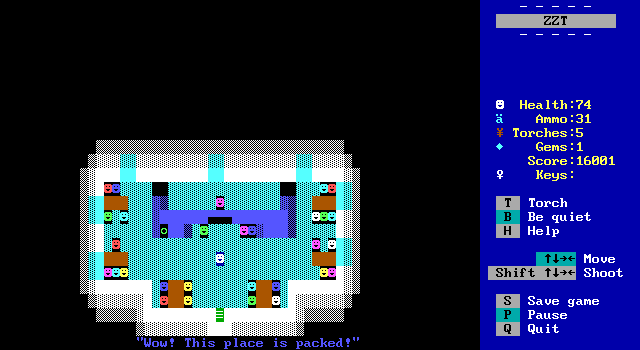
There's a crowded restaurant in the observation deck. Just as with the bar in Woof Town, despite all the people, none of them can be interacted with. You can buy fries and soda for health from the bartender (as they're called), but the prices are worse than Woof Town's bar as far as healing goes with both healing only one health per gem spent.
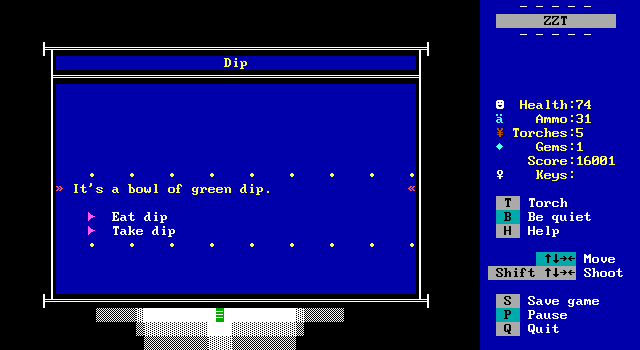
There's also this weird bowl of dip sitting on the counter.
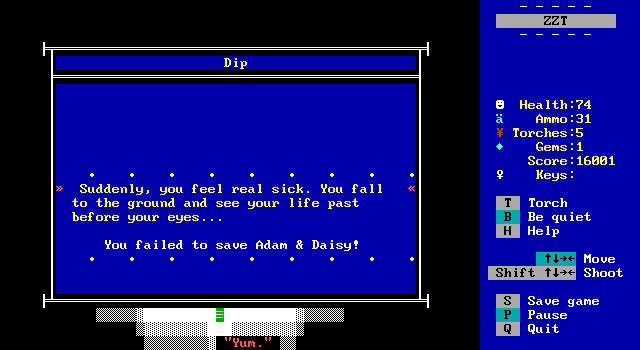
It's another out of place instant gameover trap. Bad dip.