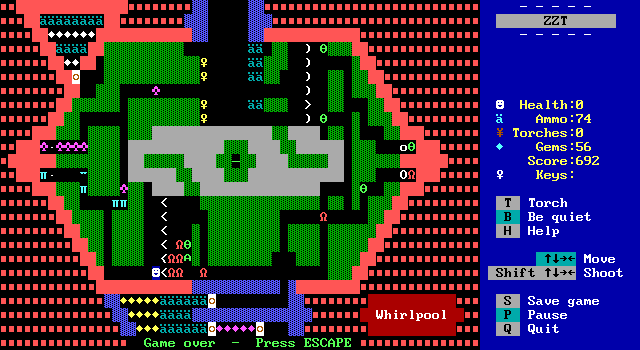
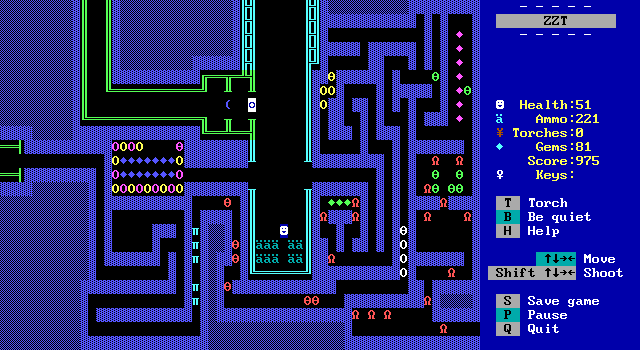
I did not last! My first death caused by non-alpha related injuries. The Whirlpool is a really good example of creative environments for action scenes. The player must make several laps around the screen, taking a key to unlock a door, while fighting their way through duplicating enemies, maintaining a fast enough pace to not get overwhelmed, but also slow enough to be careful not to clear too much forest and giving the enemies more room to maneuver.
One useful trick is that if the player blocks a duplicator, when the duplication process fails, ZZT will act as if the original enemy had attacked the player, hurting them, but also destroying itself, allowing the player to shut off a source of enemies if they're willing to take a hit.
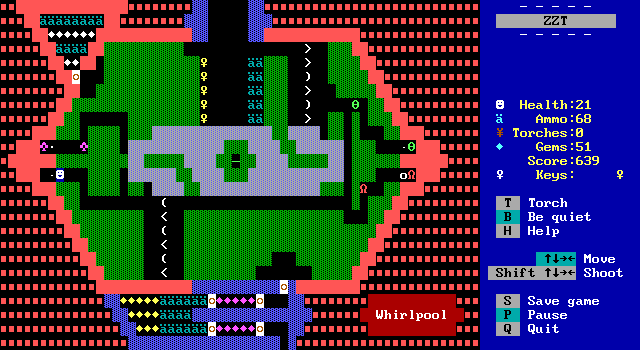
Without any more tigers, the board progresses much more smoothly. The ruffians tend to congest the area near their duplicator prevent many from even spawning, and the lions and centipedes have simple behavior that makes them easy to deal with.
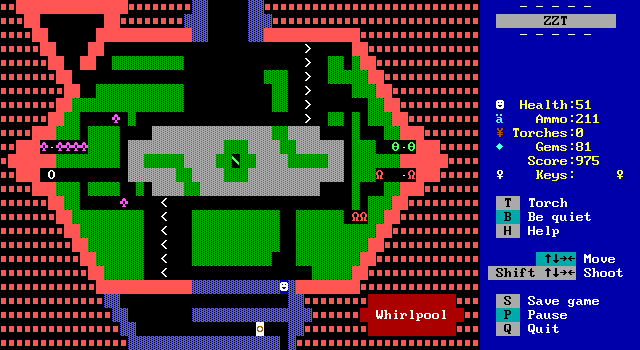
Of course, by the time I finish the board I realize I missed another mechanic it has, that tends to go underused in ZZT worlds: water! If the player enters the whirlpool area itself, they'll be able to shoot over the water and safely defeat the enemies without having to get close enough to them that they can be attacked themselves.
I really enjoy this board and think it's one of the best in Dungeons. It does a wonderful job combining the basic elements of ZZT into a fun and exciting challenge. As mentioned earlier, later games would purposely avoid using so many of the things that make this board memorable, transporters, keys and doors, forests, water, and default creatures all showcase good usage of "bad" elements in the ZZT toolset.
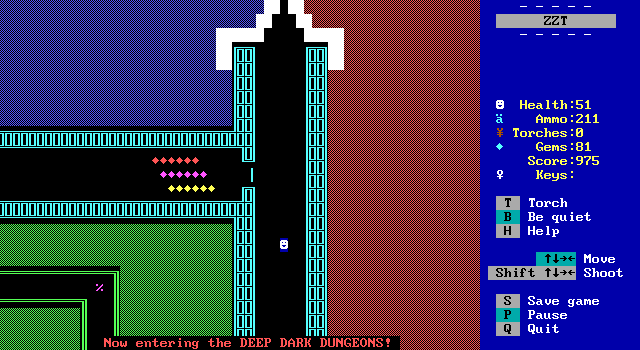
Pressing onward to the next section of the dungeons, the DEEP DARK DUNGEONS. Good news, they aren't actually dark at all. There are no dark rooms in Dungeons of ZZT. This, is a good thing.
There's a second blue maze here. Heading east leads to a resupply area with plenty of gems and ammo (and lions), so the player has to head west to make progress.
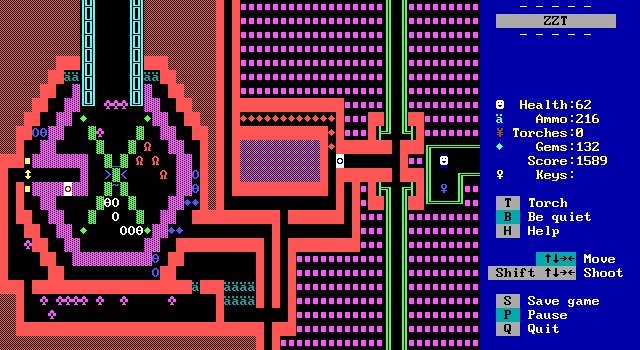
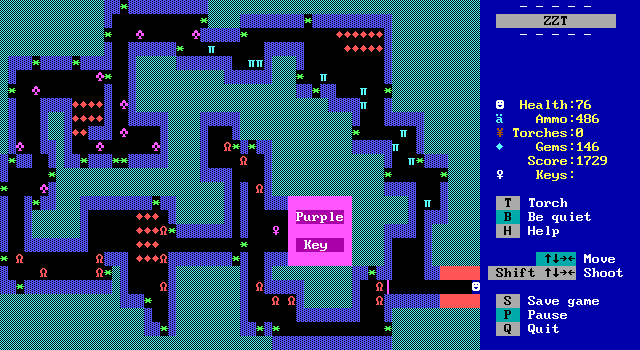
To the west is a free blue key, allowing access to the last exit from the blue maze room. There's a nice touch here with moving the player to a board to collect the key rather than just giving it in the maze itself. It adds a bit of foreshadowing knowing of a board you've seen, but haven't actually been through.
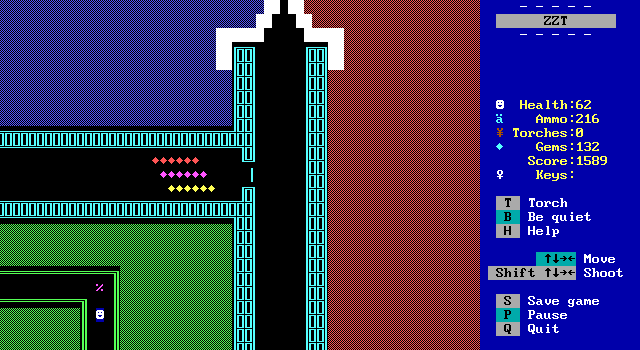
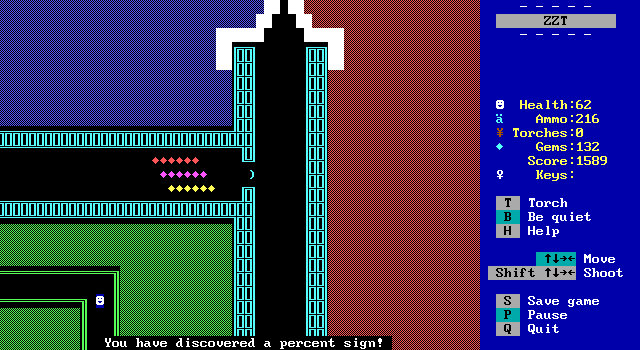
Town of ZZT has an ampersand that gives you some points. This percent sign does absolutely nothing. I have no idea.
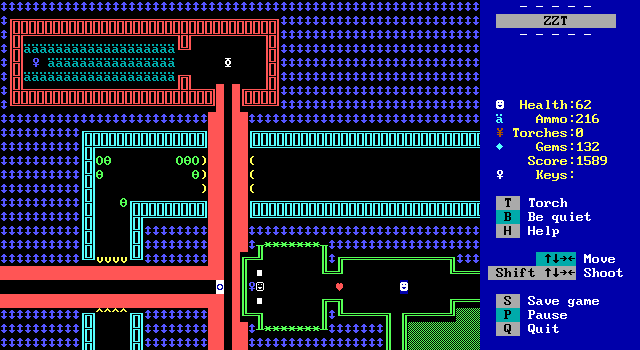
The next screen has this object move across the ricochet area shooting bullets making a sine-wave appear that you have to carefully run through to avoid taking damage. You can't shoot on the board so there's no alternative to running and hoping.
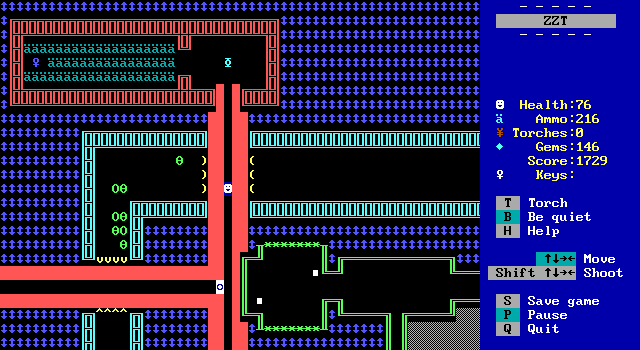
I totally pulled it off on my first attempt and let me tell you I am very proud of how well I held down the left key.
Following the path puts you back in this blue key room. I missed grabbing a screenshot on the second pass so you can look at the first screenshot again. Avoiding the center area and heading north through the red area brings you to another oddity
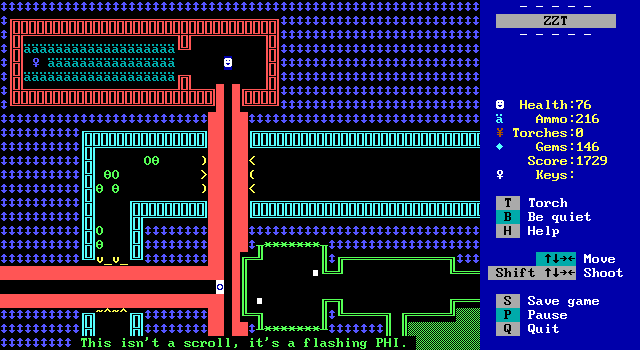
Ok then. I'll just take that key and head west.
And that leads to the third purple key! This next action sequence contains ricochets, which will reflect your bullets back at you, as well as the bullets shot by tigers. It forces the player to keep a closer watch on where they're shooting in some already congested areas. My sole complaint is that despite the abundance of ricochets, there's only one spot where you can make your shots reflect at a 90 degree angle, shooting safely from around a bend. It's a fun mechanic that tends to go underutilized in the player's favor.